
A Foil Flower Frenzy in Five Easy Steps

April showers bring May flowers, and I’ve been in a flower-making frenzy all month. These pop can tulips are a unique way to kick off summer and jazz up any empty corner of the house or garden. Let’s get growing!
What you’ll need:
- A backdrop (I used painted 2×4’s)
- Pop cans (I used Coca-cola for the flower heads, and Verner’s for the green leaf cover)
- Aluminum foil
- Acrylic paint & brushes
- A sawtooth hanger (optional) & hammer
- Hot glue (I tried Elmer’s and even superglue, but I had the best success with hot glue)
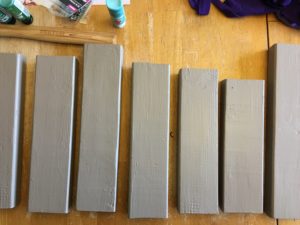
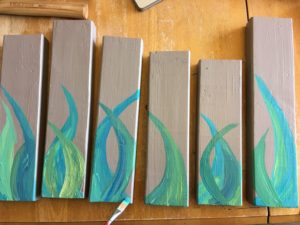
Paint Your Backdrop
The first thing you’ll want to do is set the stage for your flowers. If you want to replicate a real flower (like the ones featured) be sure to consider the shape of the leaves that grow on the plant. Tulips have nice thick leaves, so they were easy to paint. I like to mix colors for variety, so I mixed yellows, blues, and greens together and accented the leaves with a metallic acrylic paint.
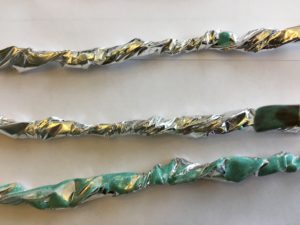
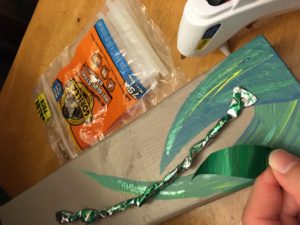
Twist Your Stem
After your leaves look the way you want, it’s time to make the stem. I ripped 3-4 inches of aluminum foil off of the roll and folded the edges in until I had a strip about 1 inch wide. Then, I started twisting in the middle of the foil all the way out to the ends. This created that nice 3D effect I was hoping for. You can also paint the stem if you want to – I did a light brushing with the metallic green.

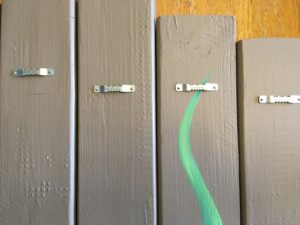
Attach Your Sawtooth
If you plan to hang your artwork up, be sure you have the sawtooth hanger (or whatever works best for you) attached to the back before you glue the flowers on the front. Aluminum is fun to work with because it’s versatile, but it also can get bent out of shape, so planning ahead is great.
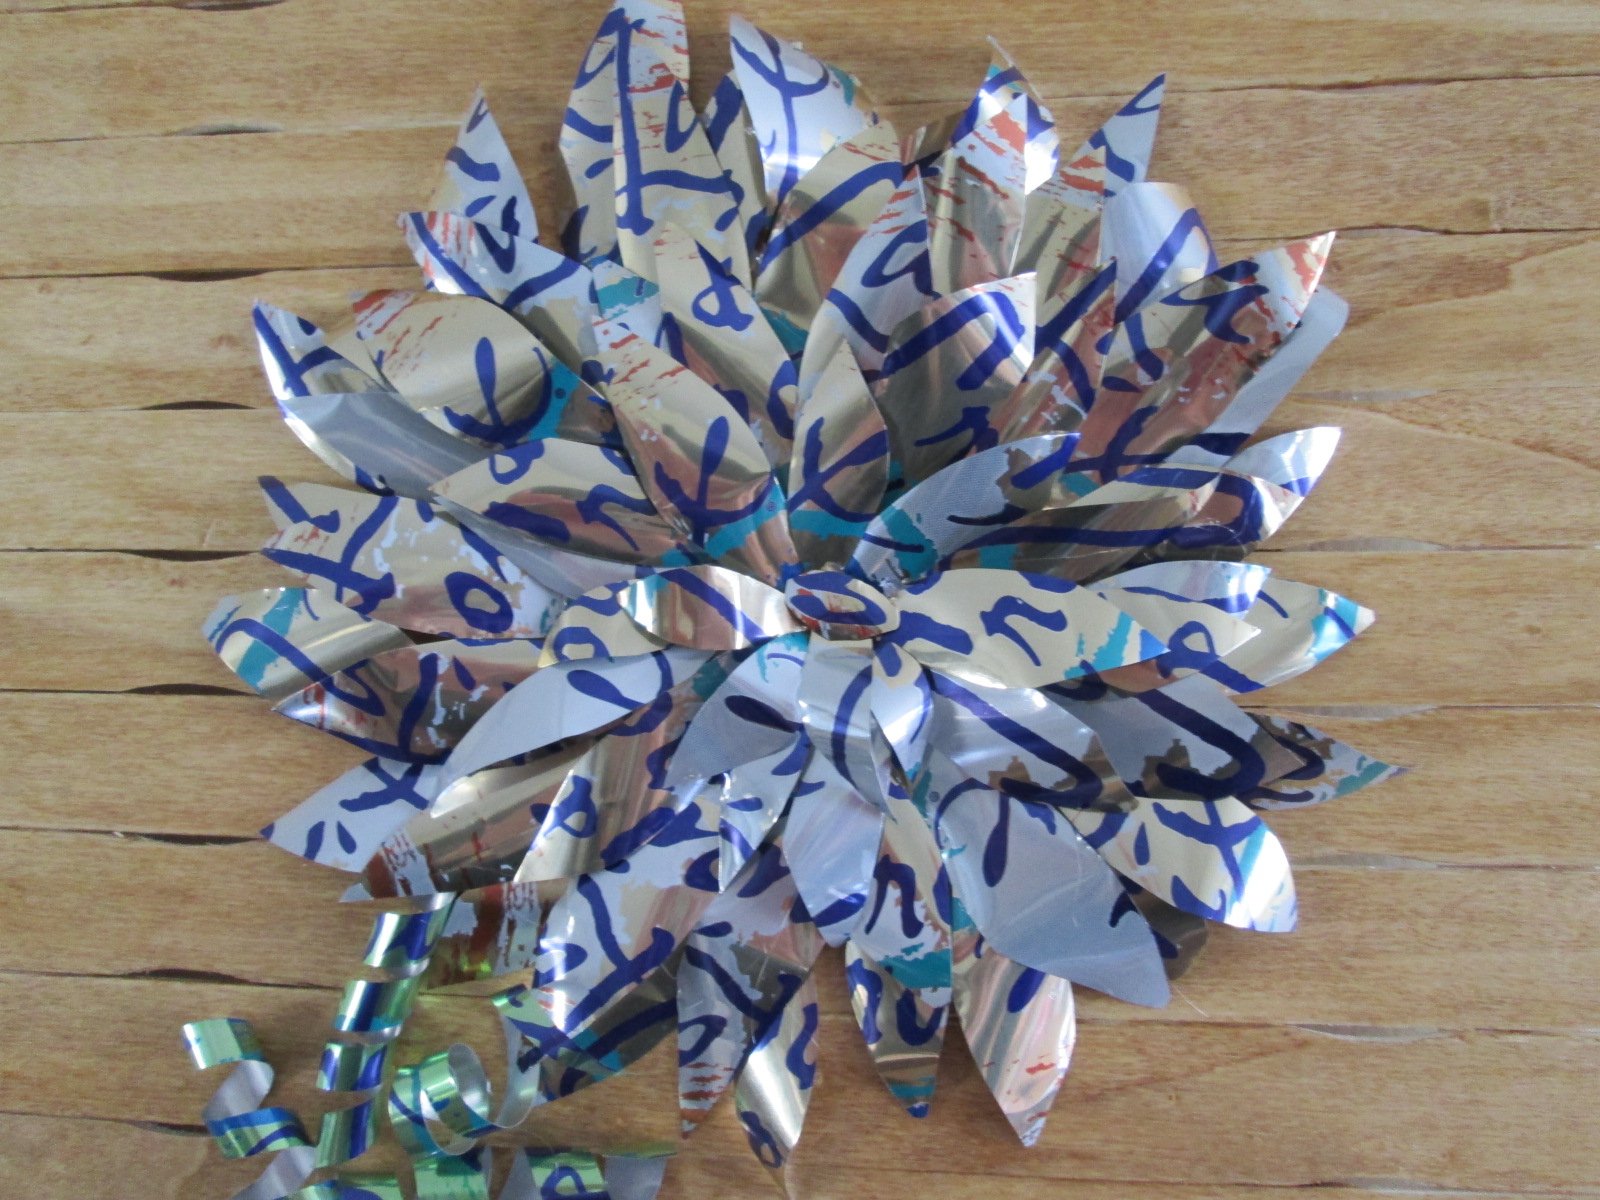
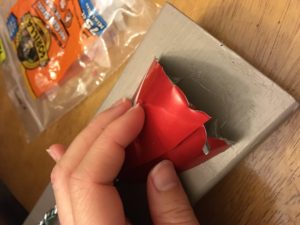
Cut Your Petals
I wanted a variegated look for my tulips, and the white swish on the coke cans was a perfect fit. It’s also one of my favorite beverages, so that’s fun. As you choose your colors/cans, look for a solid part that you can cut out and create a repeating pattern with. I used a Verner’s ginger ale can for the green leaf that covers the stem at the bottom of the flower.
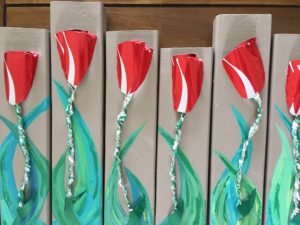
Glue Your Flower
When your stem, leaf, and petals look the way you want them to, go ahead and glue it all in place! I started with the stem and attached it to the wood at the top and bottom of the twisted strip of foil. Next, I used the green leaf to cover the foil edge. Finally, I glued two tulip petals over the top of each foil stem. Holding the flower head in place and using a LOT of glue helped to secure the petals.
That’s it! Five easy steps to a foil flower frenzy. If you like this project, check out my first attempt at pop can art for a different spin. The best part about this artwork is each flower is unique. As your flowers come together, enjoy the fact that every one is an original work of art. Just like you.
Until next time,
Invent your story