
The Art of Bottle Wrapping DIY
Repurposing (or reinventing ) bottles is a blast, and bottle wrapping is an easy way to do it. Whether you’re going for a funky or elegant look, you can put your own spin on this project in no time. Here’s what you need to get started:
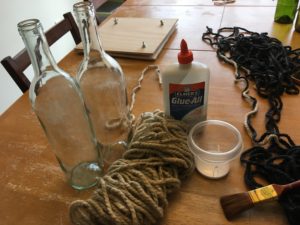
A bottle with the labels taken off
Glue (I use Elmer’s for household repairs/crafts – it dries clear)
A large paintbrush
Yarn
Glue It
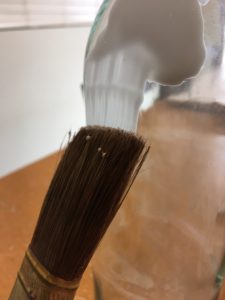
Start by painting glue all over the top of the bottle. Keep the bottom third of the bottle glue-free, so you can hold it without getting sticky when you start to wrap. Feel free to lay the glue on thick!
Wrap Your Bottle
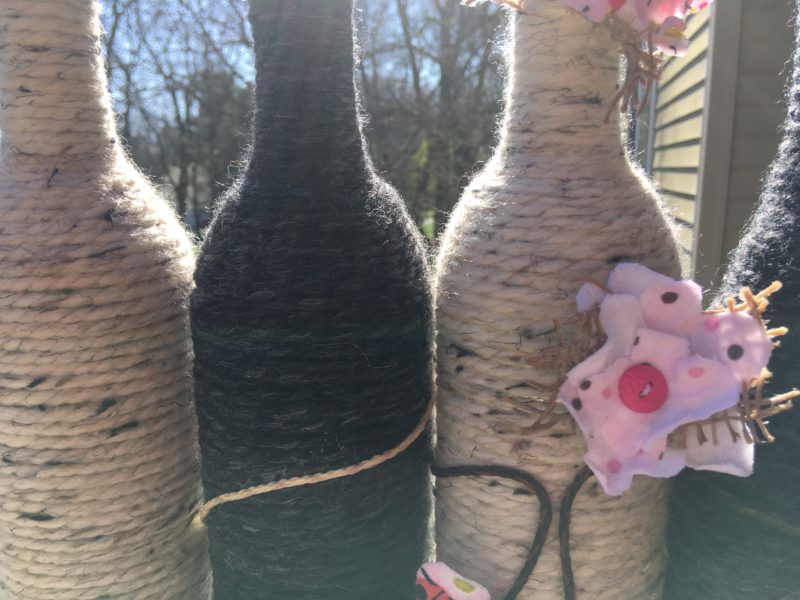
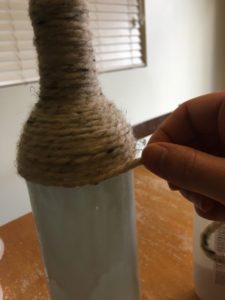
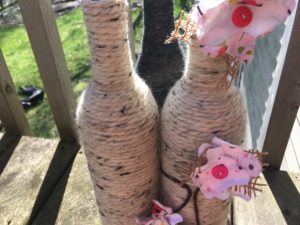
Begin wrapping at the top of the bottle. If you put the end of the yarn down a bit and wrap the first loop on top so it overlaps, that will secure your start. Continue to wrap the yarn around the bottle. I found spinning the bottle slowly while holding my fingers in place worked well.
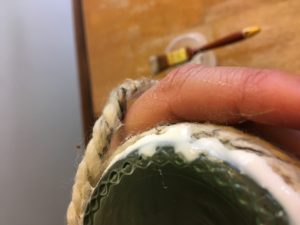
Once you get to the bottom of the bottle, add a nice thick layer of glue to keep it from unraveling – and then tip the bottle upside down to dry. Ta-da! You have a wrapped bottle! Now, how do you want to dress it up?
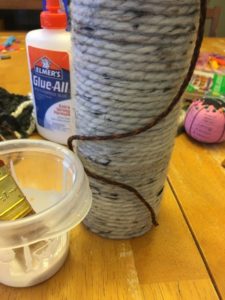
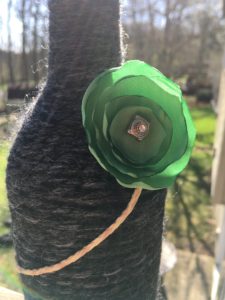
I used a braided strand of embroidery thread to create a “vine” for the flowers I wanted to put on my wrapped bottle art. To make the braid stick, I dipped it in glue, wiped off the excess, and stuck it onto the bottle. Because I used Elmer’s glue, I was confident the adhesive would dry clear (not trying to sound snobby here – I just haven’t had the same results with other glues.)
Dress Up Your Art
For a final touch, I added some of my funky fabric flowers to make this bottle an eye-catching work of art. If you’ve never made fabric flowers, they’re super-easy and fun! Check out my post from last week to get started. Happy wrapping!
Until next time,
Invent your story