
Working with Watercolors, Pen, Ink, and Kids
Adding pen and ink to your watercolor painting can really make your picture pop. I tried my first watercolor painting this year, and I immediately wanted to share what I learned with the kids. Although this art form is sophisticated (much more sophisticated than me!) it’s accessible to kids of all ages with supervision.
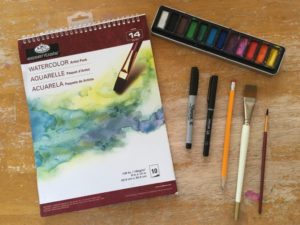
What you need:
- A big brush and a little brush
- A cup of water
- Watercolor paper
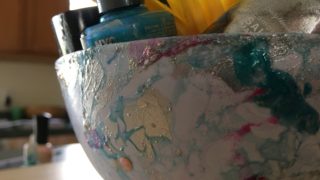
- Watercolor paints (we used a palette-style)
- An ultra-thin Sharpie marker
- A .05 micron (or comparable) pen for finer lines
- A pencil
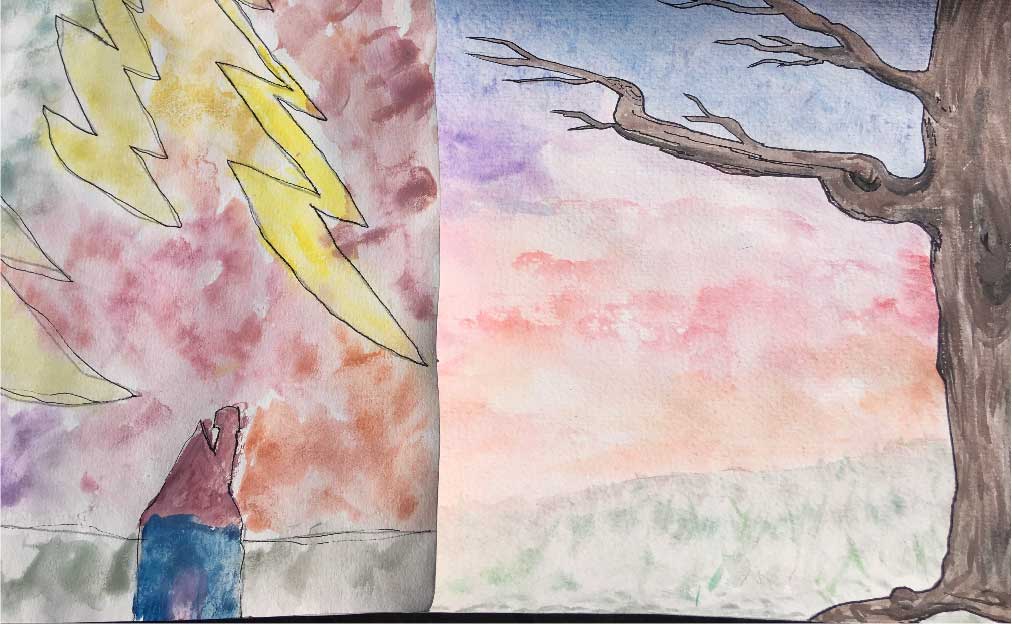
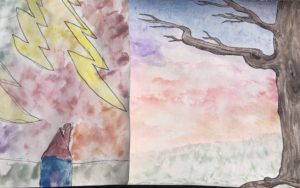
The first think you do is choose your design. You can freehand a picture with a pencil (like we did in the featured image) or you can trace a design onto your watercolor paper.
Next, wet your paper with the big brush and begin to add the colors you want on your background. Try to keep the background water and paint separate from the area of your design. This will prevent unwanted color blending.
After your background looks the way you want it to, it’s time to use your little to color the details of your design. This can be as precise as you like. Less water produces a brighter color, and more water makes the colors soft/light.
Finally, when your painting is dry, you can color over your original pencil lines with the Sharpie marker or ink pen. You may decide to add more detailed lines that your original drawing didn’t include. Art has a way of taking on a life of its own, so enjoy the process and have fun.
I loved doing this project with my kids, because it introduced them to mixed media art. It was also a relaxing activity at the end of the day. I hope the children in your life enjoy it too!
Until next time,
Invent your story