
In my previous post, I promised to keep you updated on my invention center. Here’s my update: progress was slow. Why? I thought a lot about how to move forward with the space I have. Maybe I’ve been overthinking it. So, without further ado, here’s…
Tip #1.
Don’t Overthink It
Underthinking things in life (Can I afford this? Should I jump?) can get you into trouble. But overthinking is its own beast. Analysis paralysis is a real thing, so if you keep coming back to a space you have to work with and thinking, “That’s probably the best place to start…” it probably is.
That said, here are four more things to consider before making that final decision:
Tip #2.
Consider the Nature of the Work
If it’s electronics, you’re going to want a table and a nearby outlet. If it’s painting, an easel may be your best option. You also will want to consider the kind of floor you’re on. I want to do a little bit of everything and not destroy anything, so I went for a corner of our basement where the floor is painted concrete and an outlet is nearby.
Tip #3.
Remember Ventilation and Safety
Everything we do involves a level of risk, so it’s smart to assess yours and take precautions. If you’re going to be working with chemicals (paint thinners, glues, stains, etc.) that give off fumes, be sure your workspace has a window you can open when needed. Having a nearby water supply is helpful. Take the time to map out an emergency plan, so you are well prepared.
Tip #4.
Lighting Effects Work
When I was a kid doing homework at the kitchen table, my mom would walk by and flip on the overhead light for me. “It’s better for your eyes,” she’d say. Mom was right. Does your space have natural or overhead lighting? Would a small lamp be beneficial for you, and if so, where will that fit into things? It’s worth considering as you move forward with your new venture.
Tip #5.
Give Yourself Room to Grow
Starting small is starting smart, but don’t limit yourself or your imagination. Right now, my invention center is a table in the corner of the basement. Maybe one day it will be a super-techy-inspiring-for-inventors-everywhere place, but today, it’s a simple table with room to grow. And that, my friends, is not a bad beginning.
Until next time,
Invent your story
Welcome Inventors! If Thomas Edison had a blog, do you think he would write about his failed light bulb attempts? I do. Today’s post is not pretty, but I’m sharing it because sometimes the best lessons come from the belly flops and face plants.

I recently went to a play gym where there were bean bag launchers. Talk about fun! I wanted to buy one, but the supervisor said I could make one if I’m handy with a jig saw. Turns out “handy” is a relative term.
The launcher works – don’t get me wrong. So, if you want to give this a try, pull out a jig saw, an electric drill, some pallet wood (or whatever kind of wood you have handy) and sharpie. Measuring tape also helps, a mason jar lid, and a handful of screws. Be safe!
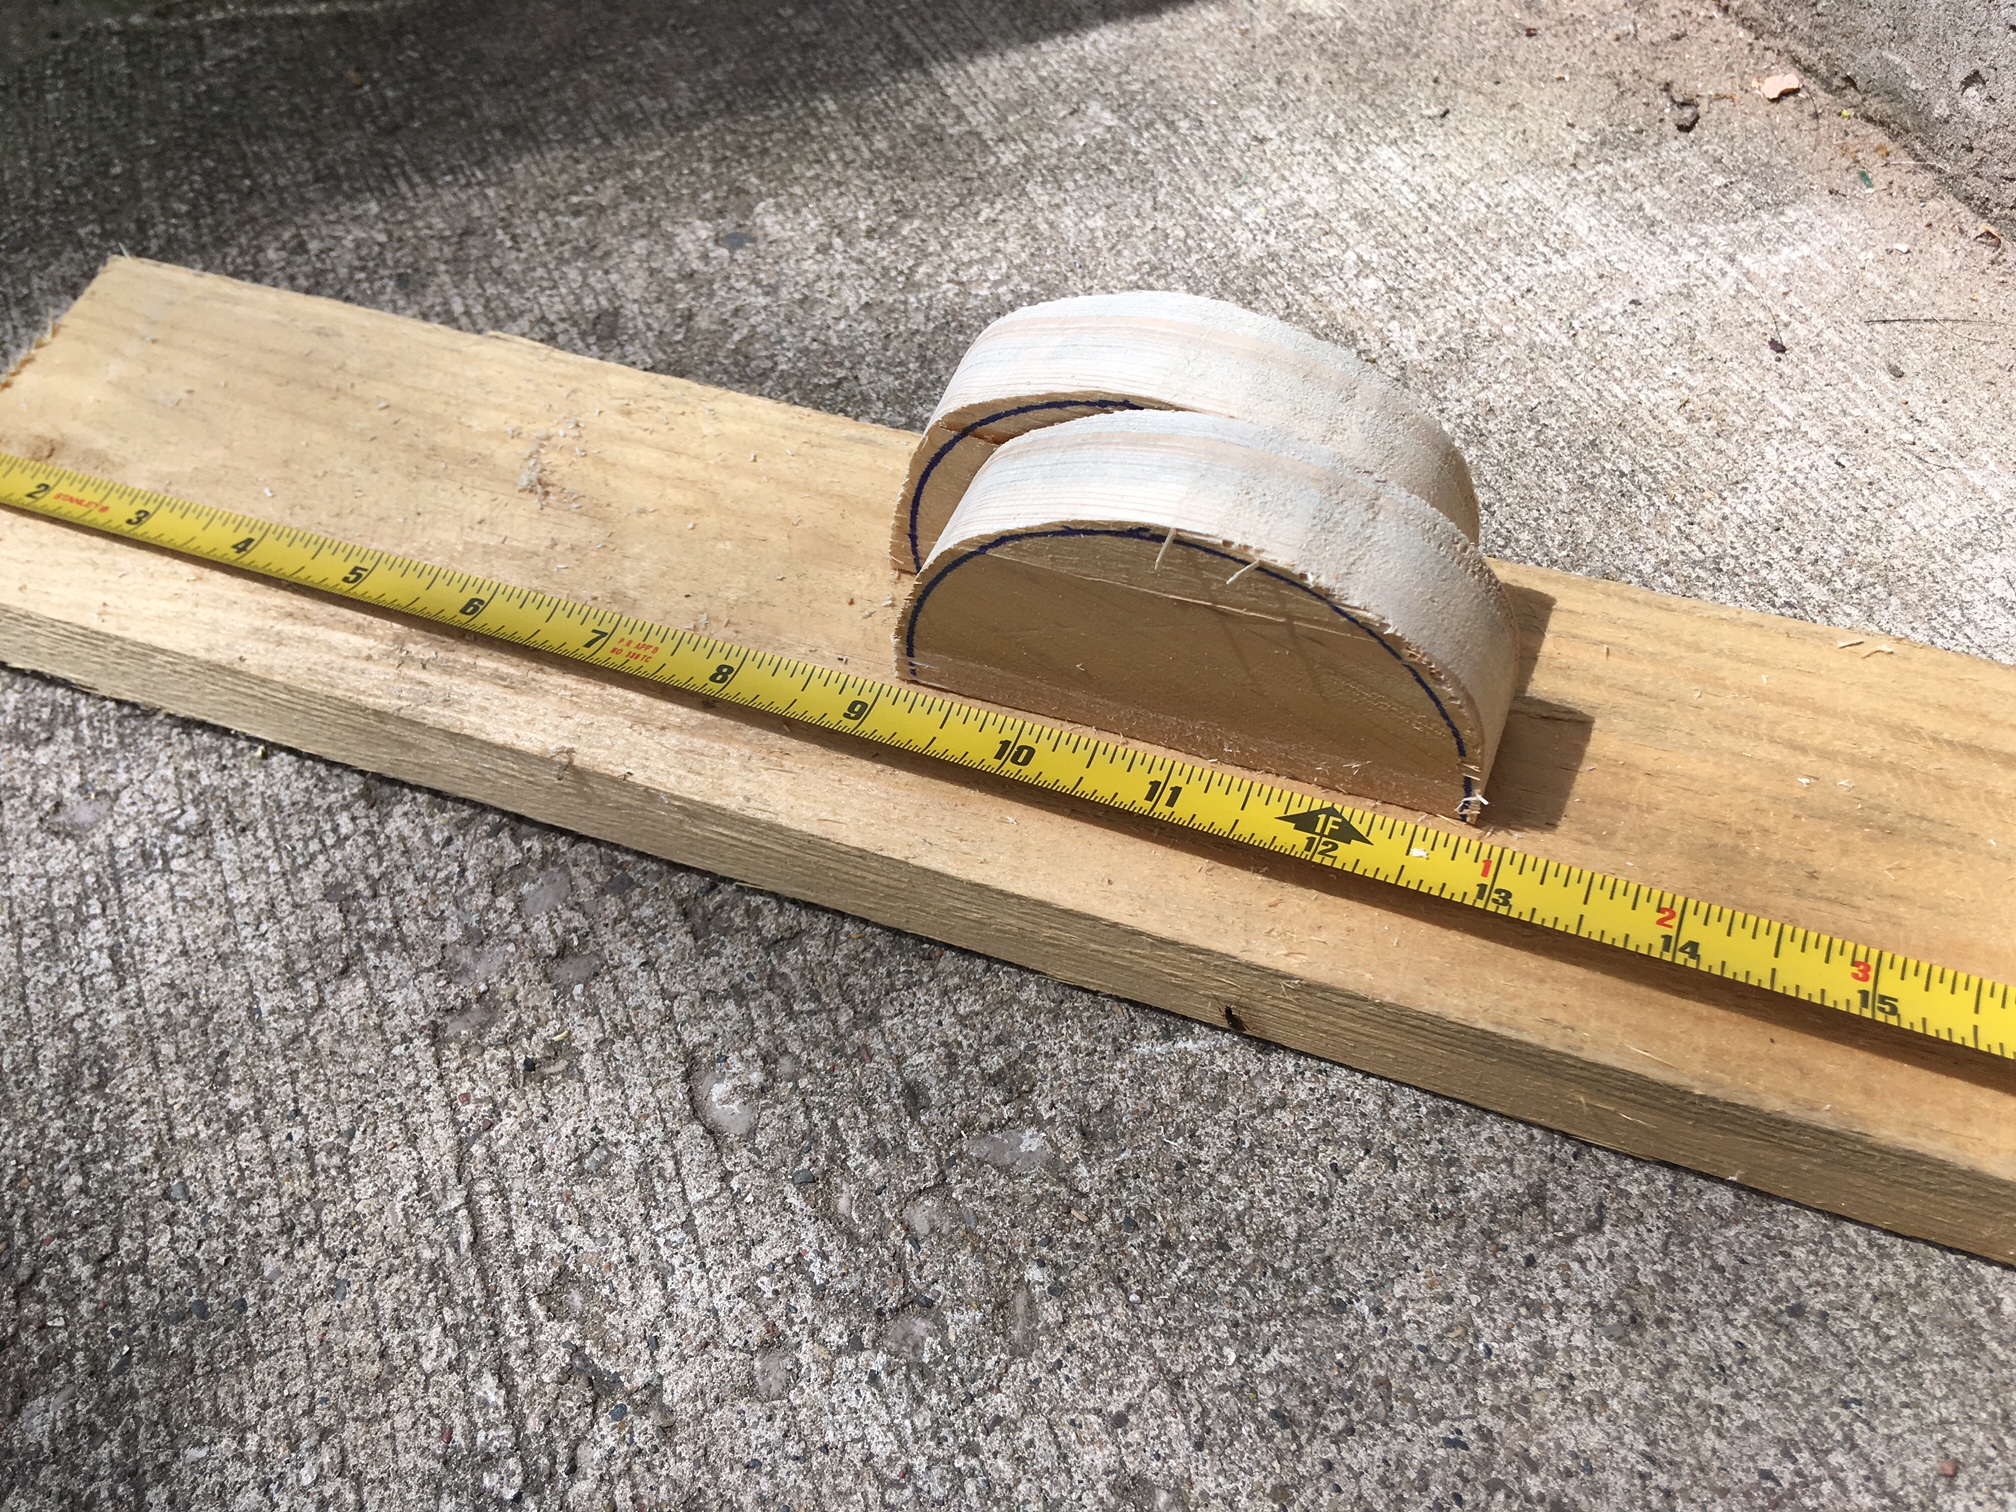
Cut a board of wood about 2 feet long and 4 inches wide (above). I just cut a board off of the pallet, but you do what works for you.

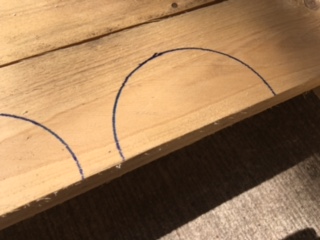
Take your mason jar lid, and mark it at the half-way spot on both sides. I made a line all the way down the side so there was blue on the front and the back.
Use your lid to make two semicircles on another piece of wood. Trace the outside, and cut along the lines you made with your jig saw.
Measure and mark your long board so that your two semicircle pieces are exactly in the middle. Space them a about an inch from the outside edge respectively. This gets a little bit tricky. I guessed with this part and it worked out fine.
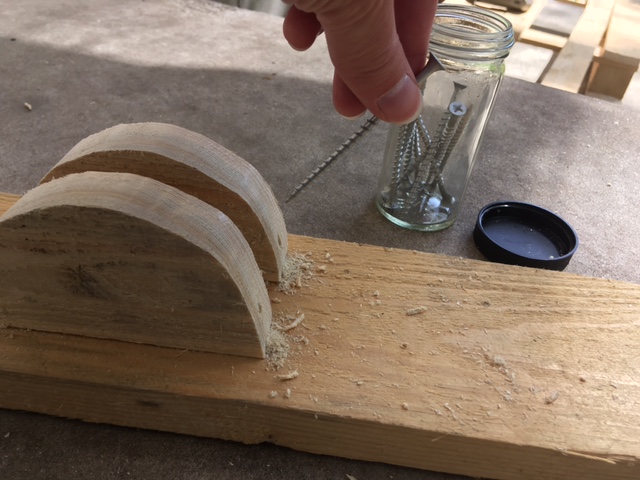
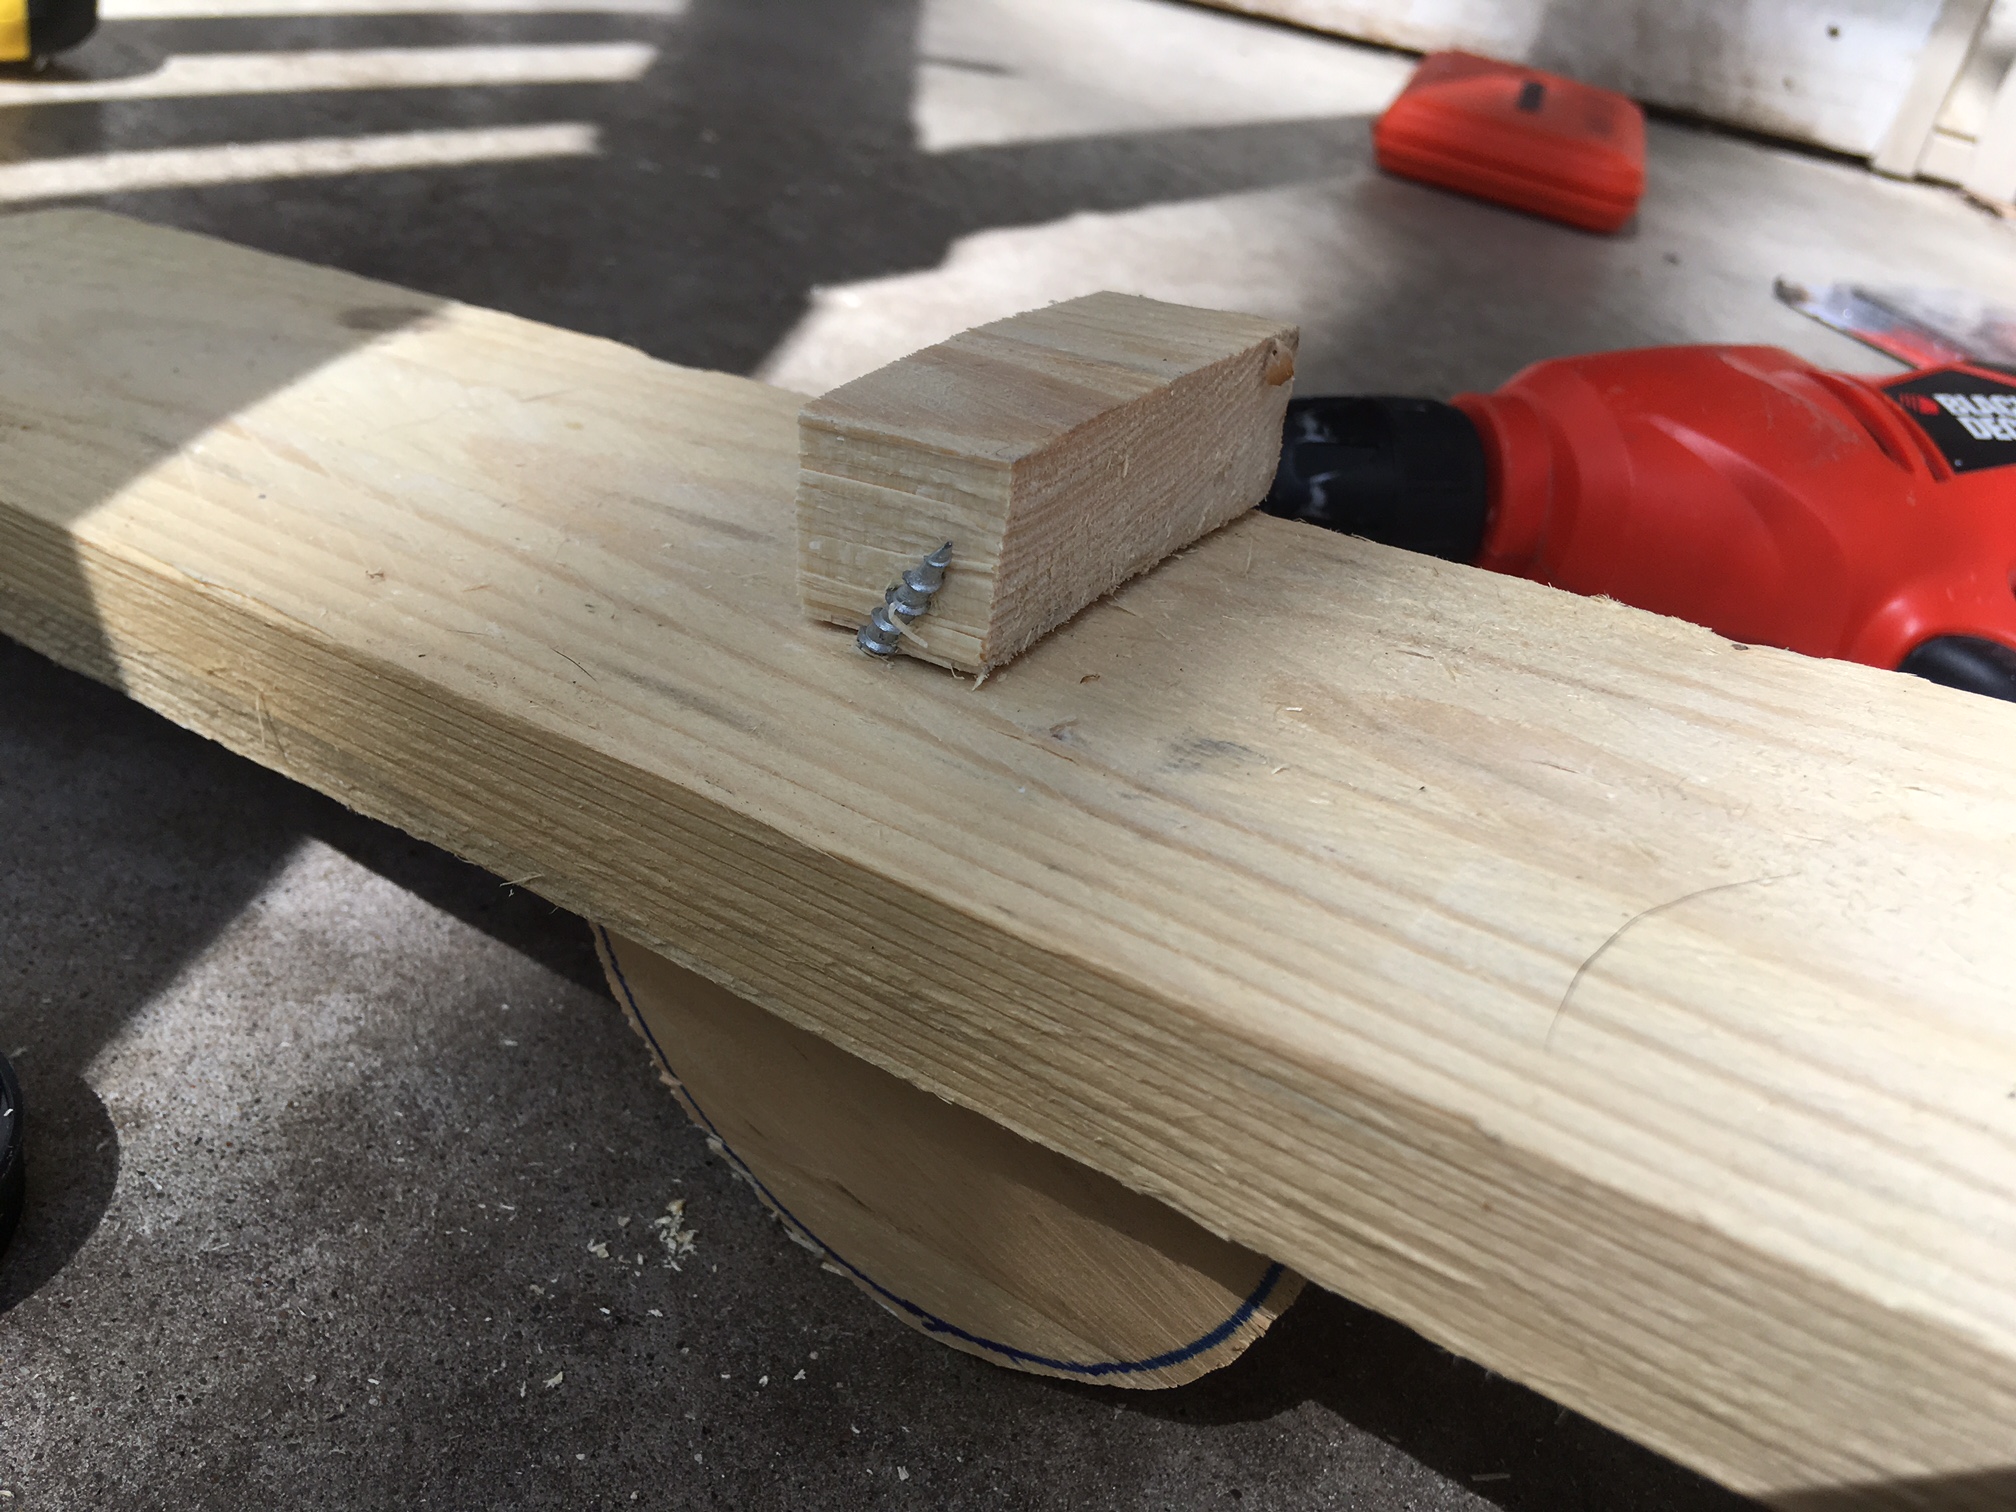
Choose screws that are the appropriate size to attach the semicircles to the board. That was my fail. I knew the longer screws were risky, but I thought if I put them in at the right angle I’d be in the clear.
Two screw tips popped out the top of my launcher. Ouch. So, I cut a little piece of wood and put it on the top to make it more safe. Then one of the screws split the extra piece of wood.
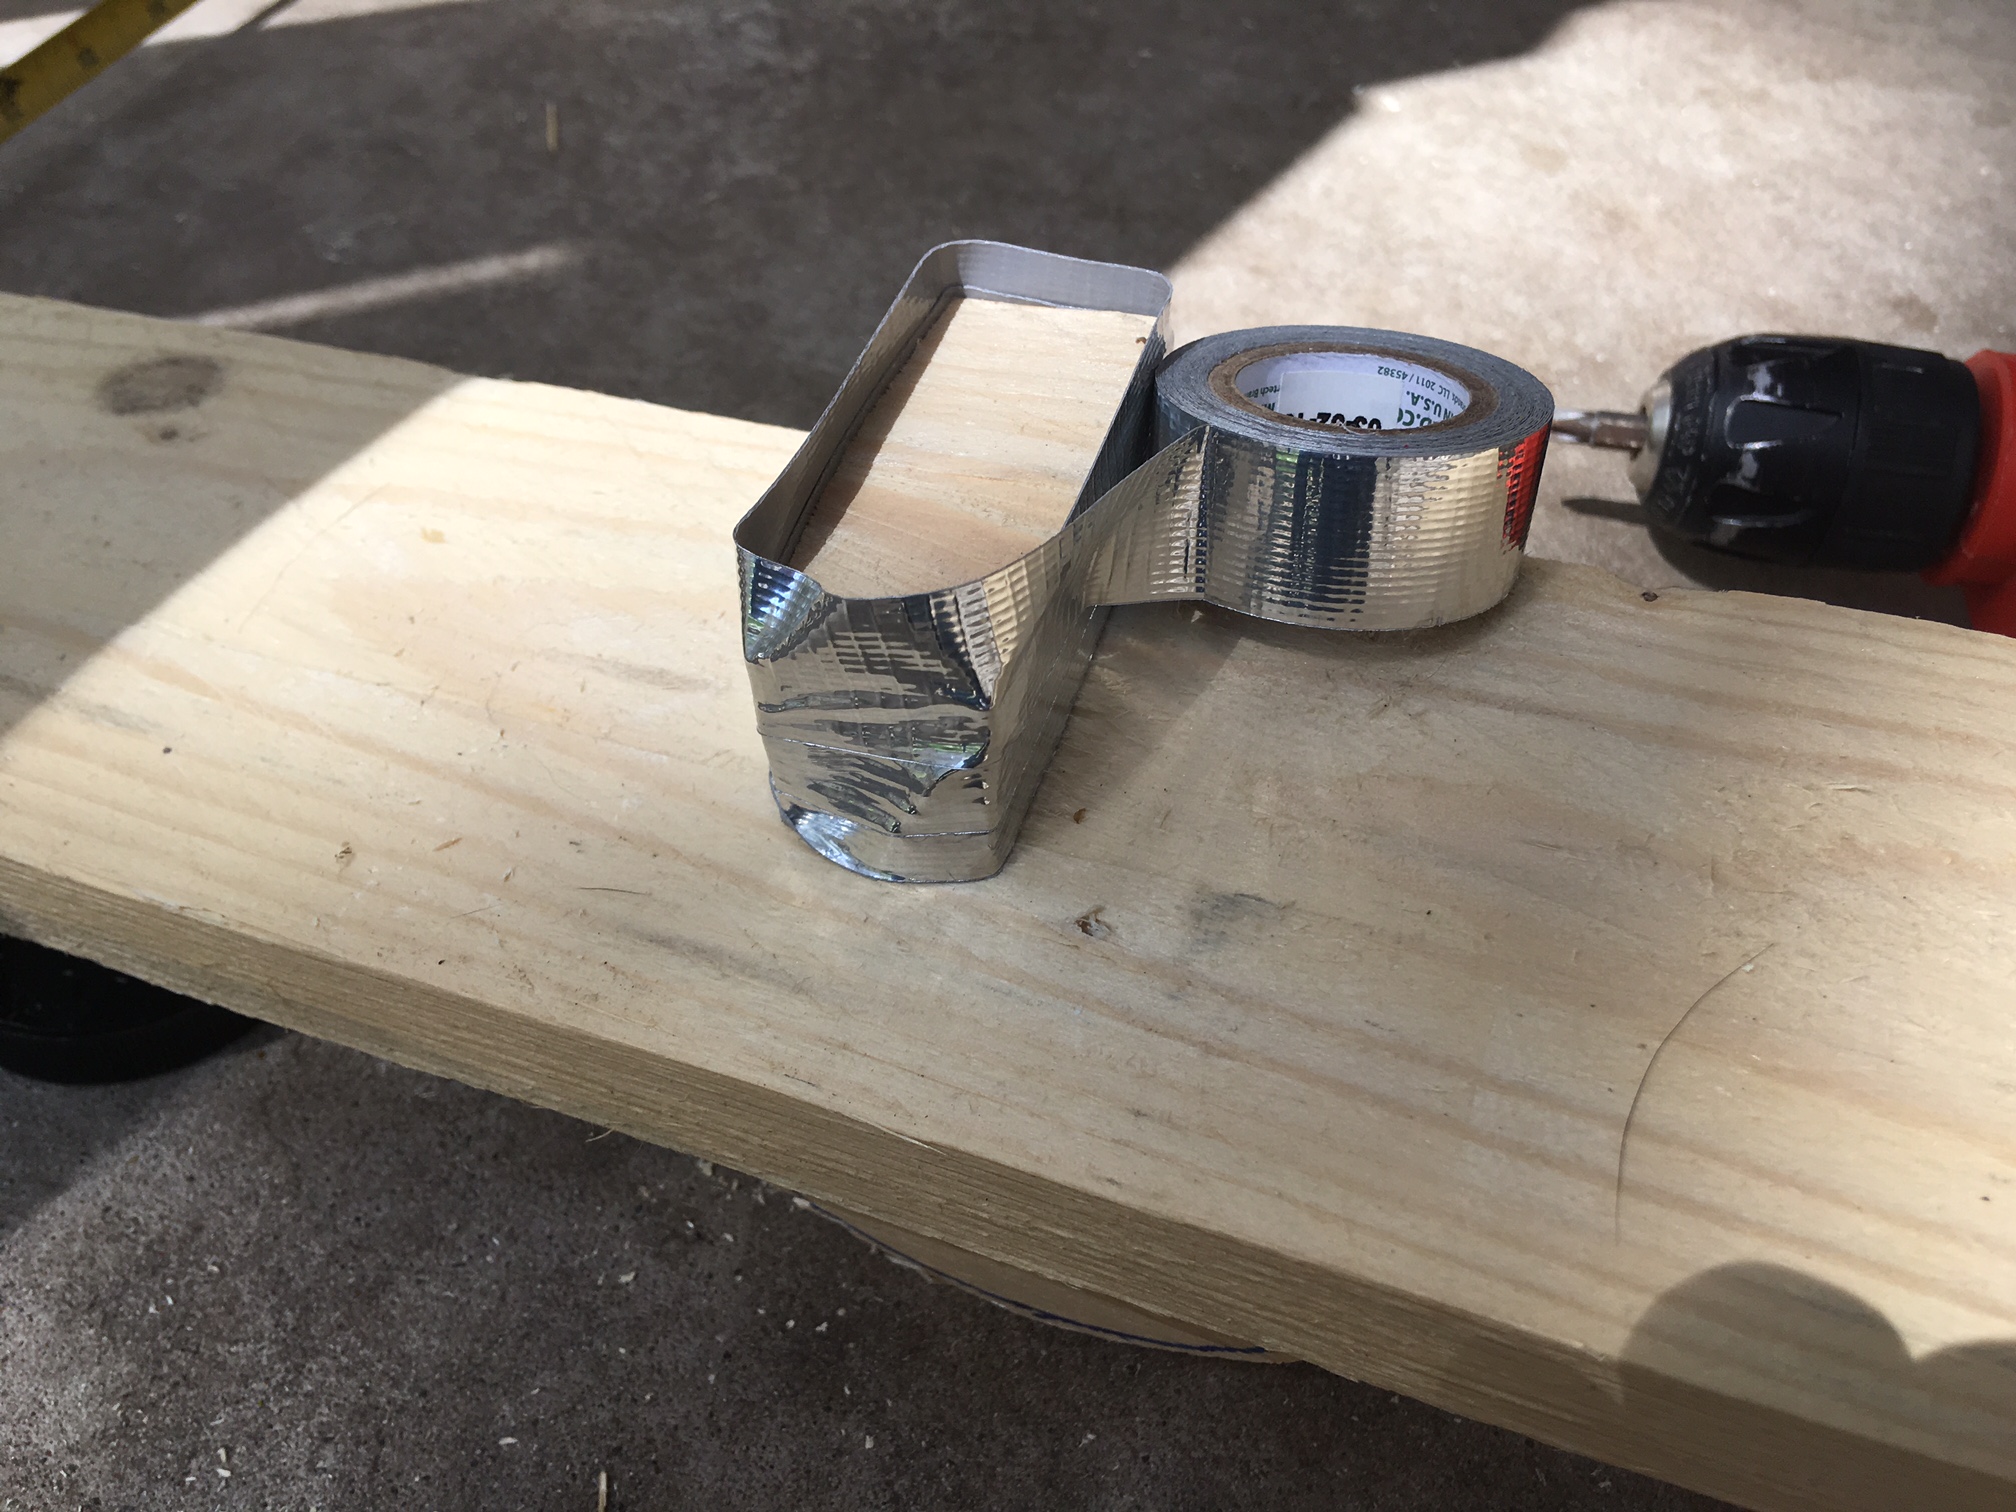
What do we know is always true? When all else fails: duct tape!
The good news: this puppy works! My turkey bean bag can fly! Mishap modifications are all part of the fun of inventing. Not everything is going to go the way you plan the first time. Or maybe ever. Don’t let the belly flops keep you from learning how to dive.
[wpvideo 6PJsGgAP]
Thank you for sharing your time and any comments! Until next time, enjoy this imperfect, beautiful life and invent YOUR story!