
Games are a great way to build skills while having fun. So this St. Patrick’s day, grab a few tools that will get those kids thinking. This project has some unusual pieces, but is easily modified, so if you don’t have it at home, try something comparable.
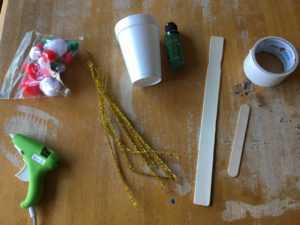
Here’s the basics of what you need:
A cup (for the goal)
Some lightweight balls (to shoot at the goal)
A jumbo popsicle stick (for shooting)
A spring (for resistance)
A paint stick (for the base)
Duct tape (for the hinge)
Decorative stuff – paint, sequins, pipe cleaners, etc. (for fun)
Hot glue
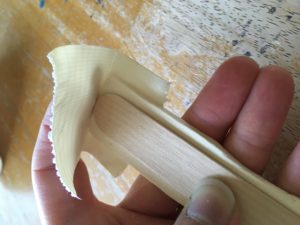
Start by lining the end of the paint stick up with the end of the jumbo popsicle stick. Add a piece of duct tape over the top edge of the sticks so they can open and close freely. This is your hinge.
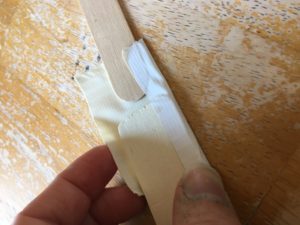
Wrap the excess duct tape around the sides of the hinge. Secure it with a second piece of duct tape on the un-taped side, and wrap in the same fashion as the first piece. You now have a hinge!
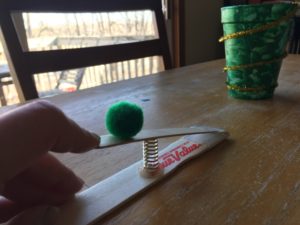
If you press the two sticks together, you will feel a level of resistance, but it’s not enough act as a shooter. Put the spring in between the two sticks, and you will begin to get a feel for where it fits best on the base.

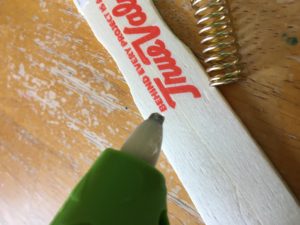
Once you’ve found the sweet spot where it will launch you ball, use hot glue to secure the spring to the base. Do not glue the spring to the popsicle stick! You will need the full motion of the top stick to launch the ball into the air.
When the glue is cool, it’s time to decorate. Your game is ready! There are many ways to play, but for St. Patrick’s Day, why not pretend that you’re a leprechaun and you’re saving up treasure in your pot of gold. The person who gets the most of their color in the cup wins the pot!
Happy St. Patrick’s Day!
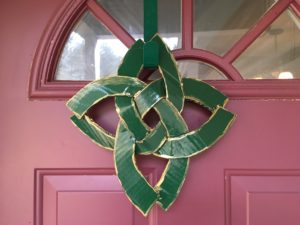
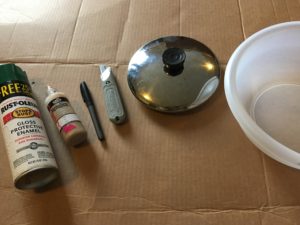 This art is easy and super cheap to make. I love the how the 3D effect of weaving the cardboard pieces together really makes it pop. Although the design looked complicated, all you need are four cardboard U’s, glue, a utility knife, and paint.
 When creating a template for your cardboard U’s, keep in mind that the wider the U-shape is, the easier it will be to weave. Using a popcorn bowl for a guide works well.
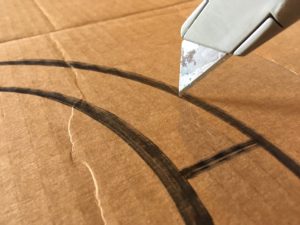
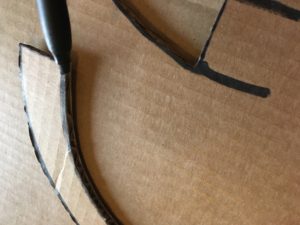 Trace and cut out one piece using the circle guides (I used the popcorn bowl for the outer circle and pan lid for the inner circle) and then make 3 more “U” shapes from the first piece. Once they are all cut out, it’s time to weave them together. This can be a little bit tricky, but you can do it.
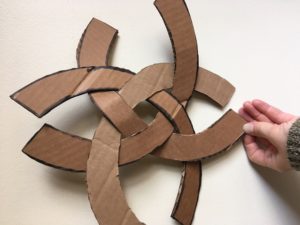 If you look at the design, you will see how they are woven together. Start with opposite sides. One “U” will go over the top of the other “U” and under the bottom of the other “U”. Then the third “U” weaves over one side “U” and under the other side “U”. The fourth “U” weaves over-under-over-under the other three, to complete the design.
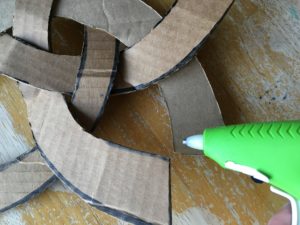 Once your pieces are woven together, you can pull the ends out to secure the design. You will want to glue the ends to connect them. Hot glue works very well for this kind of project, and again, you’ll want to start with opposite ends. Be sure one side is cool before gluing the opposite sides.
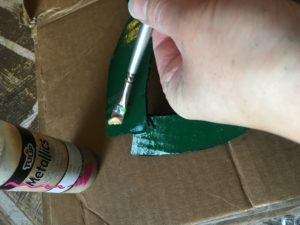
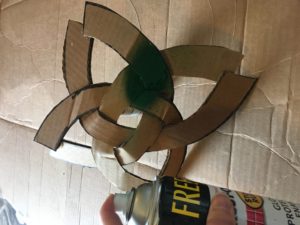 Once your design is intact, you can paint it! You can use green spray paint to give it a nice, even coat for a base. For the finishing touch, add a little gold metallic paint around the edges to accentuate the overall look. Whalah! Ready to dance a little jig? Me too!
 Art is about doing what you like, experimenting, and having fun. Feel free to use this idea, but if you get a better one along the way, take the risk and invent it!
 Happy St. Patrick’s Day, Inventor!