
Welcome Inventors! I wanted to make a good, old-fashioned flower press. When I was in third grade, I went to a camp where we pressed leaves, flowers, and grasses to create leaf collections, art, and cards. I loved it! So, this summer, flower presses were on my bucket list of things to introduce to my kids.
I needed:
1 – 2×4 ft. piece of ½ inch plywood
2 – ¼ in. carriage bolts (4 per press) about 2 inches long,
3 – ¼ in. wingnuts and washers (4 per press)
That was it! I was able to make four 12×12 inch presses – one for each of us! The kids helped, and here’s how:
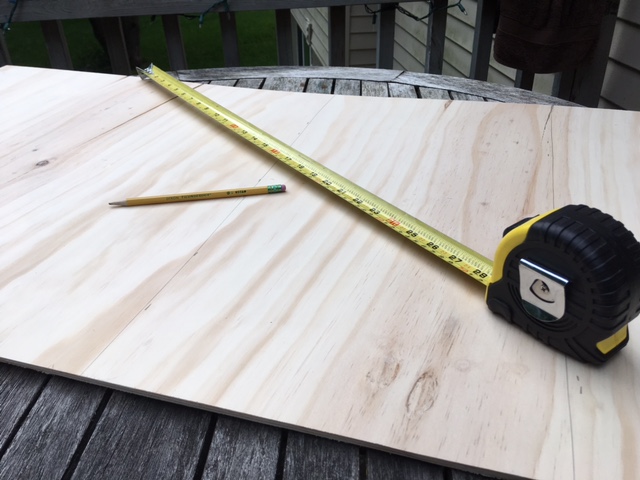
First, I cut the plywood cross-wise into four equal parts. I used a scroll saw because I am a big chicken with circular saws. Once I had my four pieces, I cut them in half again.
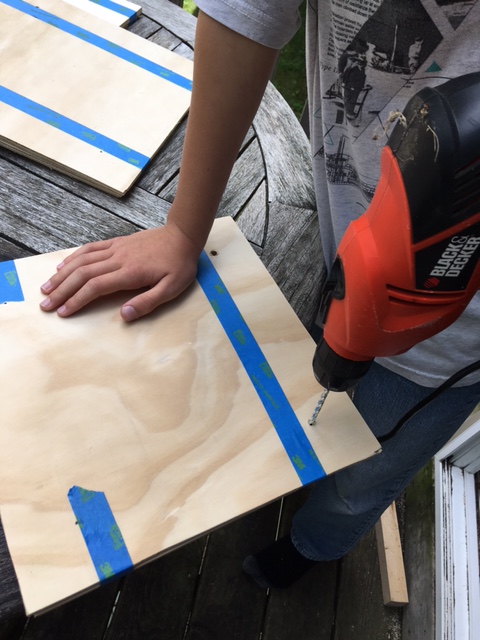
After we had all eight pieces, I let two of the kids sand the edges of their boards with sandpaper. I worked one-on-one with my third kid (in rotation) using a drill with a ¼ inch bit. We painter-taped the boards together and drilled through both at the same time. That ensured our would holes line up even if the measuring and cutting wasn’t perfect. We drilled 4 holes in each board, about 2×2 inches from the corners.
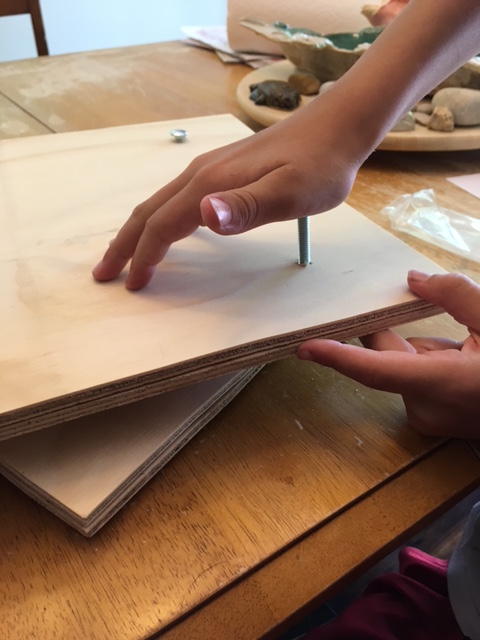
Once each board had the holes, we pressed four carriage bolts through one board. It took some wiggling, but it worked. Carriage bolts have a square under the head of the screw that will press into the wood and keep it from shifting/falling out easily, but regular bolts will also work great.
The presses were ready for flowers and leaves. We put newspaper down first and then put the flowers in between paper towel sheets. This was cheaper than using all paper towel, and it prevented newspaper ink from staining our stuff.
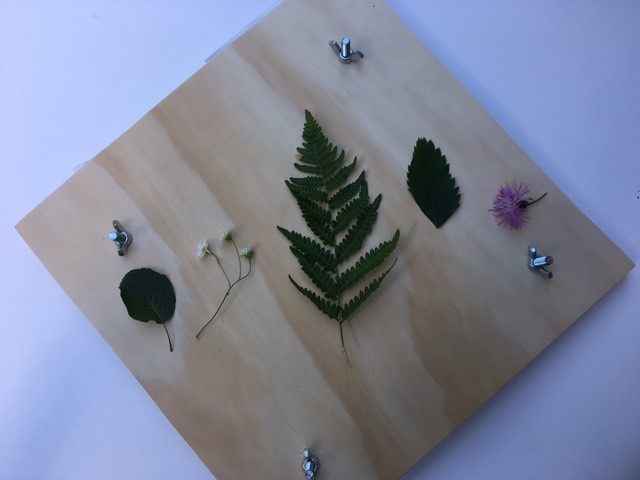
When our press was loaded, we put the top board on the other side, and secured each bolt with a washer and a wingnut. We turned the wingnuts until there was a lot of resistance and the board was slightly warped. Drying time from plant to plant can vary, but a good rule of thumb is at least 2 weeks.
My kids and I had fun with these. They’re portable, easy-to-use, and when we make memories in the great outdoors, now we have a special way to keep a piece of them forever. Thank you for visiting, and I hope this encouraged you to invent timeless memories in your story today.
Welcome Inventors. What catches your eye? I love life’s unusual suspects. Metal art has texture and depth that appeals to me, so I set out to make the cheapest metal art ever.
I used four different kinds of La Croix carbonated water cans. The drink was tasty and the colors were cool – everybody wins! To make the simple paint stick backdrop, see my last post.

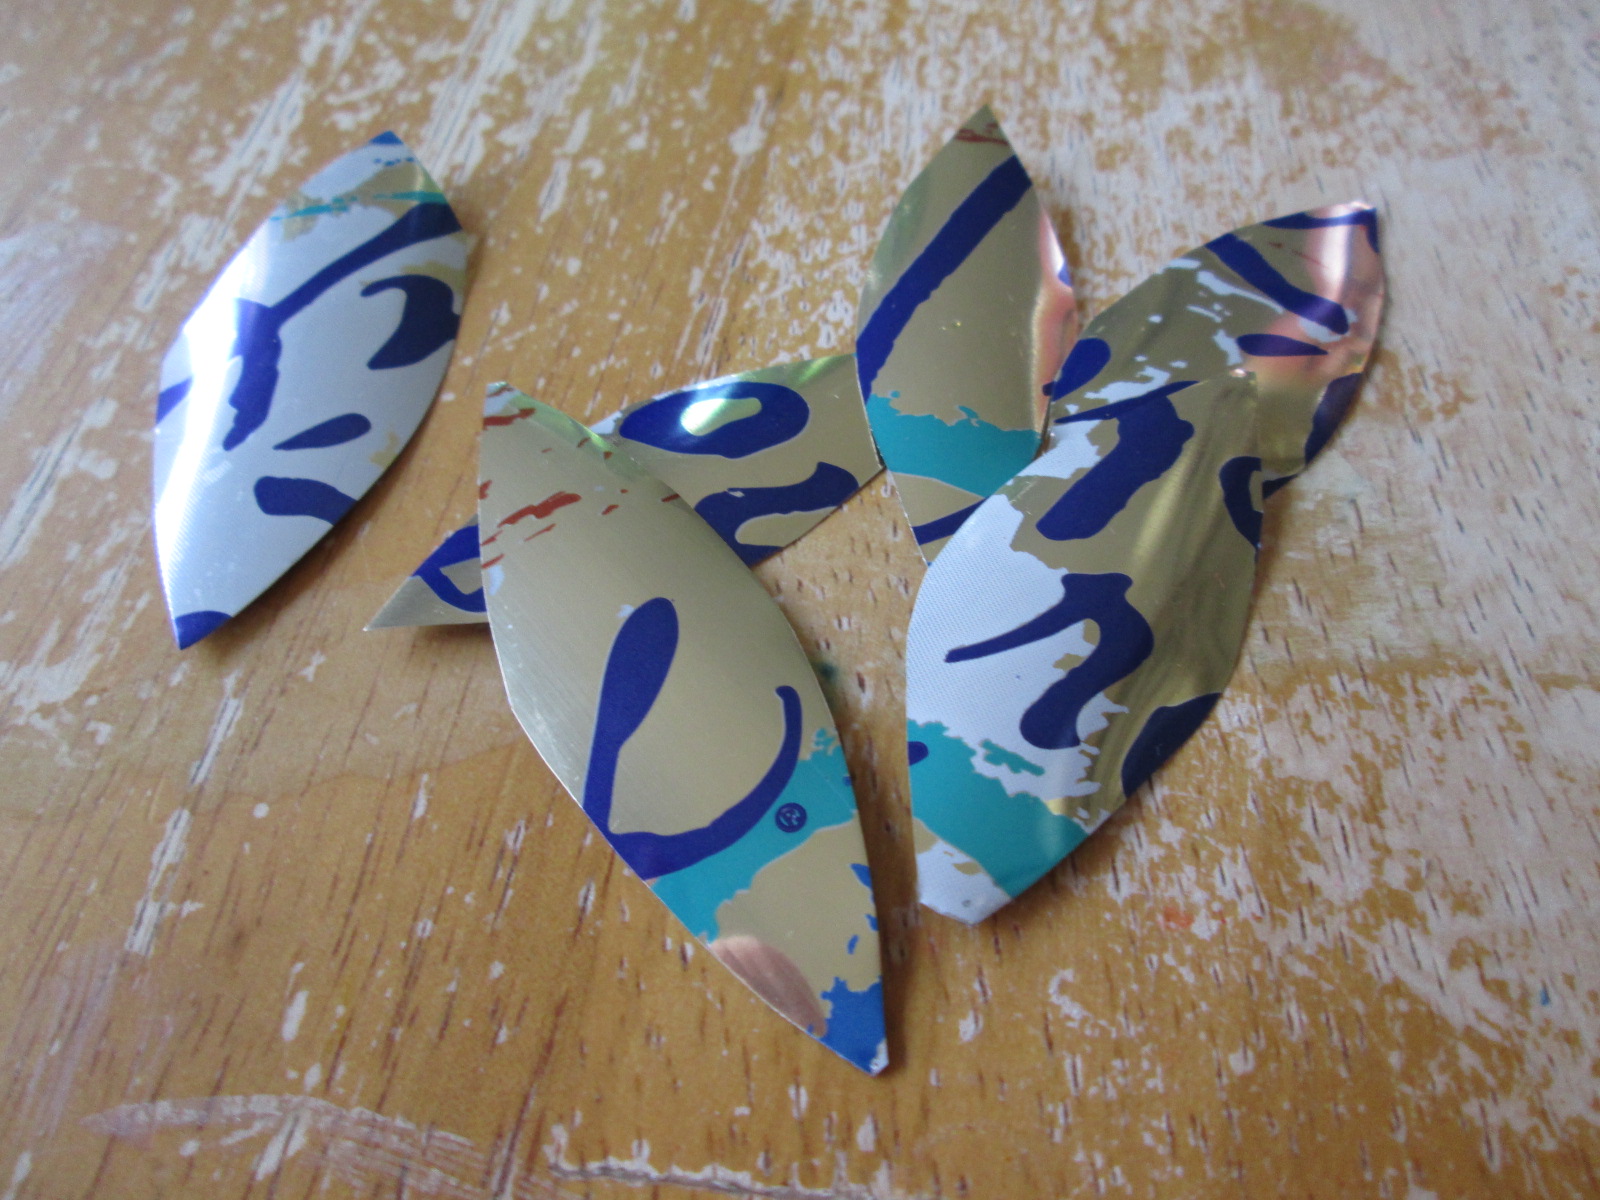
Step 1: Cut the Cans. Take a pair of sharp scissors and puncture the can, then cut the metal into your desired shapes. I like flowers and wanted a spring theme, so I made long, thin strips for green stems, and I cut fatter pieces in white and pink for petals.
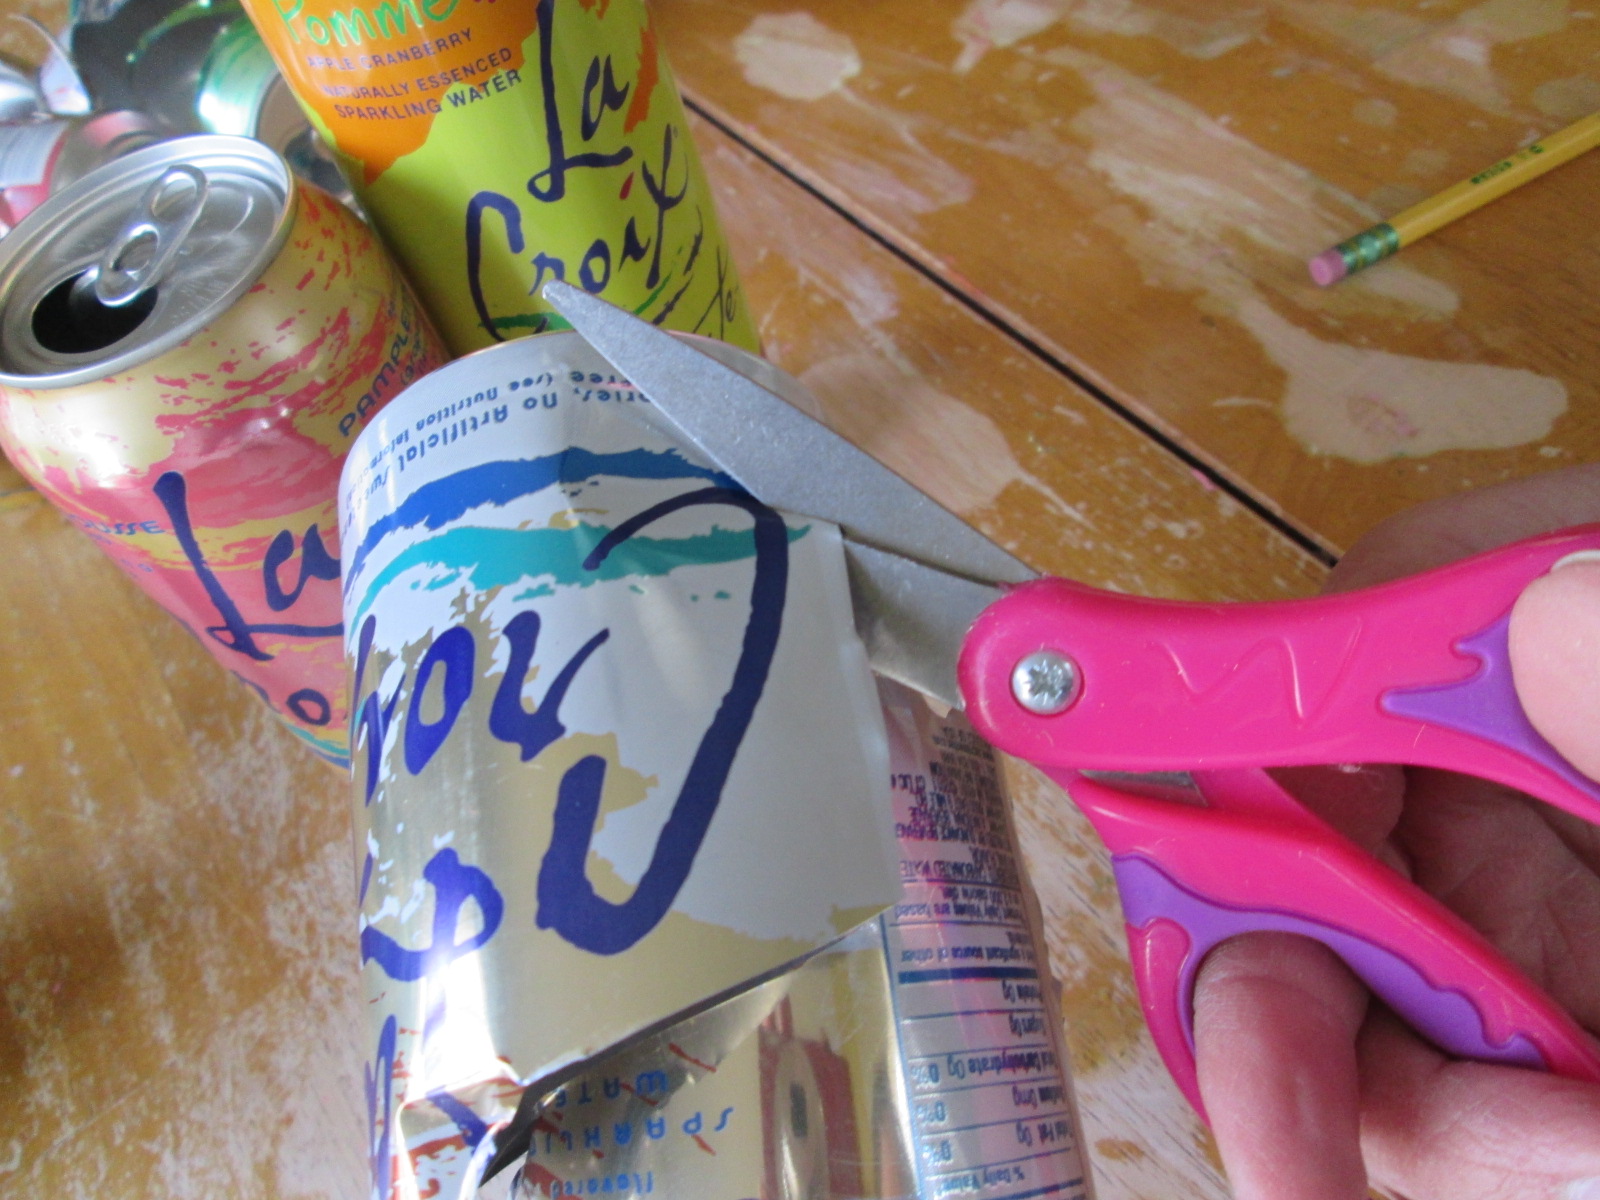
I did not cut myself while handling the metal, but I would not recommend this project for kids. If you want to do a similar project with kids, you can use these same techniques with paper and get amazing results.
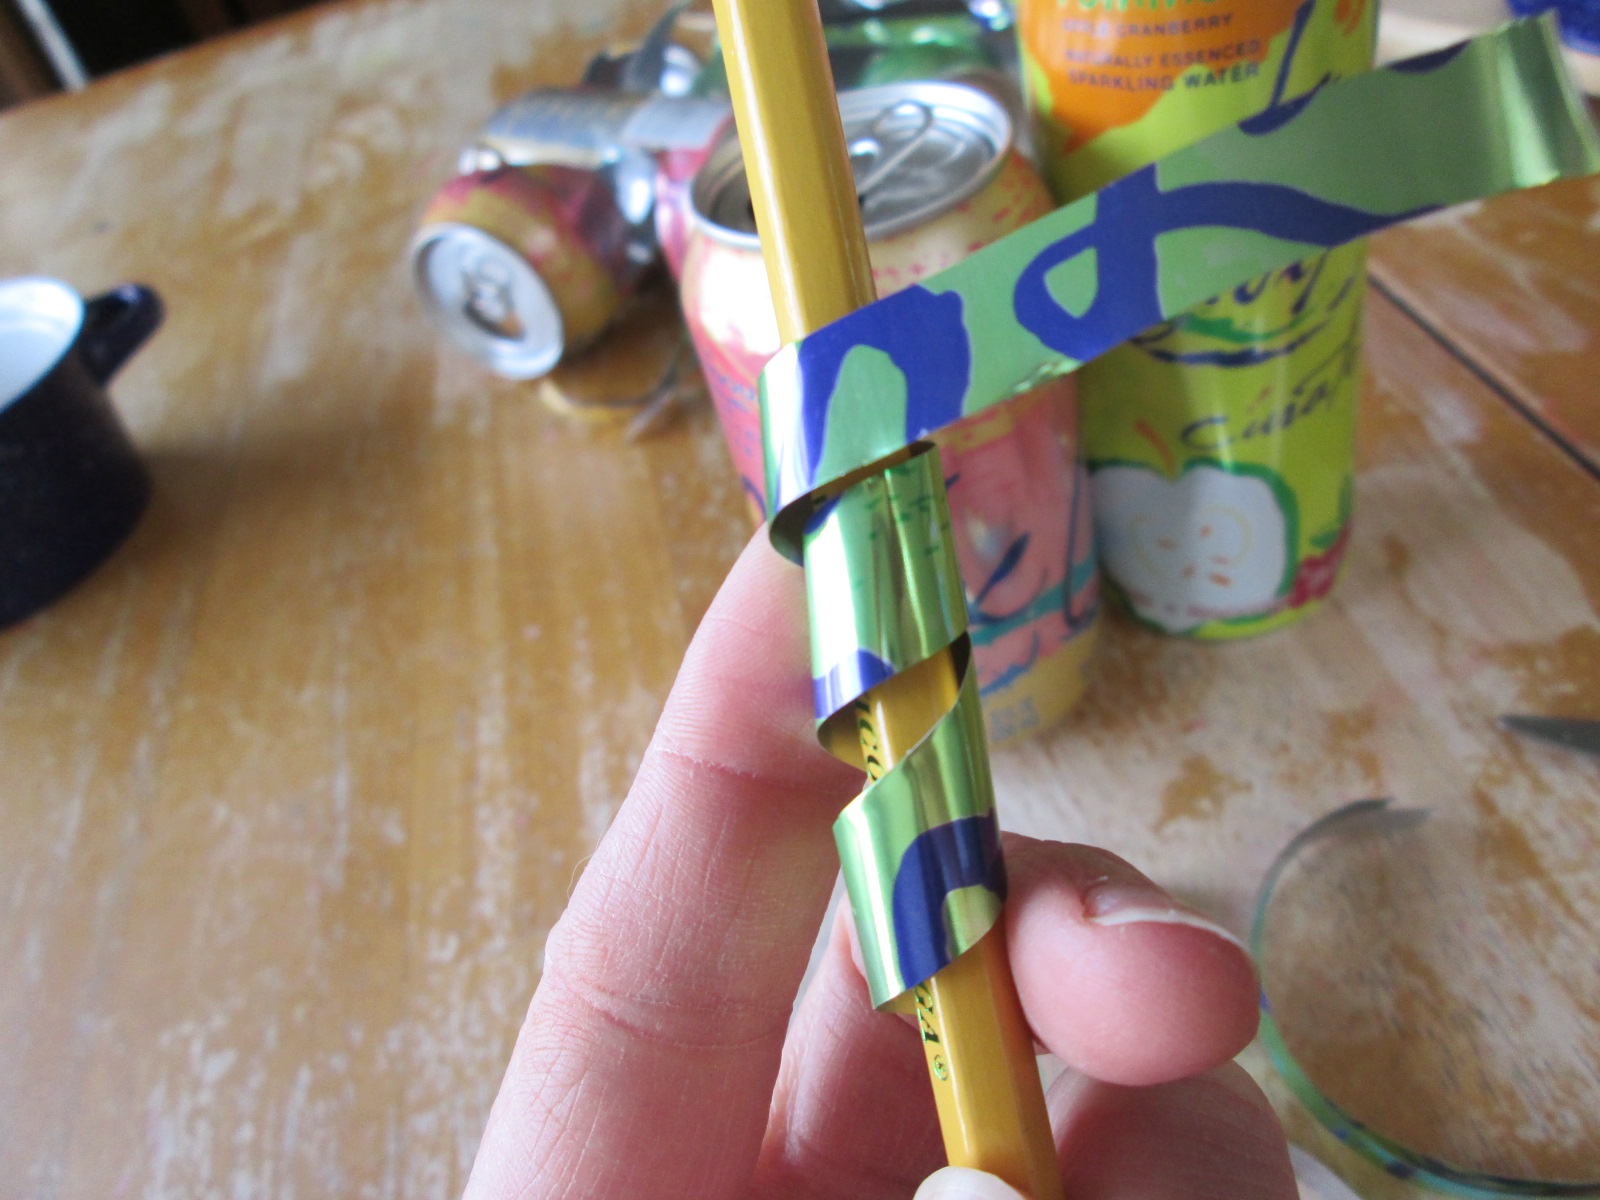
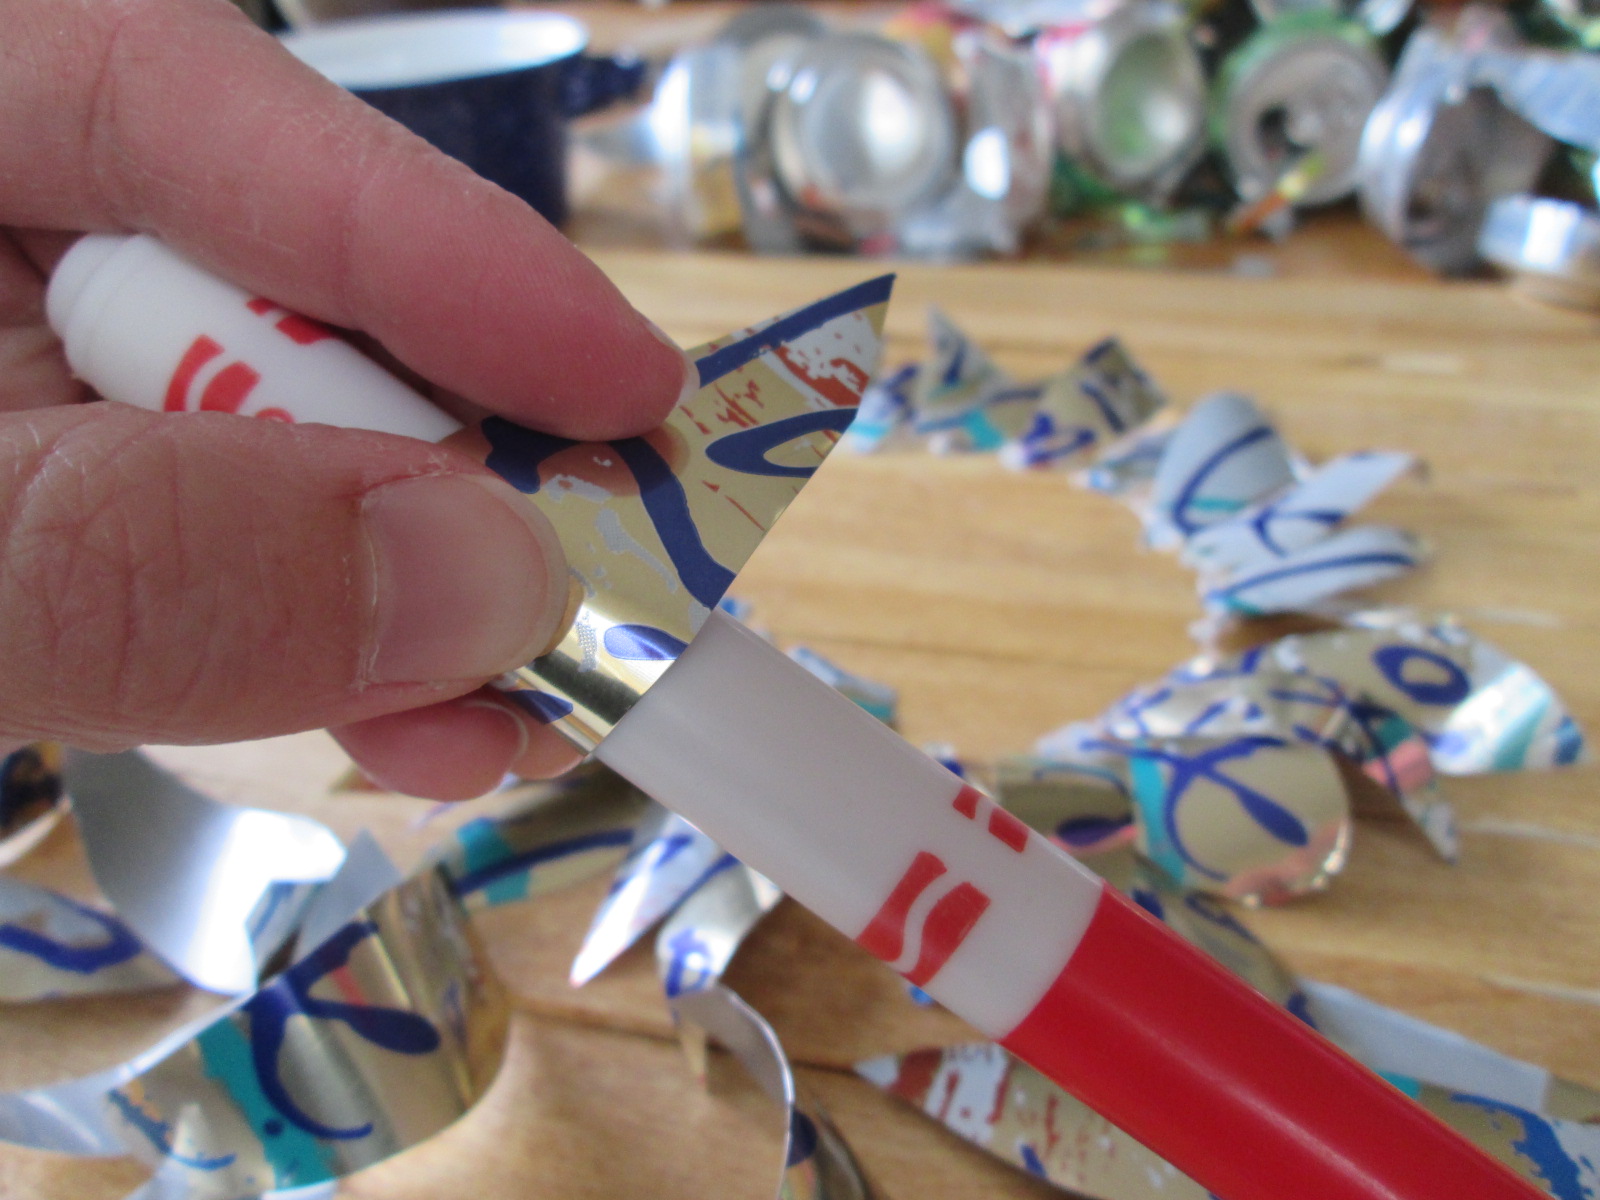
Step 2: Shape the Pieces. To make your can art really pop, (it had to be punned) use a variety of markers, pencils, and whatever is handy to shape the cut metal pieces. I wrapped my green strips around a pencil to make curly stems.
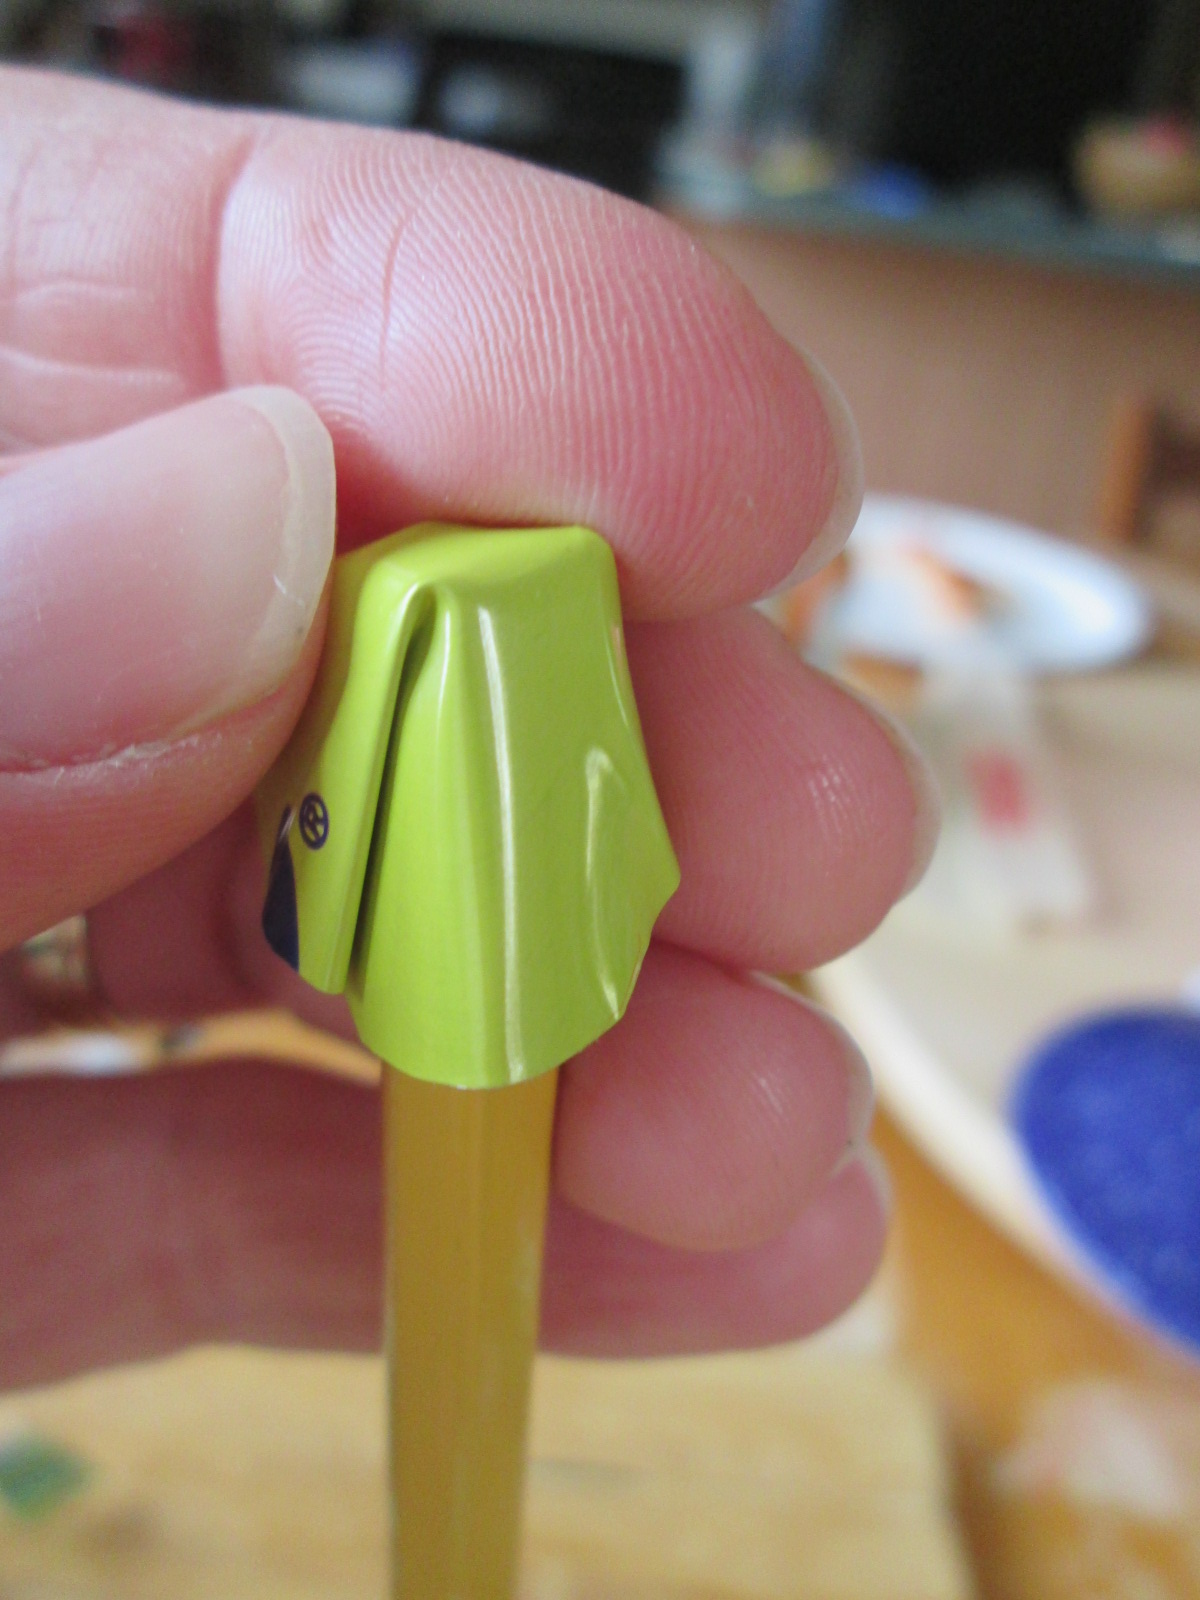
I cut circles of yellow and wrapped them over the flat top of a pencil to create the centers for pink flowers.
For the bigger petals, I used a marker to make a softer look.
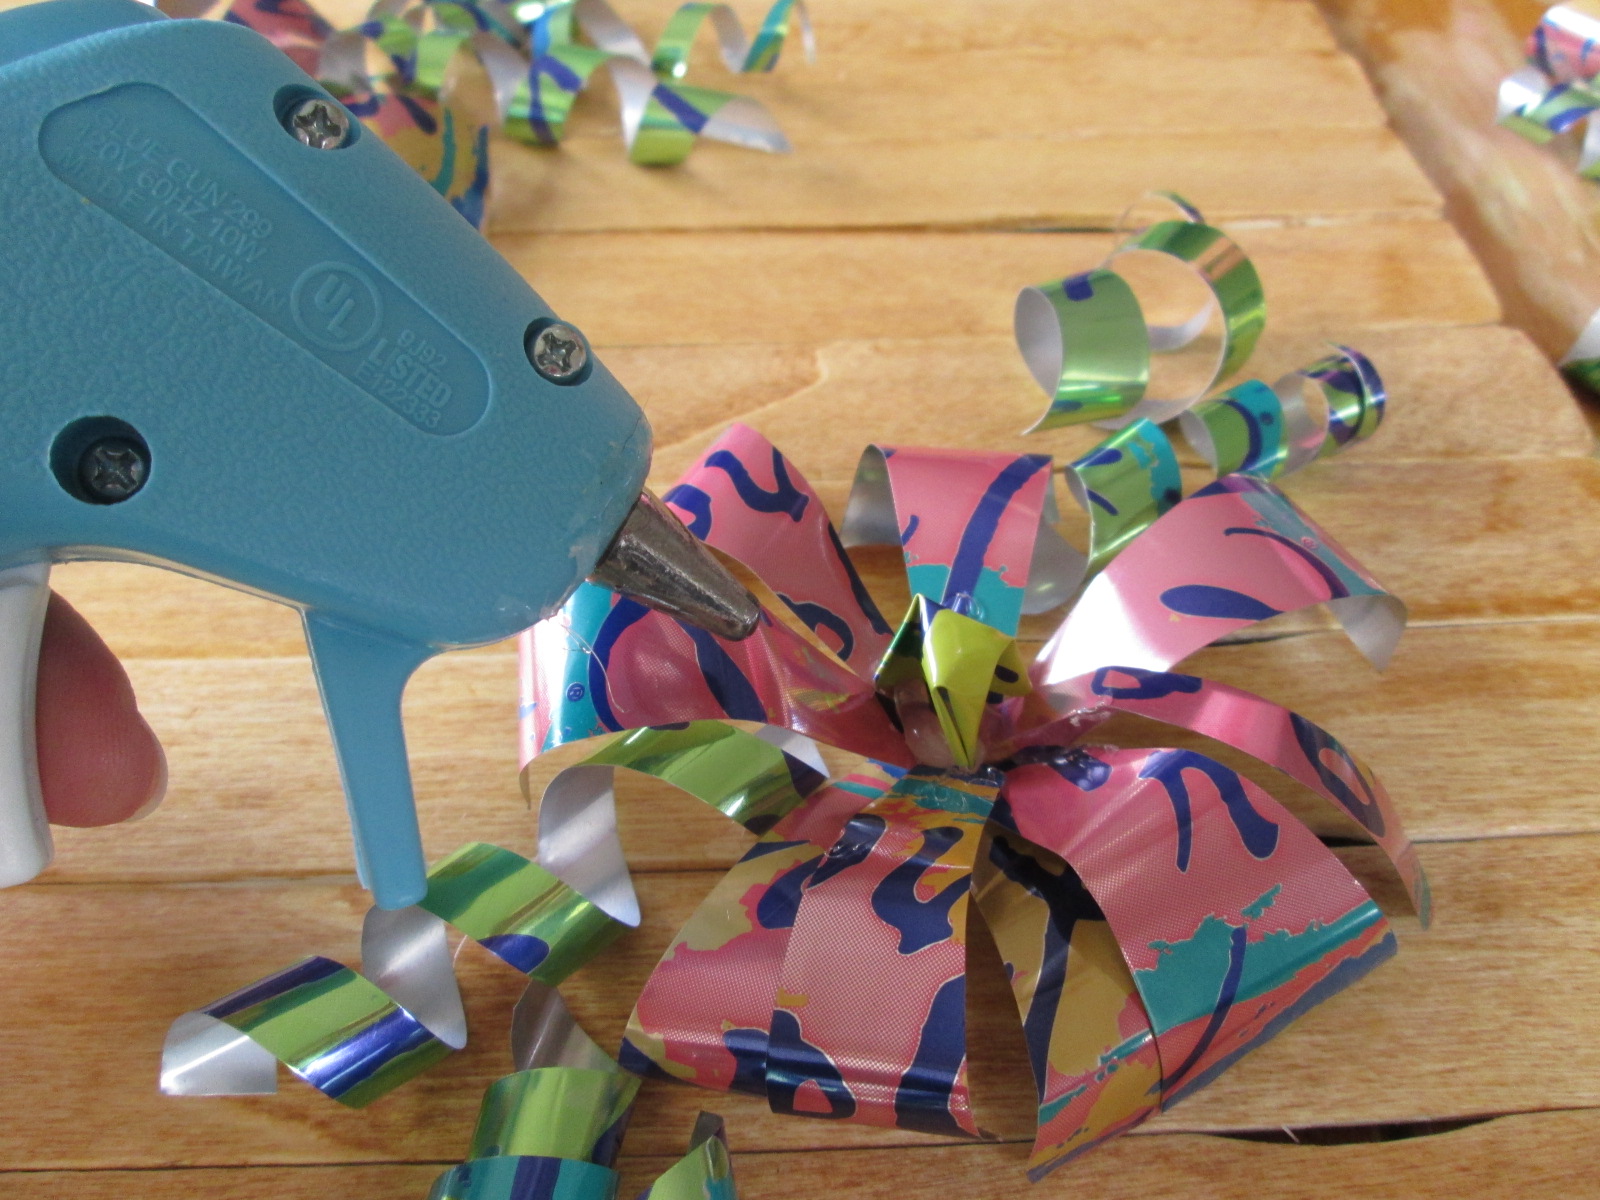
Step 3: Glue the Metal. After your pieces are ready, hot glue them to your backdrop. For the large flower, I started with a big circle (pictured above) to serve as the full circumference of the flower. Working from the outside in, I glued the rows of petals (about half a flower at a time) until I reached the center. A small petal finished the piece.
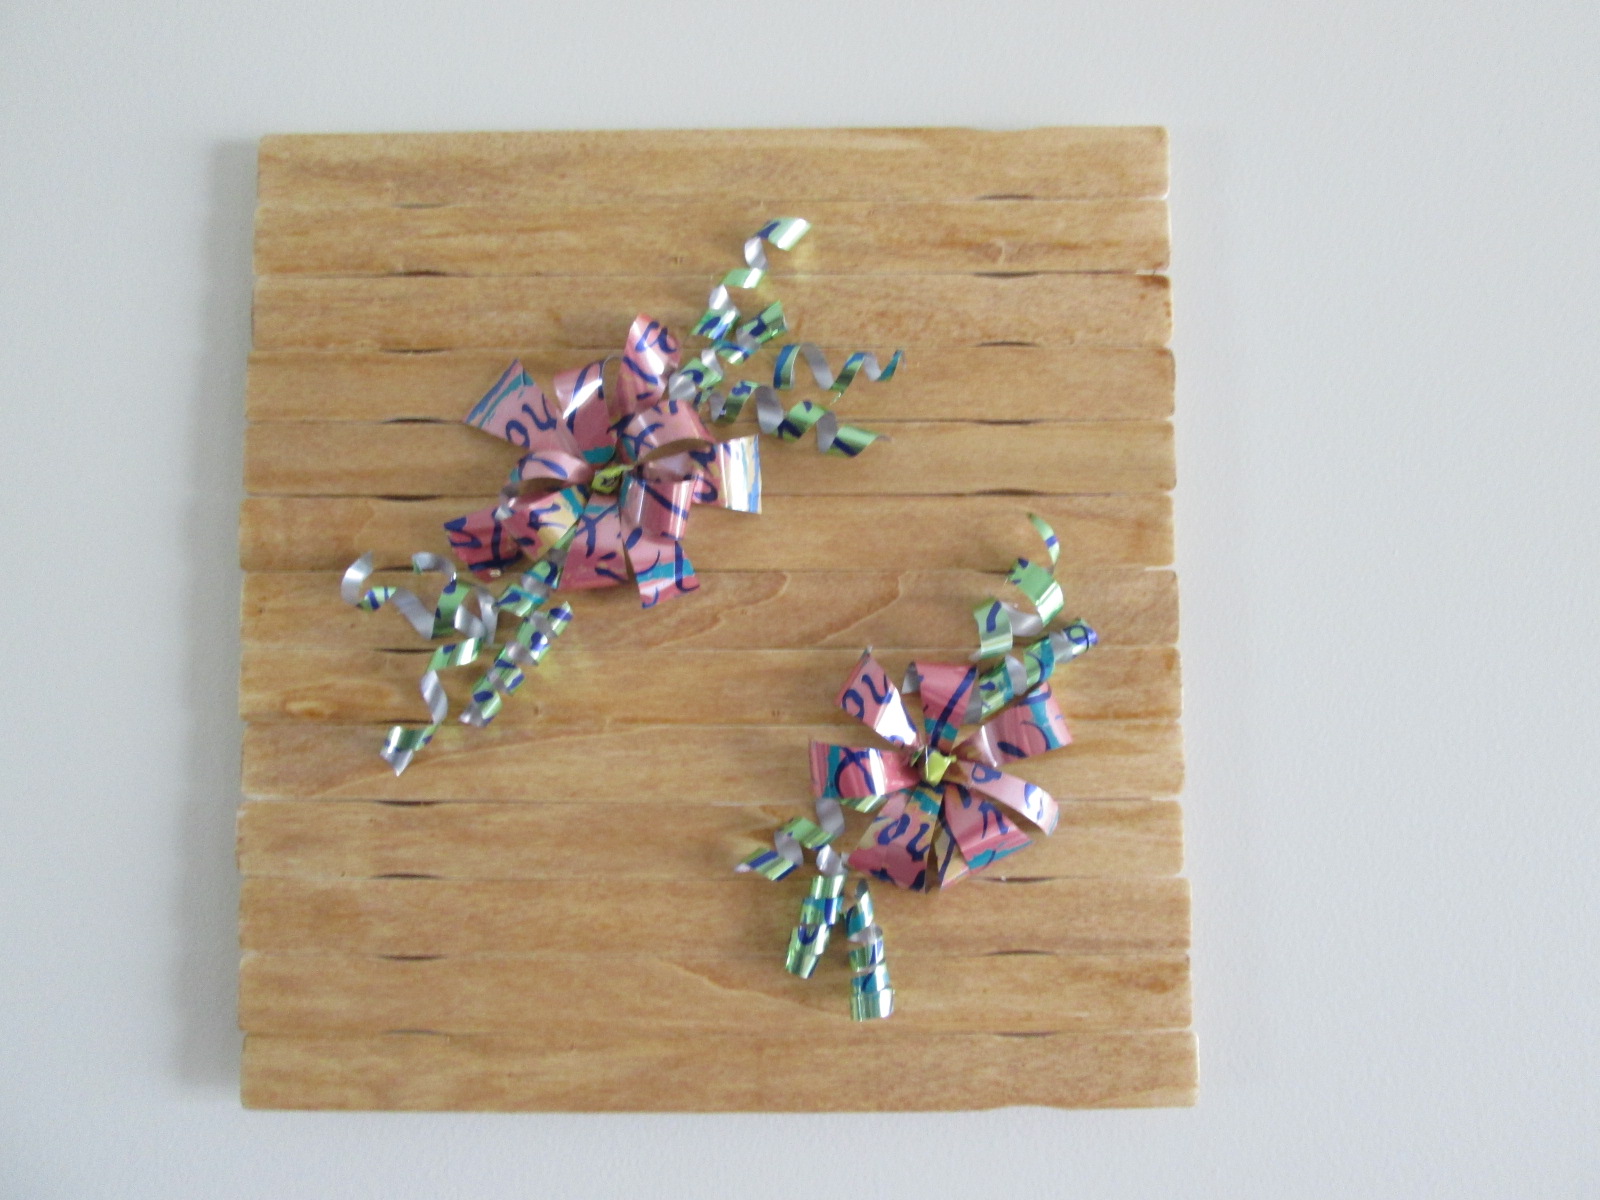
For the pink flowers, I glued the pink petals in a small circle first, and then I dotted the yellow centers with hot glue to secure them in the middle.
Glue a wire or string on the back, and it’s ready to hang on the wall! Like all art, this has endless possibilities. Have fun using your imagination. Enjoy your day, and invent your story!

Welcome Inventors! The weather is warming up and we’re ready for fun times outside. After playing with paint sticks in my last post, I had an idea to make art out of them. But as I made the art, I thought: these could be cool placemats. And now they are both.
This is not inherently a kid’s project, but kids could easily help make the placemats. If your kids are too young to use a hot glue gun, they could decorate/paint/handprint them after they’re done. Or you can invent something new to share! ????
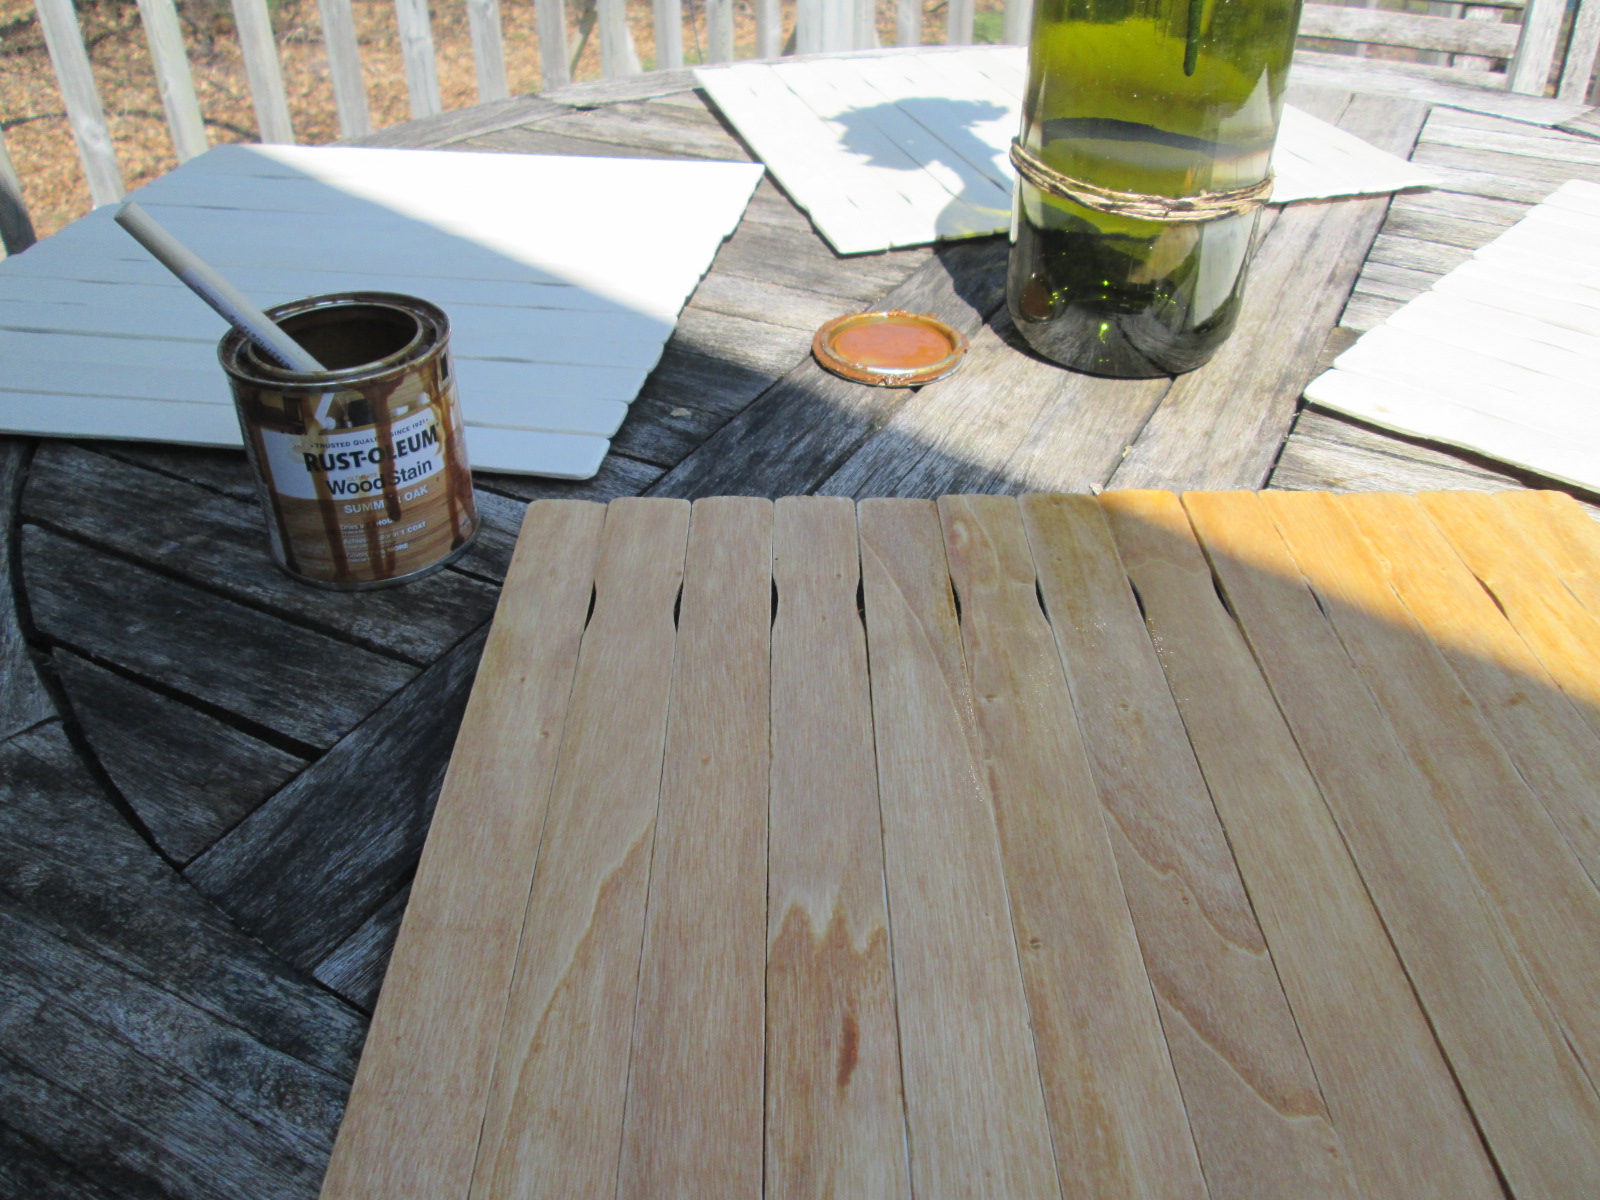
All you need for this project are 15 paint sticks, hot glue, and wood stain. It’s literally a 3-material project for pennies if you have leftover stain and hot (or regular) glue. I used a lot of hot glue.
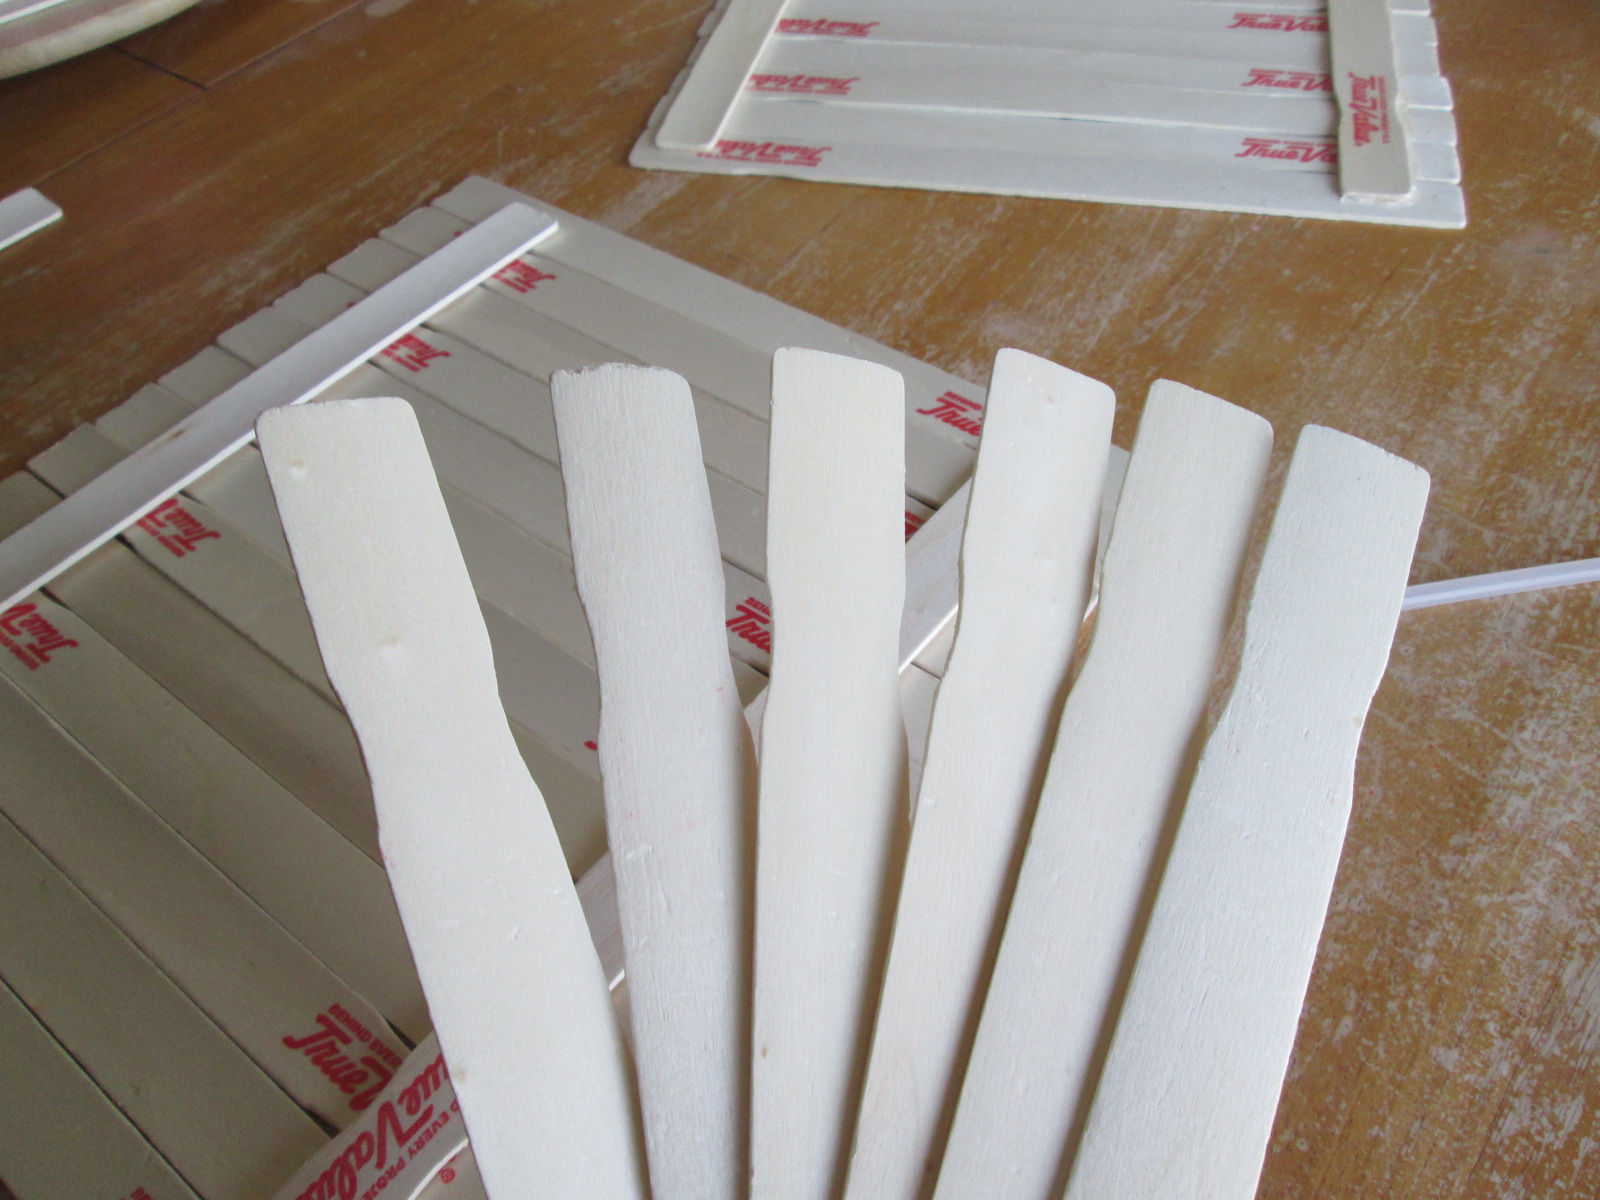
Step 1: Line up 13 paint sticks. Alternate the indented sides to create a kind of rustic pattern. If your paint sticks are printed on one side, make sure that side is facing the back.
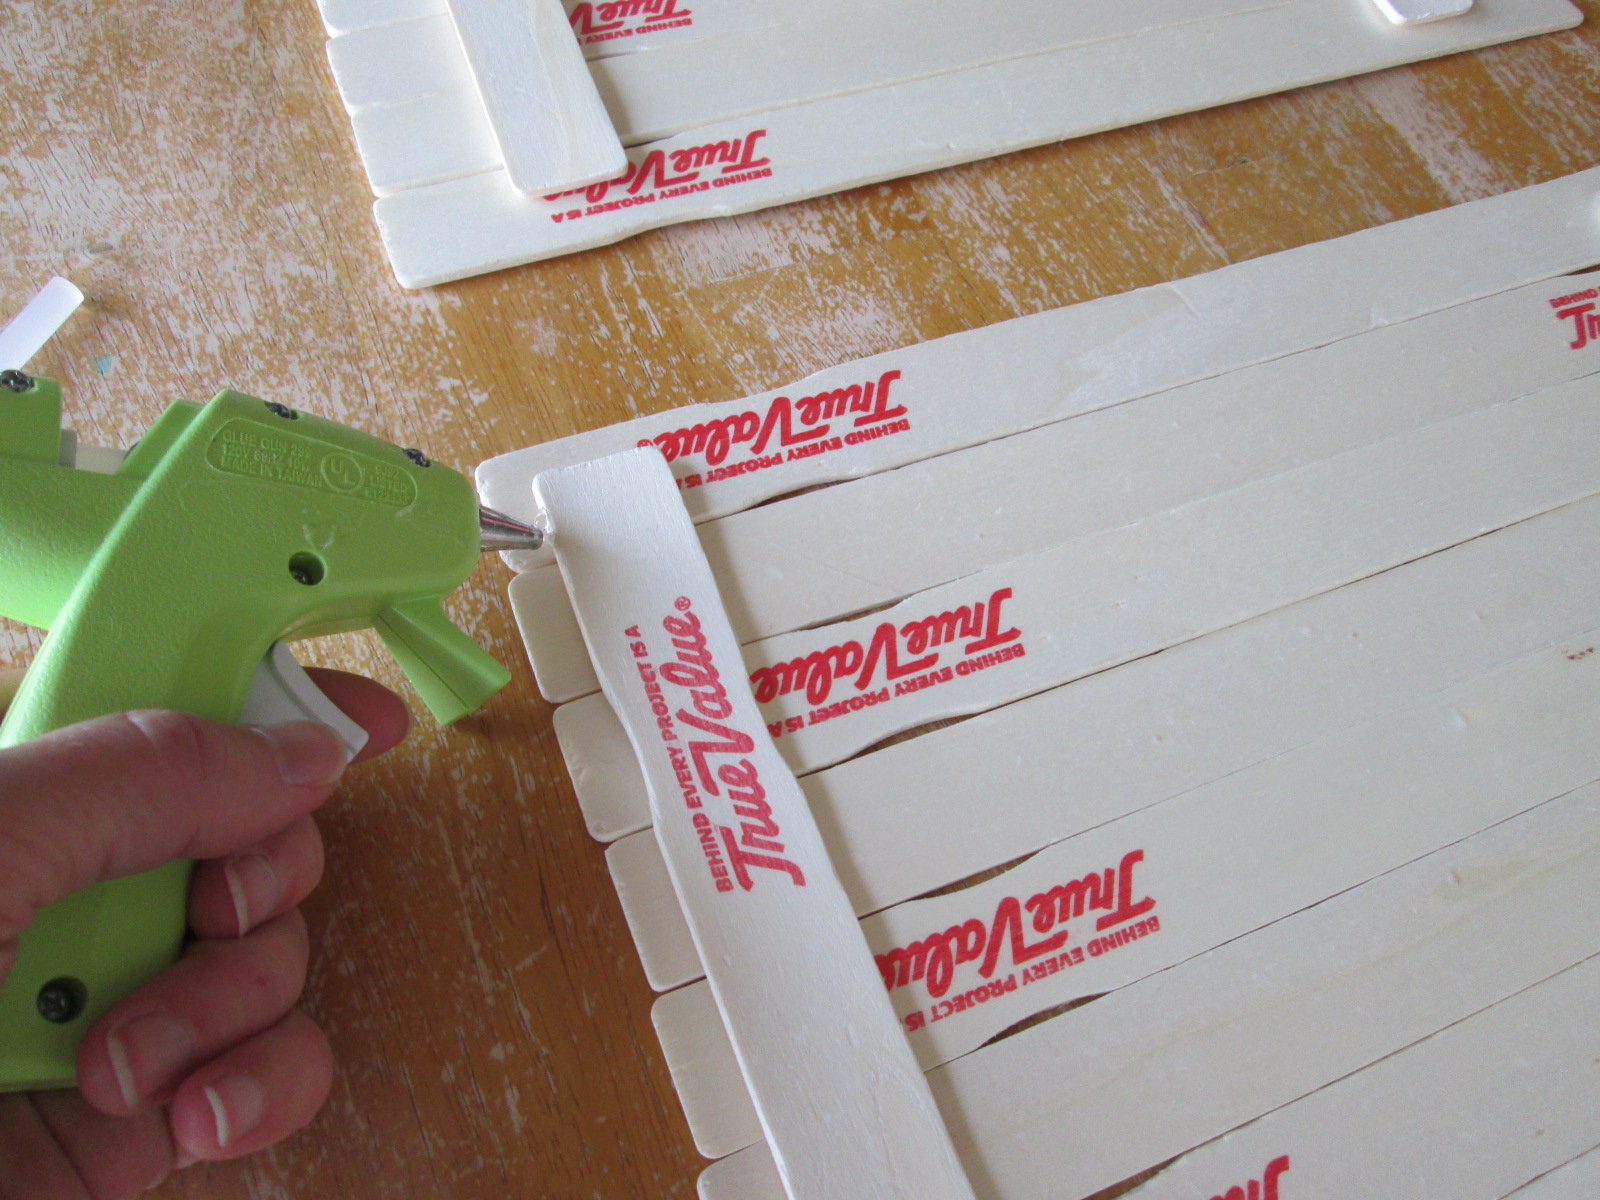
Step 2: Hot glue the 2 remaining sticks cross-wise to the back of the lined sticks. I put a strip of glue down across the lined sticks first, placed one cross-stick down, did the same to the other side with the second cross-stick, and then reinforced them with more hot glue along the top and sides.
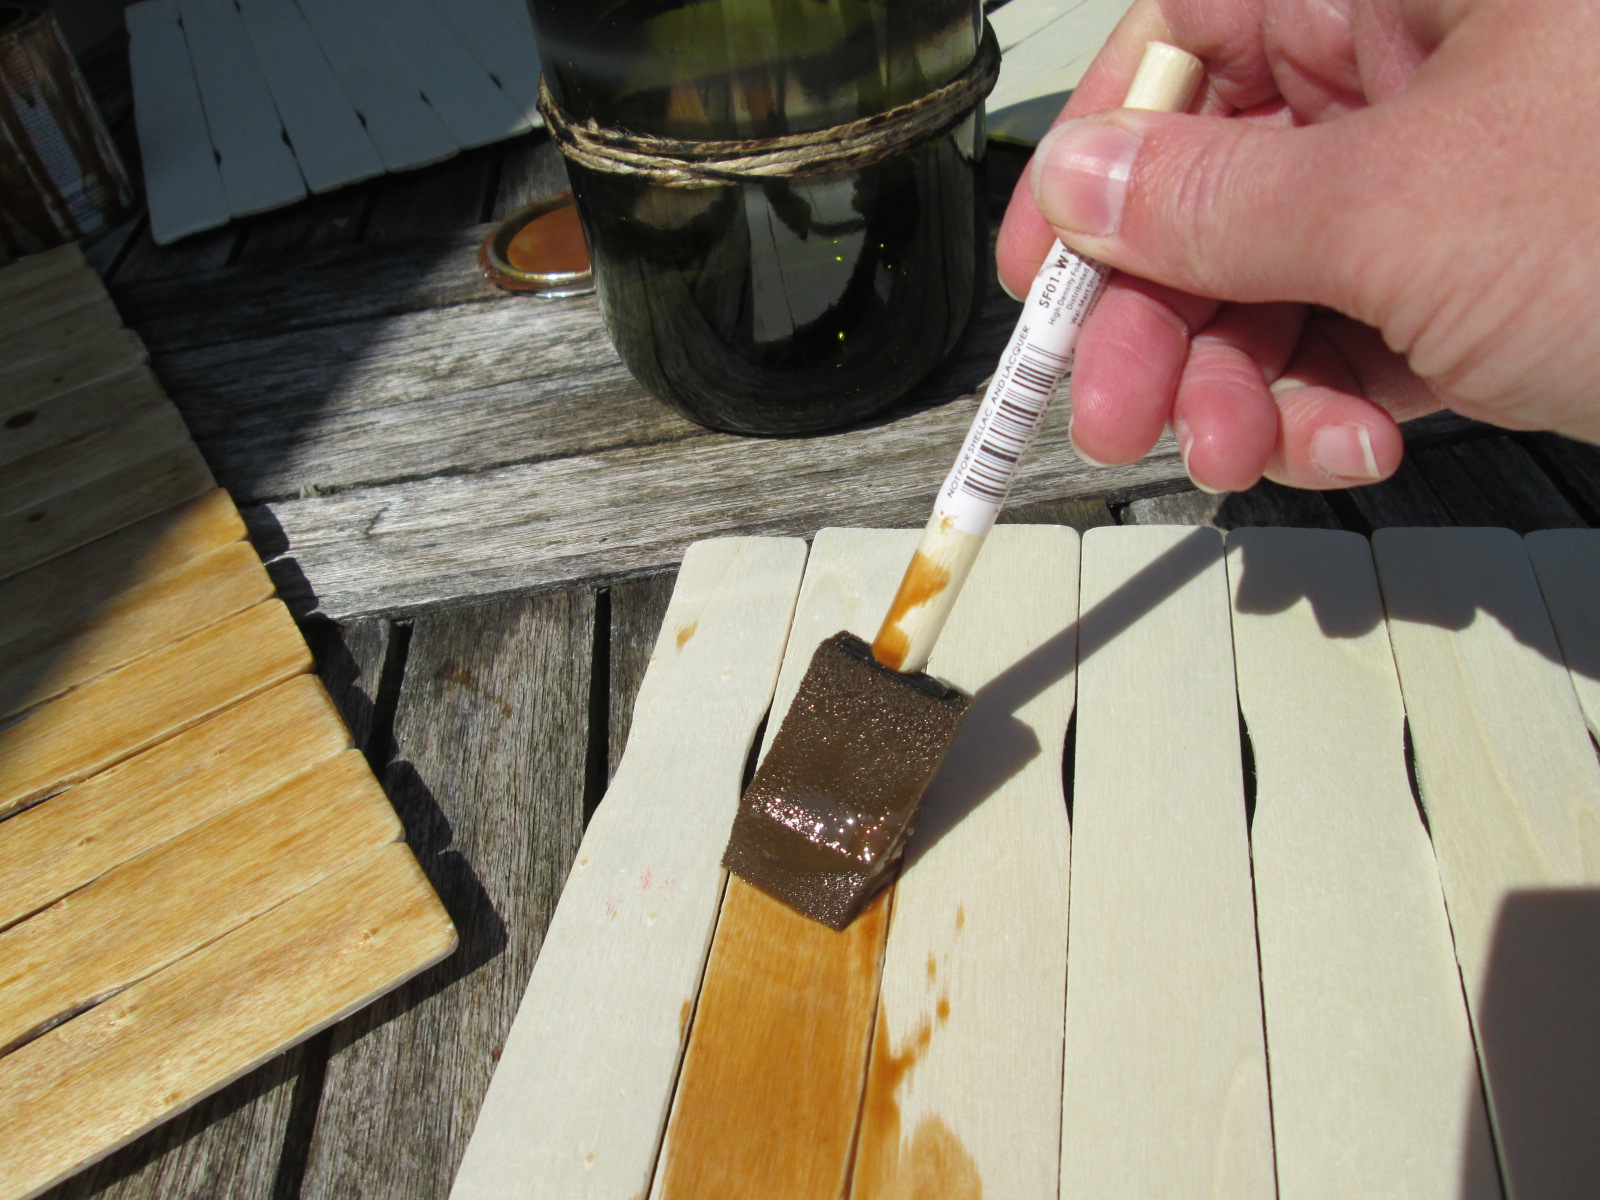
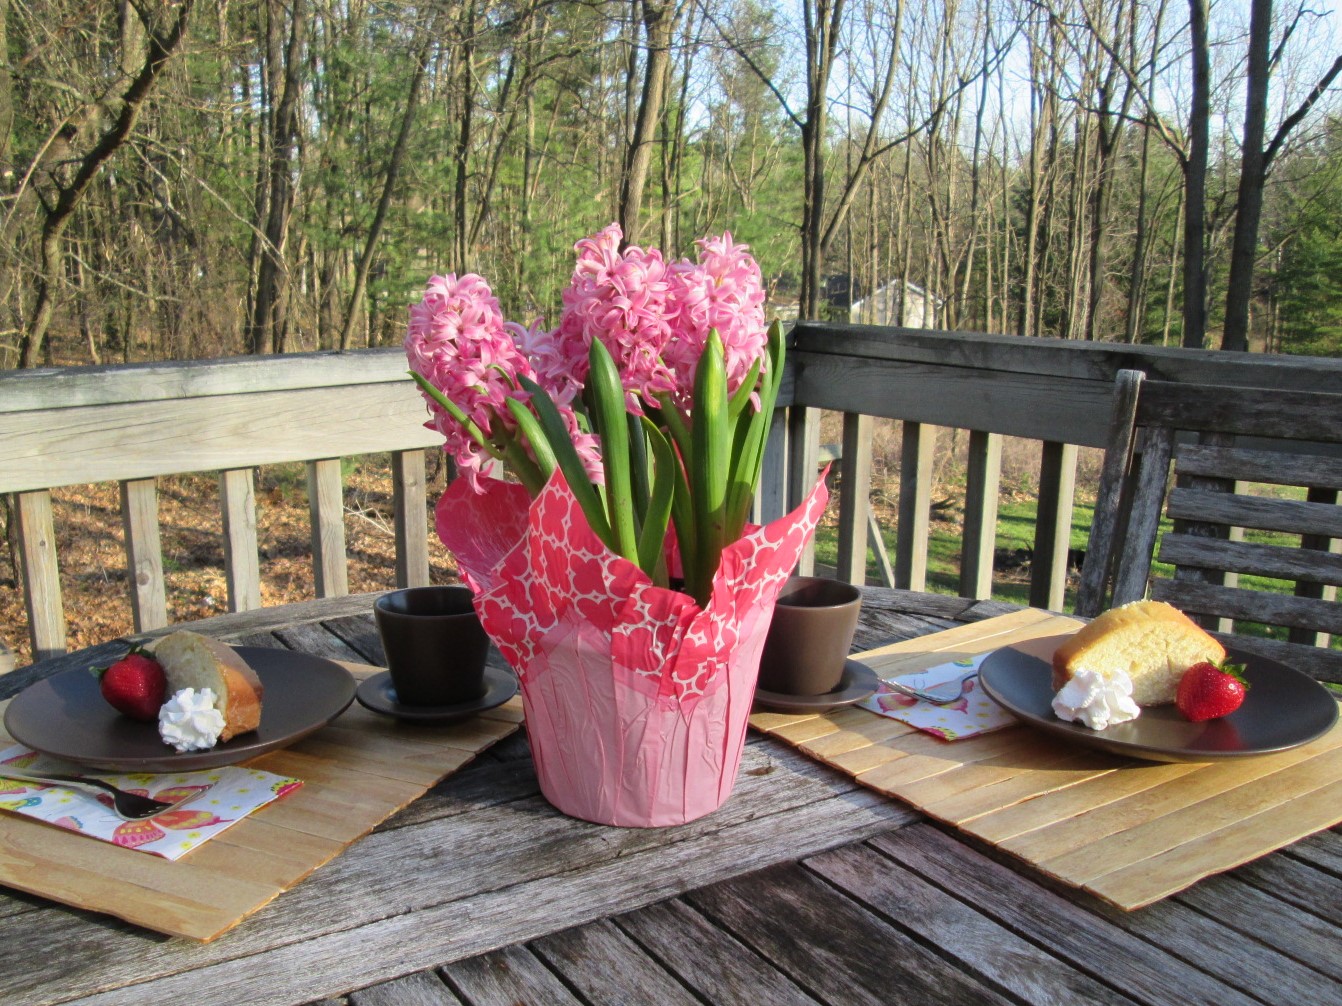
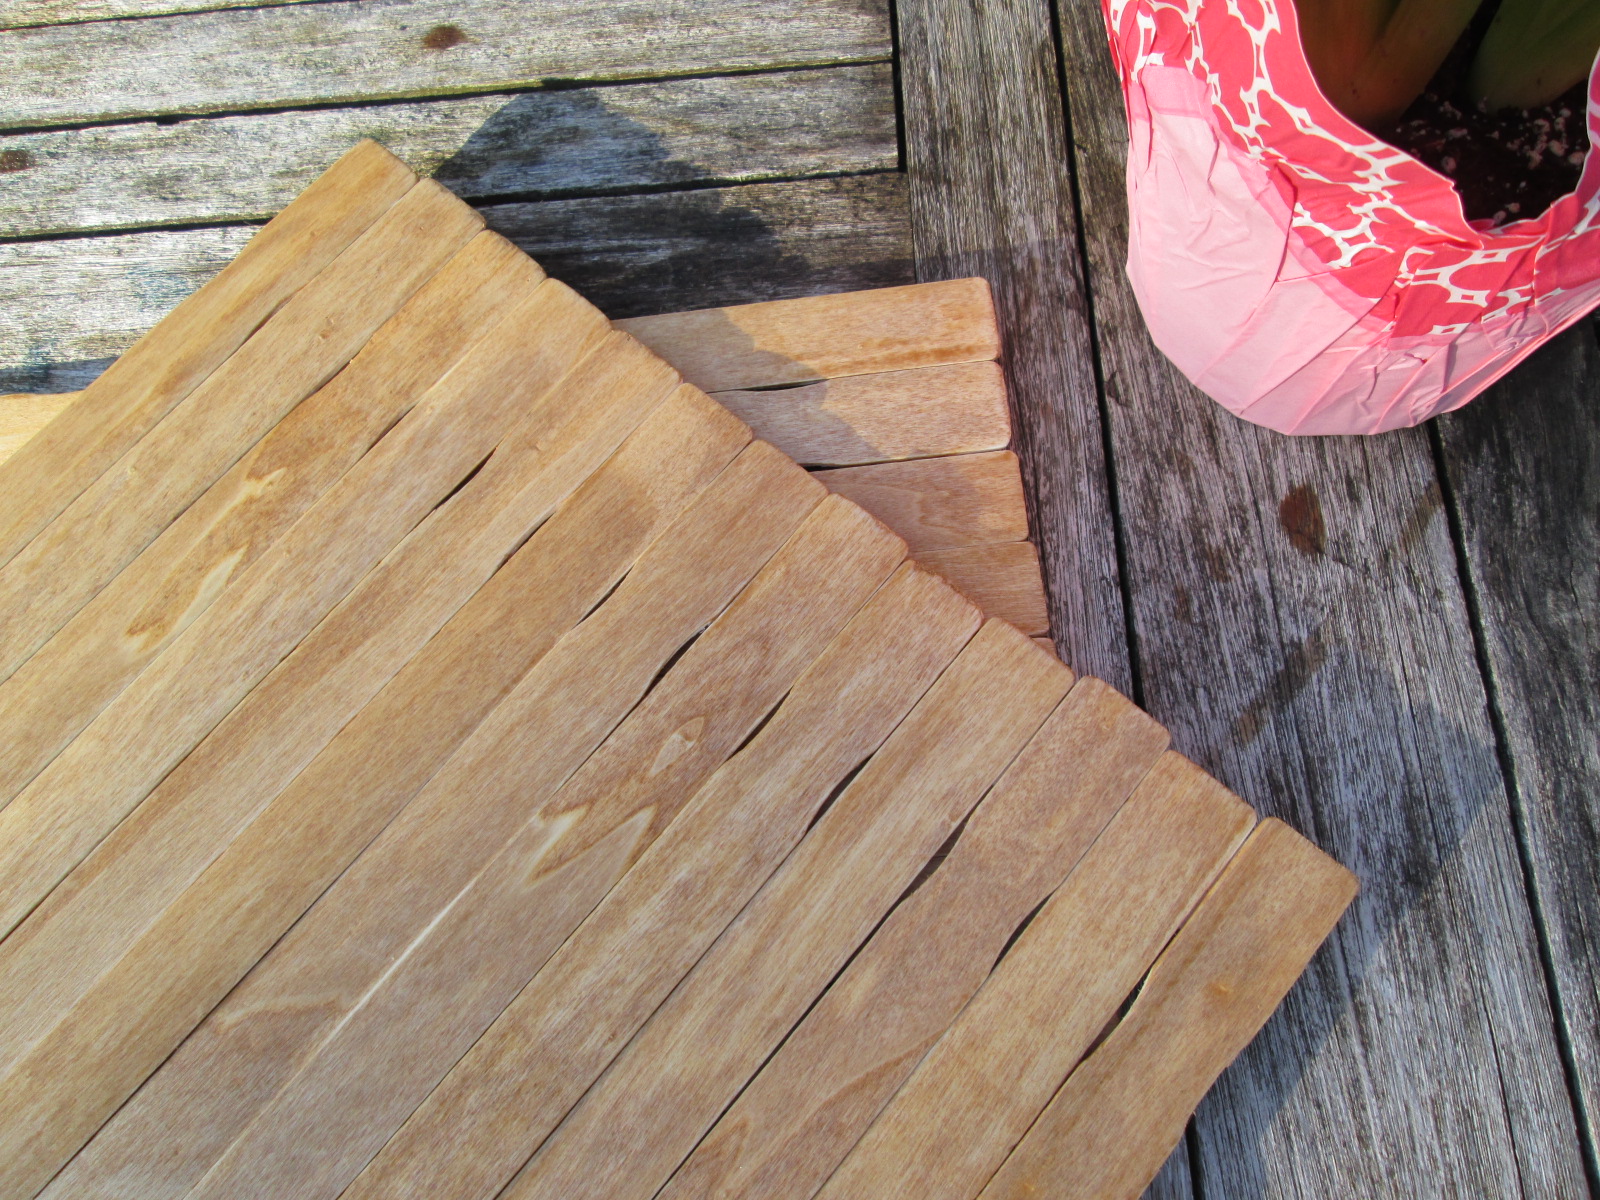
Step 3: Stain or paint the top of your placemat. Boom! You’re done!
I hope you like this project and it spruces up your spring table. Just in case you are wondering, I did stage our deck table with two desserts (above) and then ate them both for breakfast. See, this blog helps everyone!
Also, if you’re curious about the art I was going to make before I got sidetracked with the placemats, check out my last picture. I’ll write more about that next time. Until then, enjoy your day and go invent your story!