
Welcome Inventors. What catches your eye? I love life’s unusual suspects. Metal art has texture and depth that appeals to me, so I set out to make the cheapest metal art ever.
I used four different kinds of La Croix carbonated water cans. The drink was tasty and the colors were cool – everybody wins! To make the simple paint stick backdrop, see my last post.

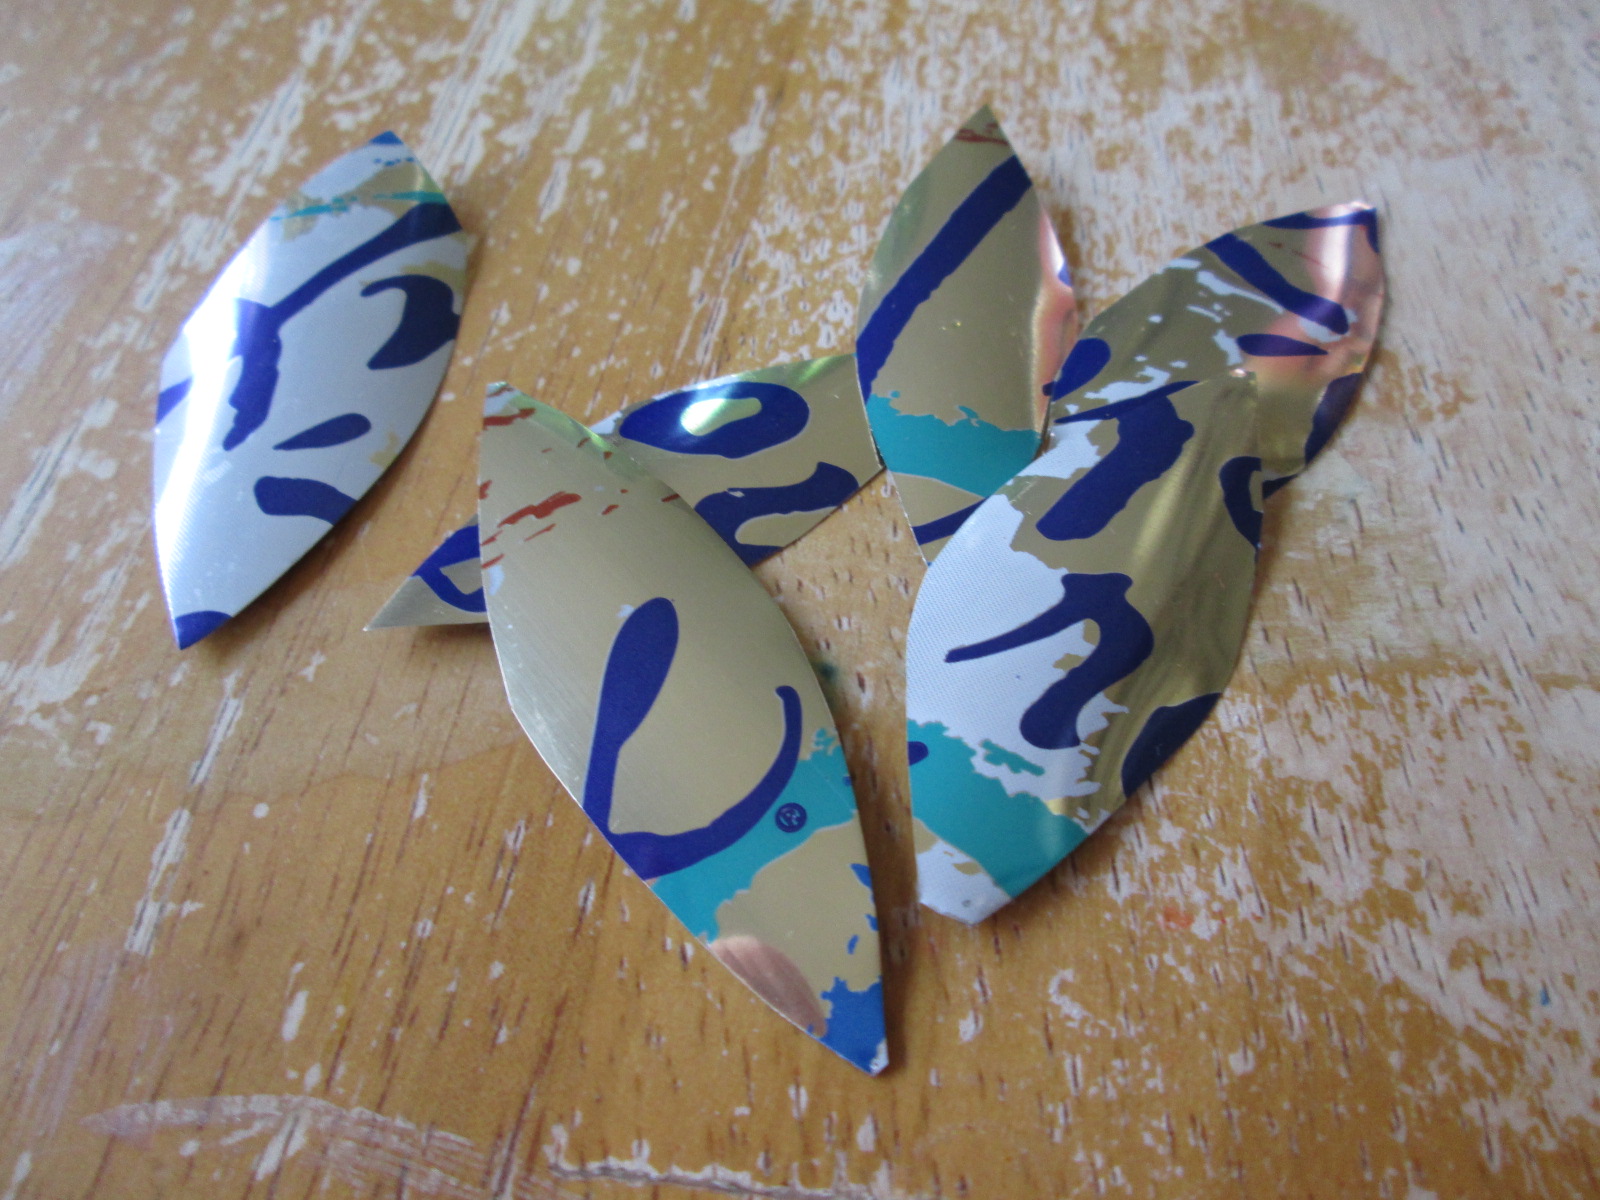
Step 1: Cut the Cans. Take a pair of sharp scissors and puncture the can, then cut the metal into your desired shapes. I like flowers and wanted a spring theme, so I made long, thin strips for green stems, and I cut fatter pieces in white and pink for petals.
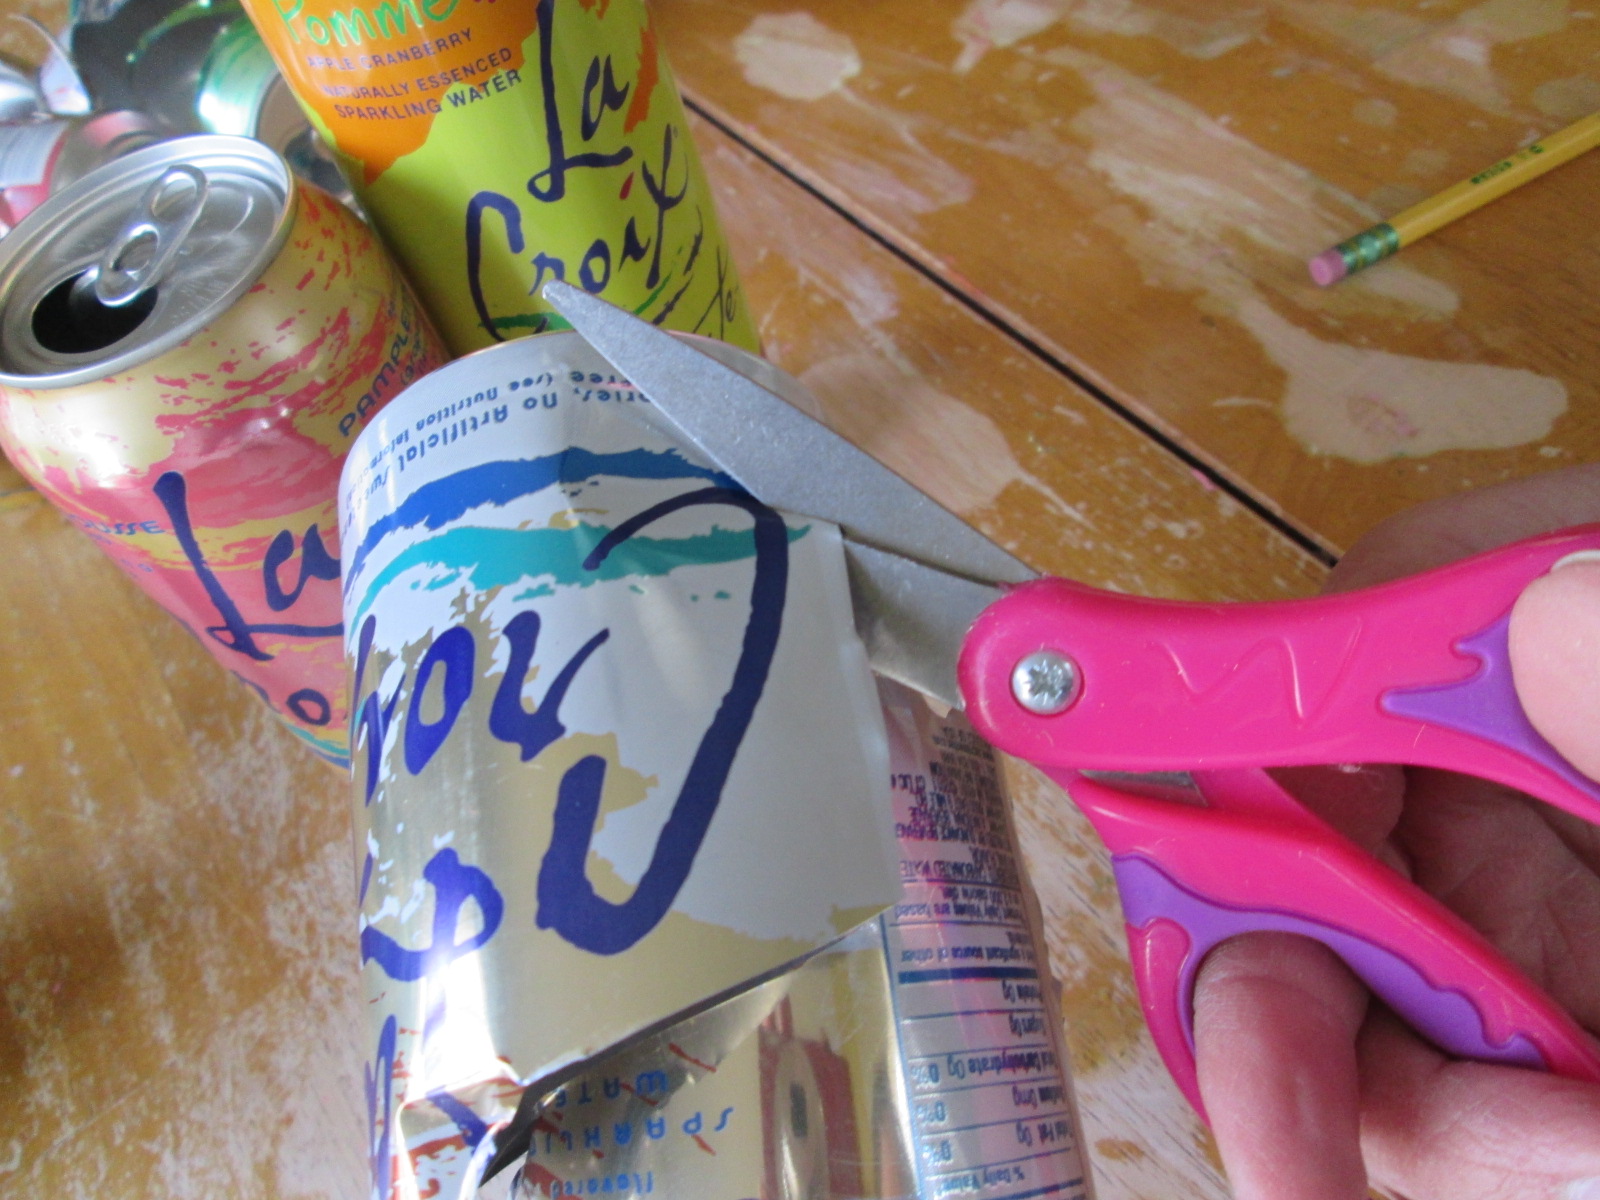
I did not cut myself while handling the metal, but I would not recommend this project for kids. If you want to do a similar project with kids, you can use these same techniques with paper and get amazing results.
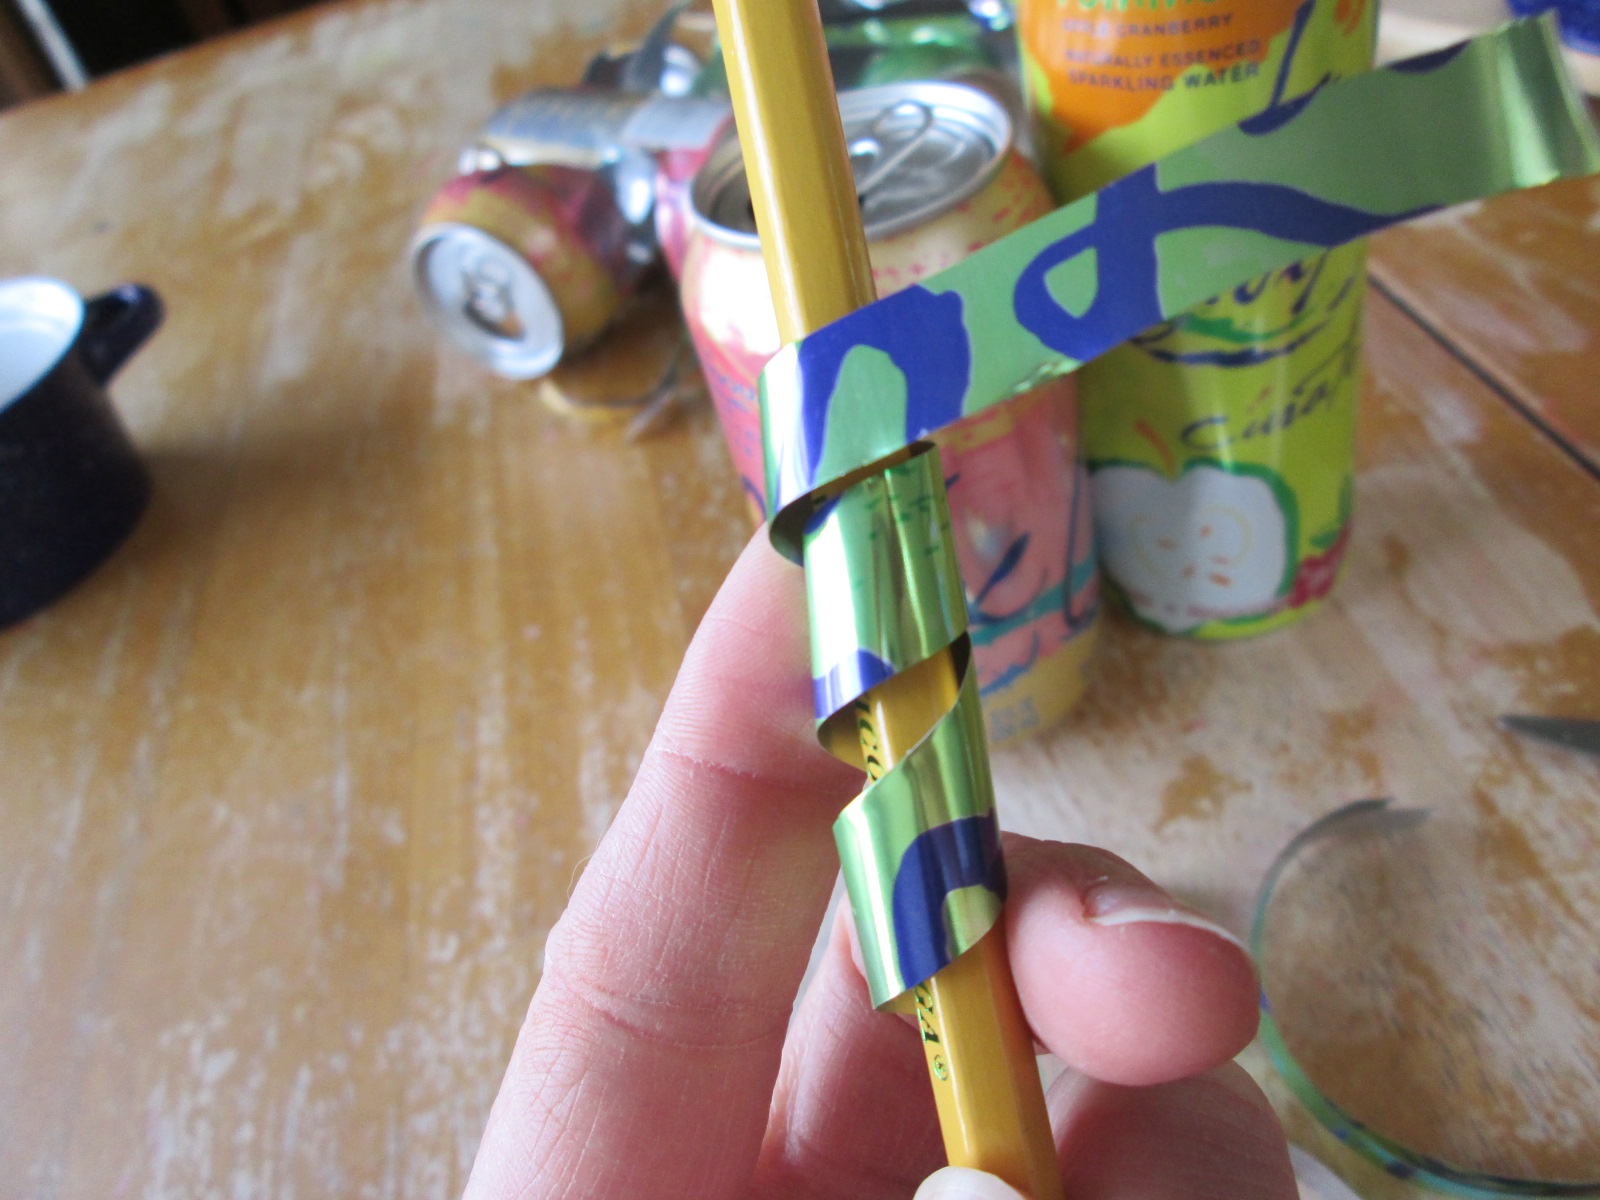
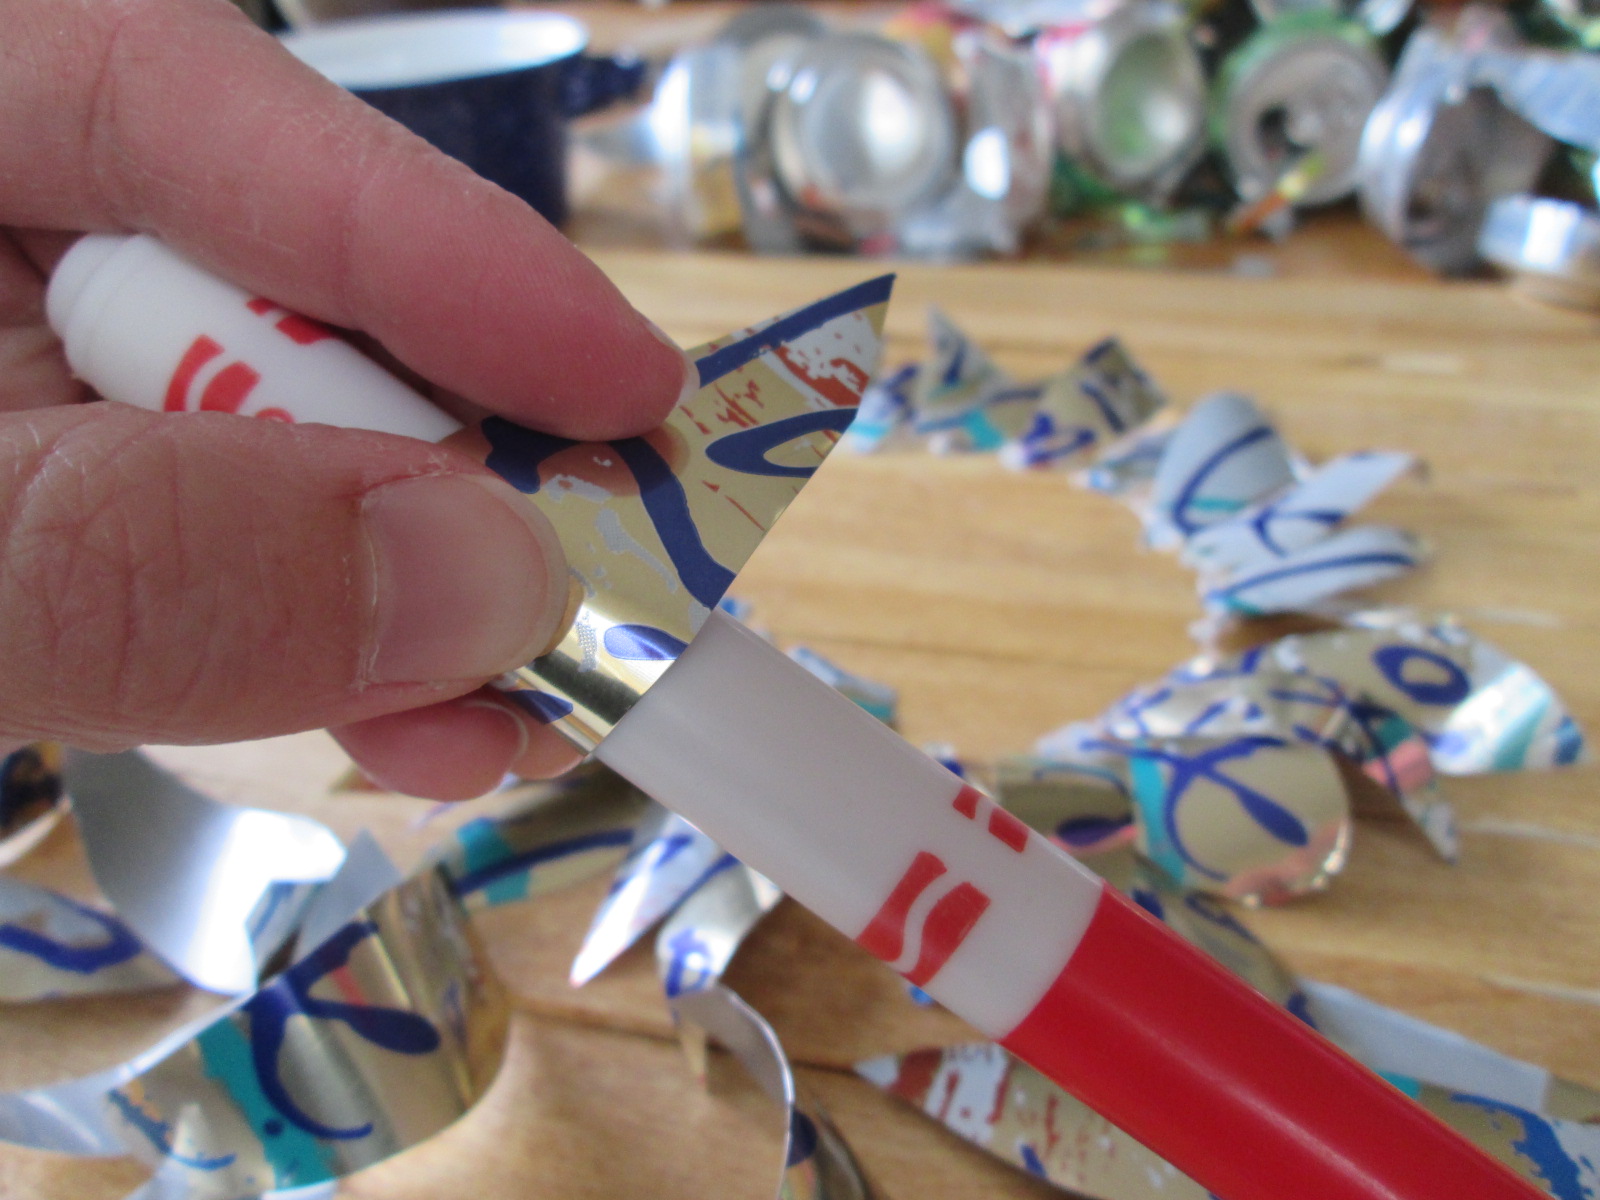
Step 2: Shape the Pieces. To make your can art really pop, (it had to be punned) use a variety of markers, pencils, and whatever is handy to shape the cut metal pieces. I wrapped my green strips around a pencil to make curly stems.
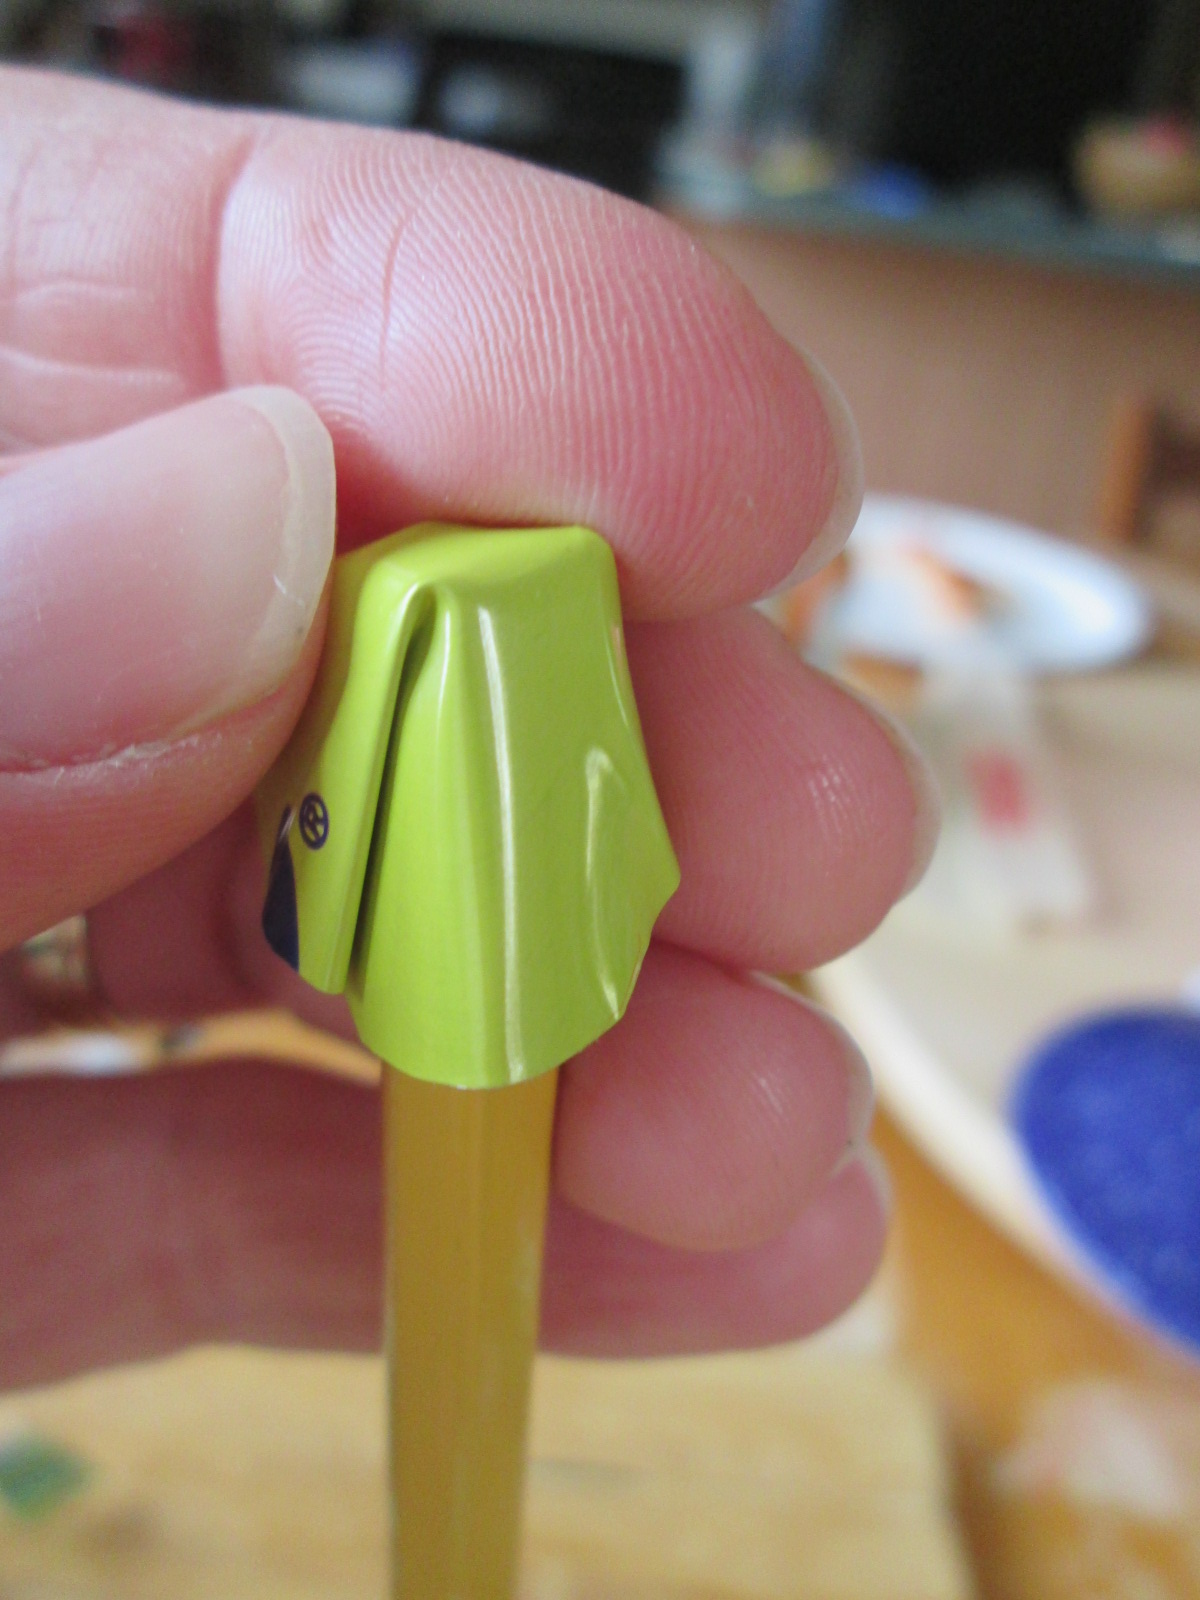
I cut circles of yellow and wrapped them over the flat top of a pencil to create the centers for pink flowers.
For the bigger petals, I used a marker to make a softer look.
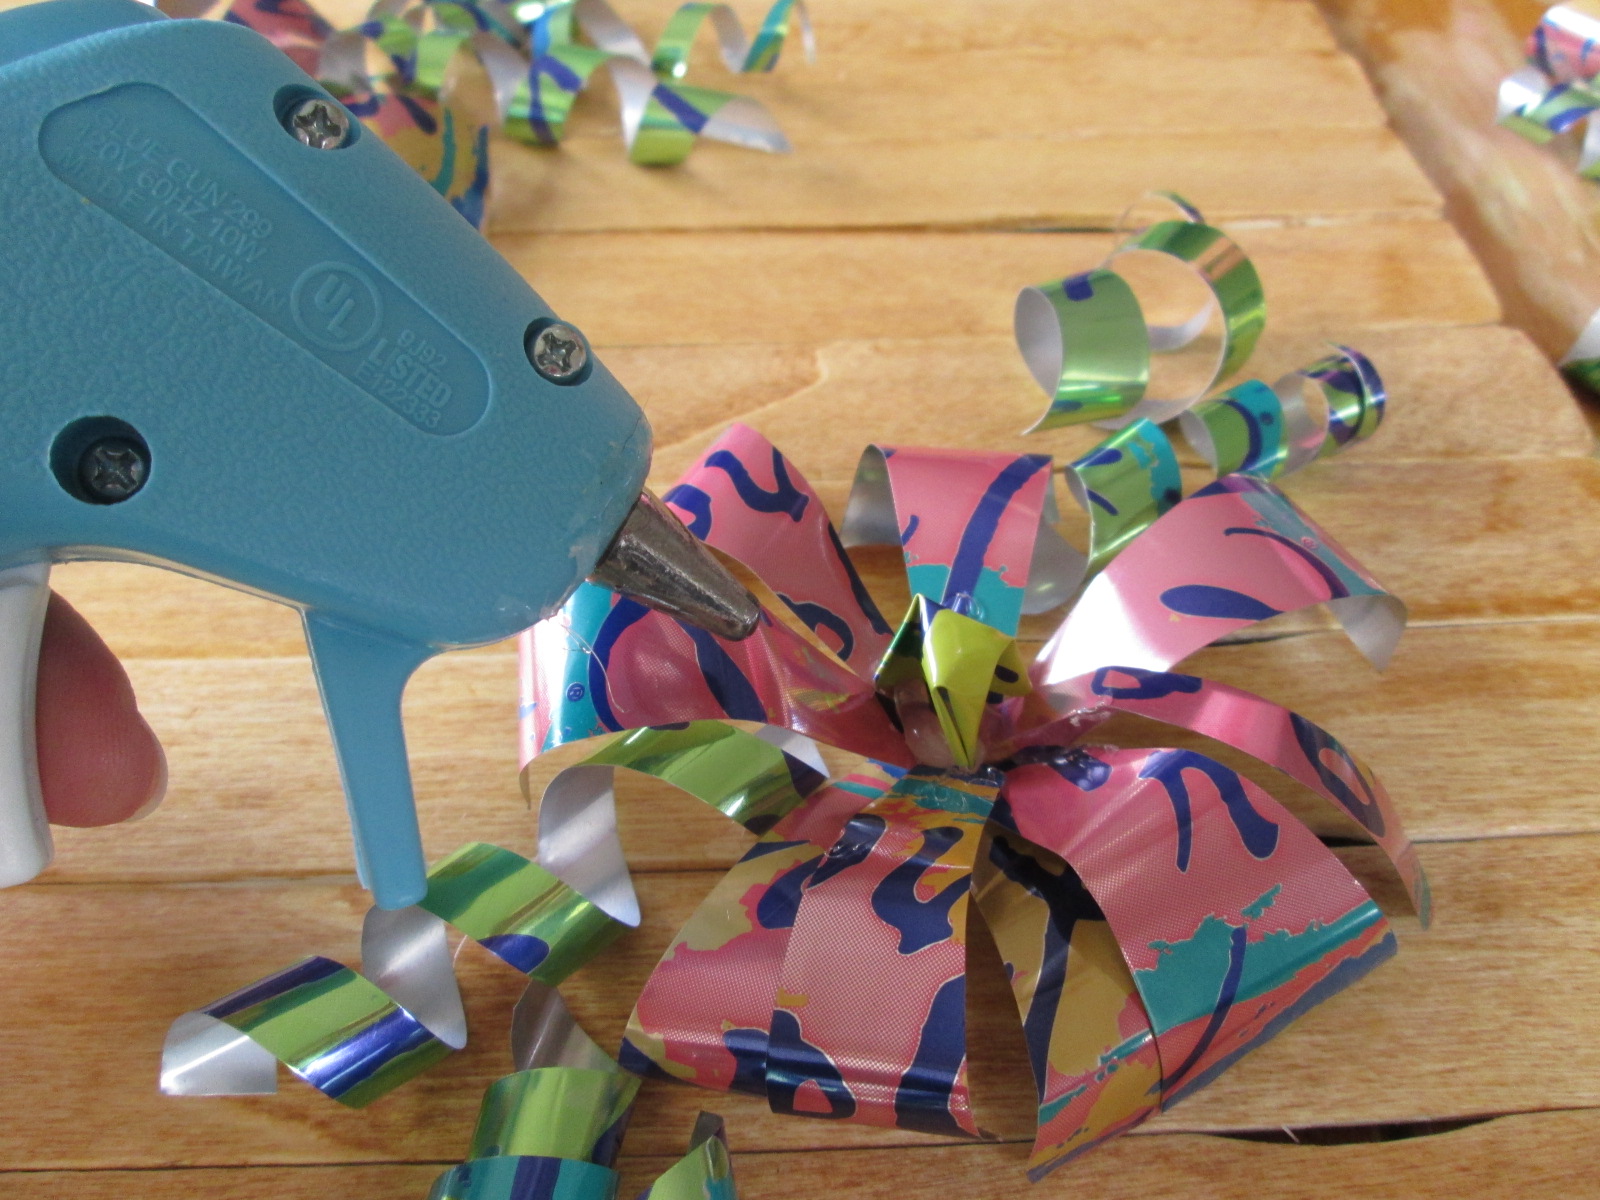
Step 3: Glue the Metal. After your pieces are ready, hot glue them to your backdrop. For the large flower, I started with a big circle (pictured above) to serve as the full circumference of the flower. Working from the outside in, I glued the rows of petals (about half a flower at a time) until I reached the center. A small petal finished the piece.
For the pink flowers, I glued the pink petals in a small circle first, and then I dotted the yellow centers with hot glue to secure them in the middle.
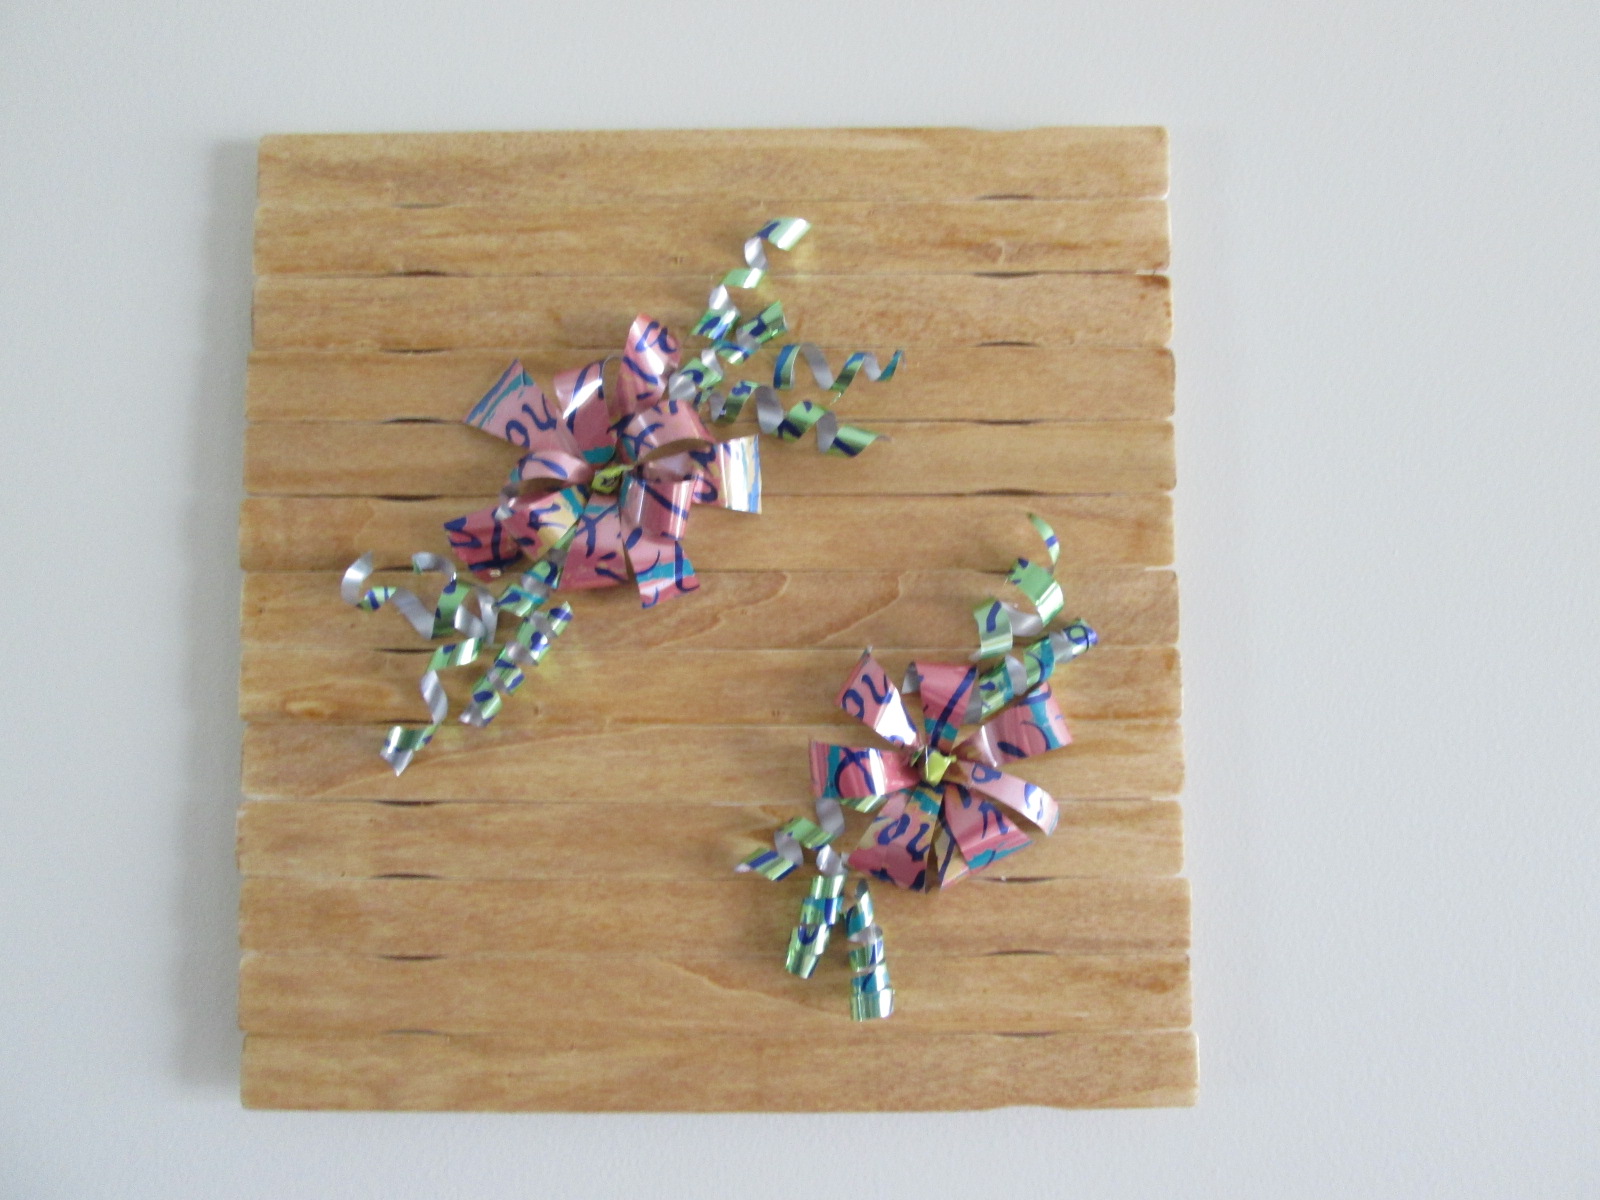
Glue a wire or string on the back, and it’s ready to hang on the wall! Like all art, this has endless possibilities. Have fun using your imagination. Enjoy your day, and invent your story!

Welcome Inventors! The weather is warming up and we’re ready for fun times outside. After playing with paint sticks in my last post, I had an idea to make art out of them. But as I made the art, I thought: these could be cool placemats. And now they are both.
This is not inherently a kid’s project, but kids could easily help make the placemats. If your kids are too young to use a hot glue gun, they could decorate/paint/handprint them after they’re done. Or you can invent something new to share! ????
All you need for this project are 15 paint sticks, hot glue, and wood stain. It’s literally a 3-material project for pennies if you have leftover stain and hot (or regular) glue. I used a lot of hot glue.
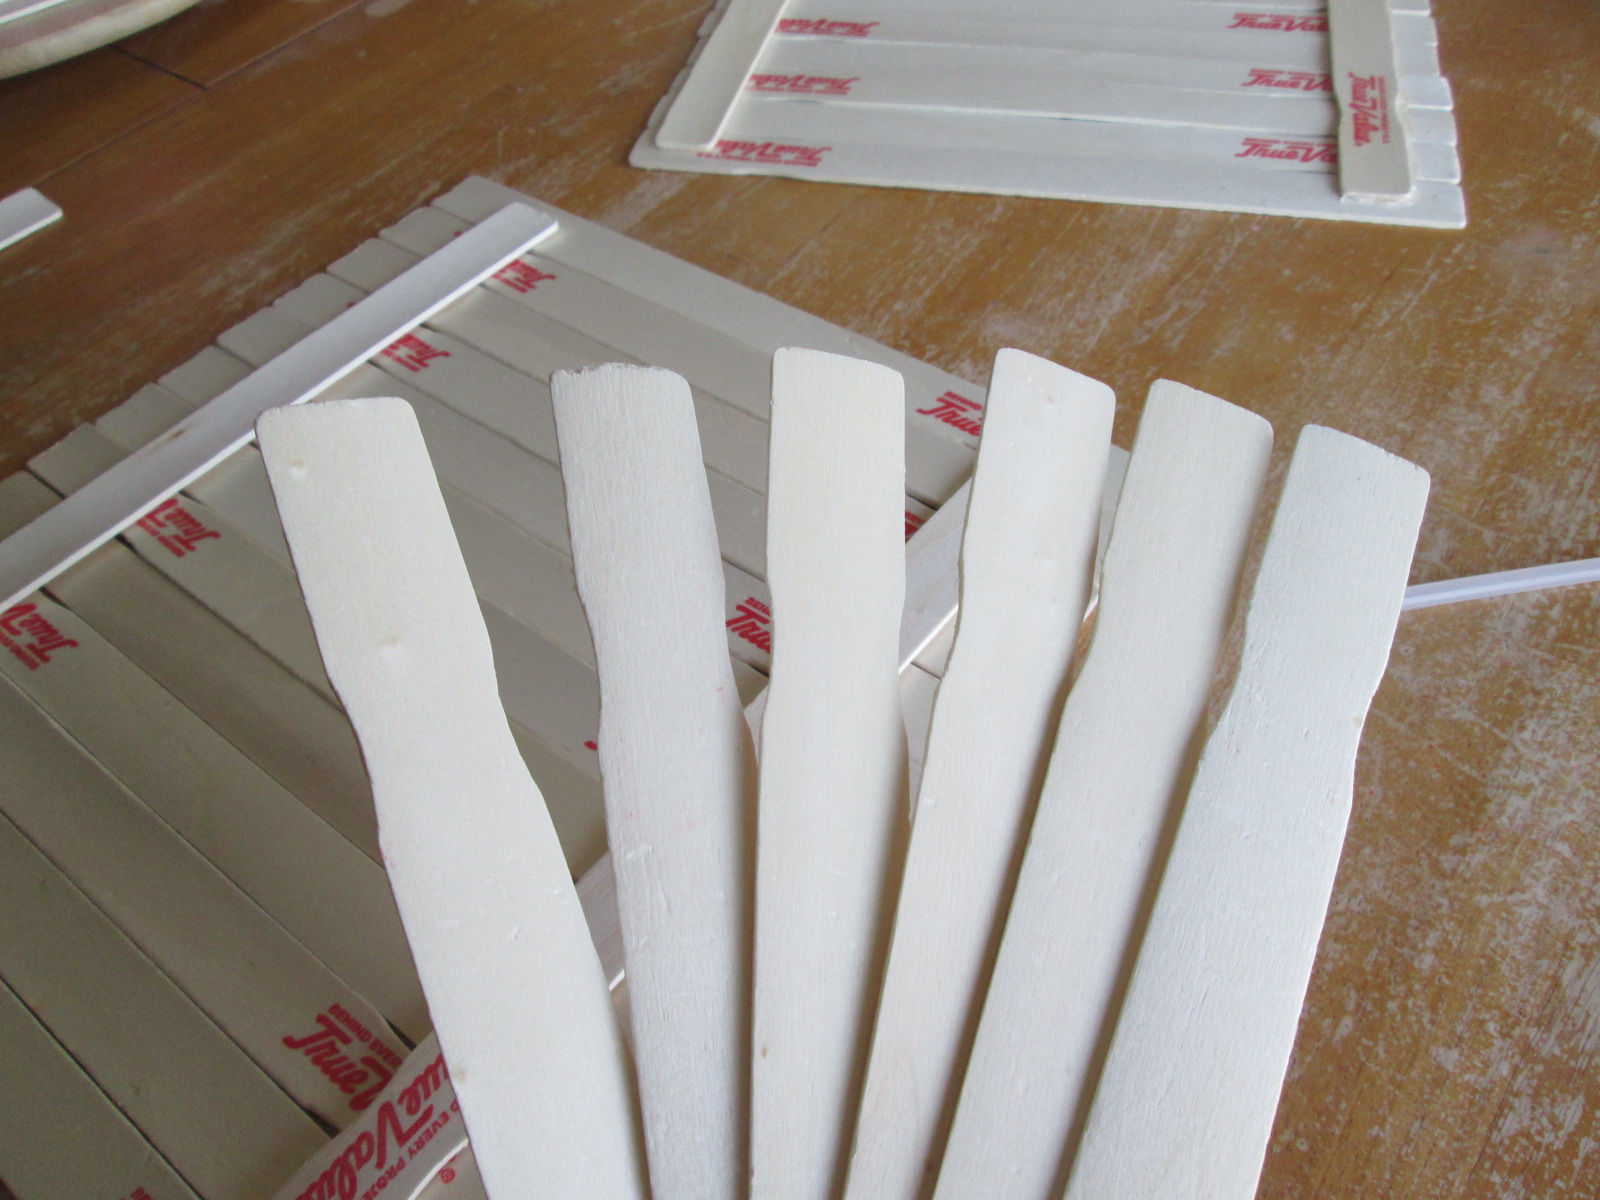
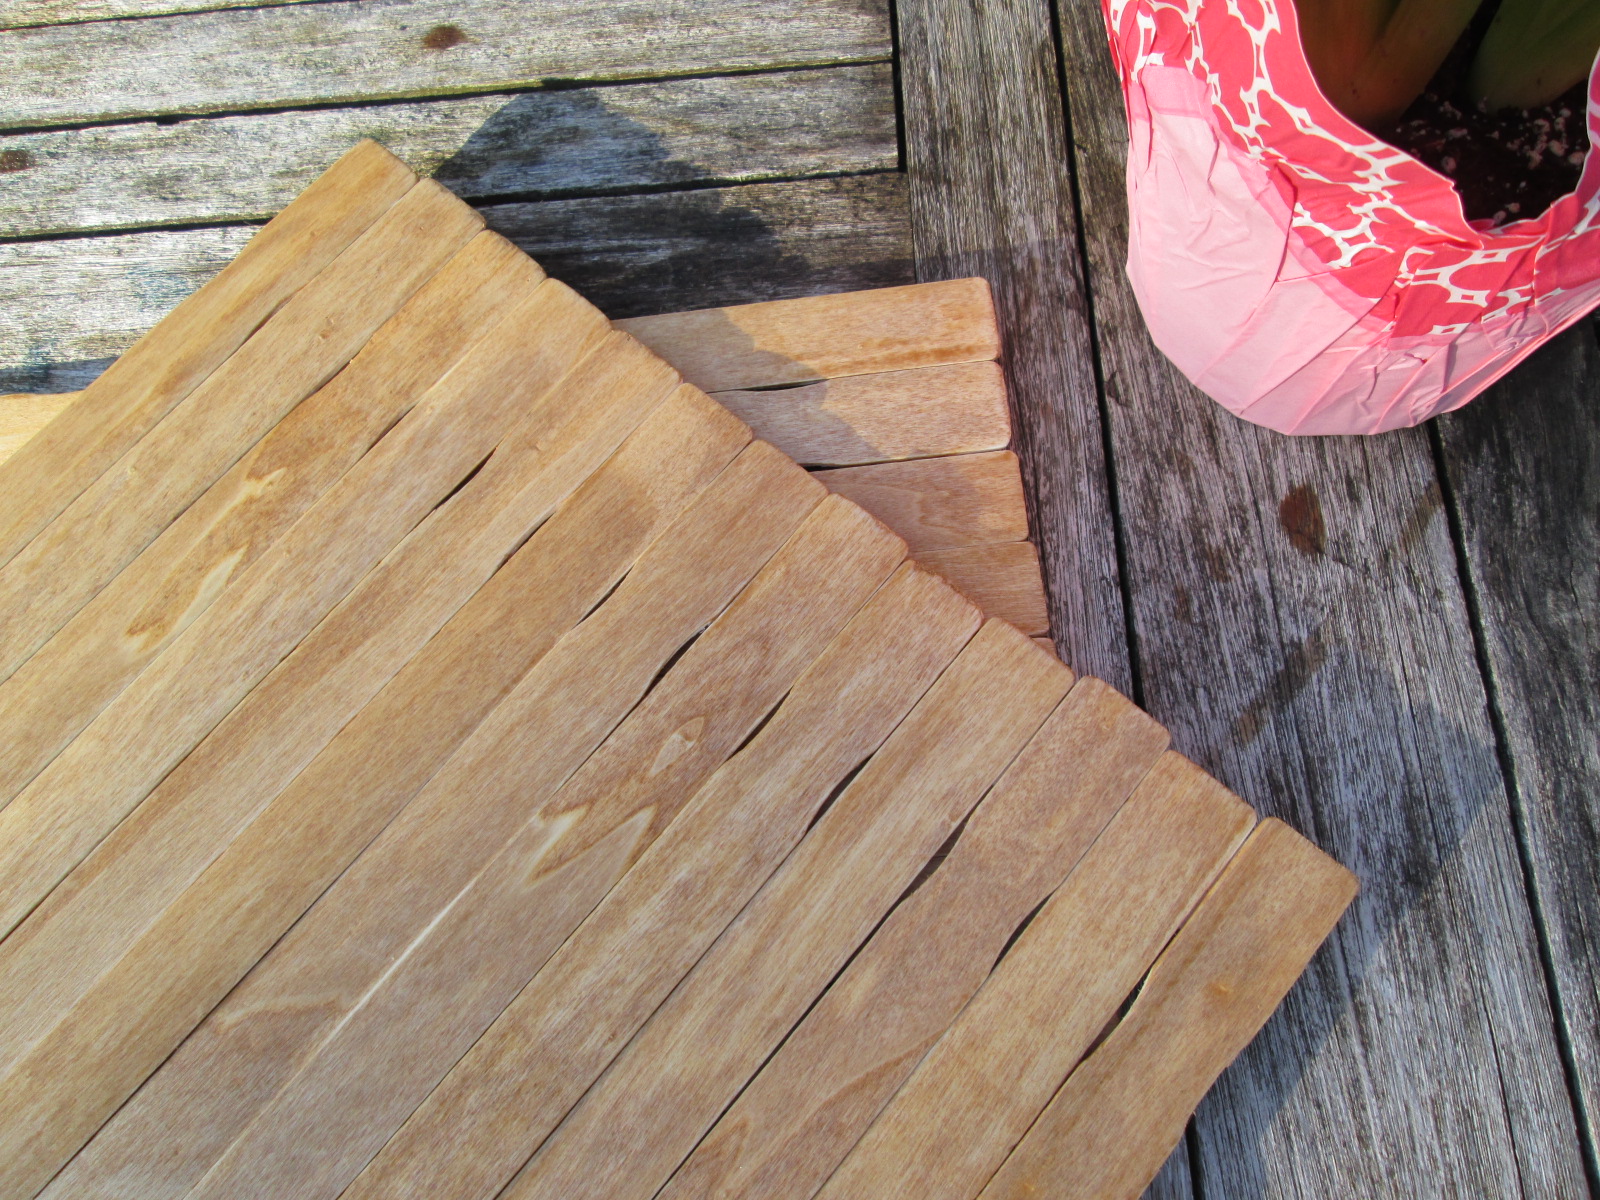
Step 1: Line up 13 paint sticks. Alternate the indented sides to create a kind of rustic pattern. If your paint sticks are printed on one side, make sure that side is facing the back.
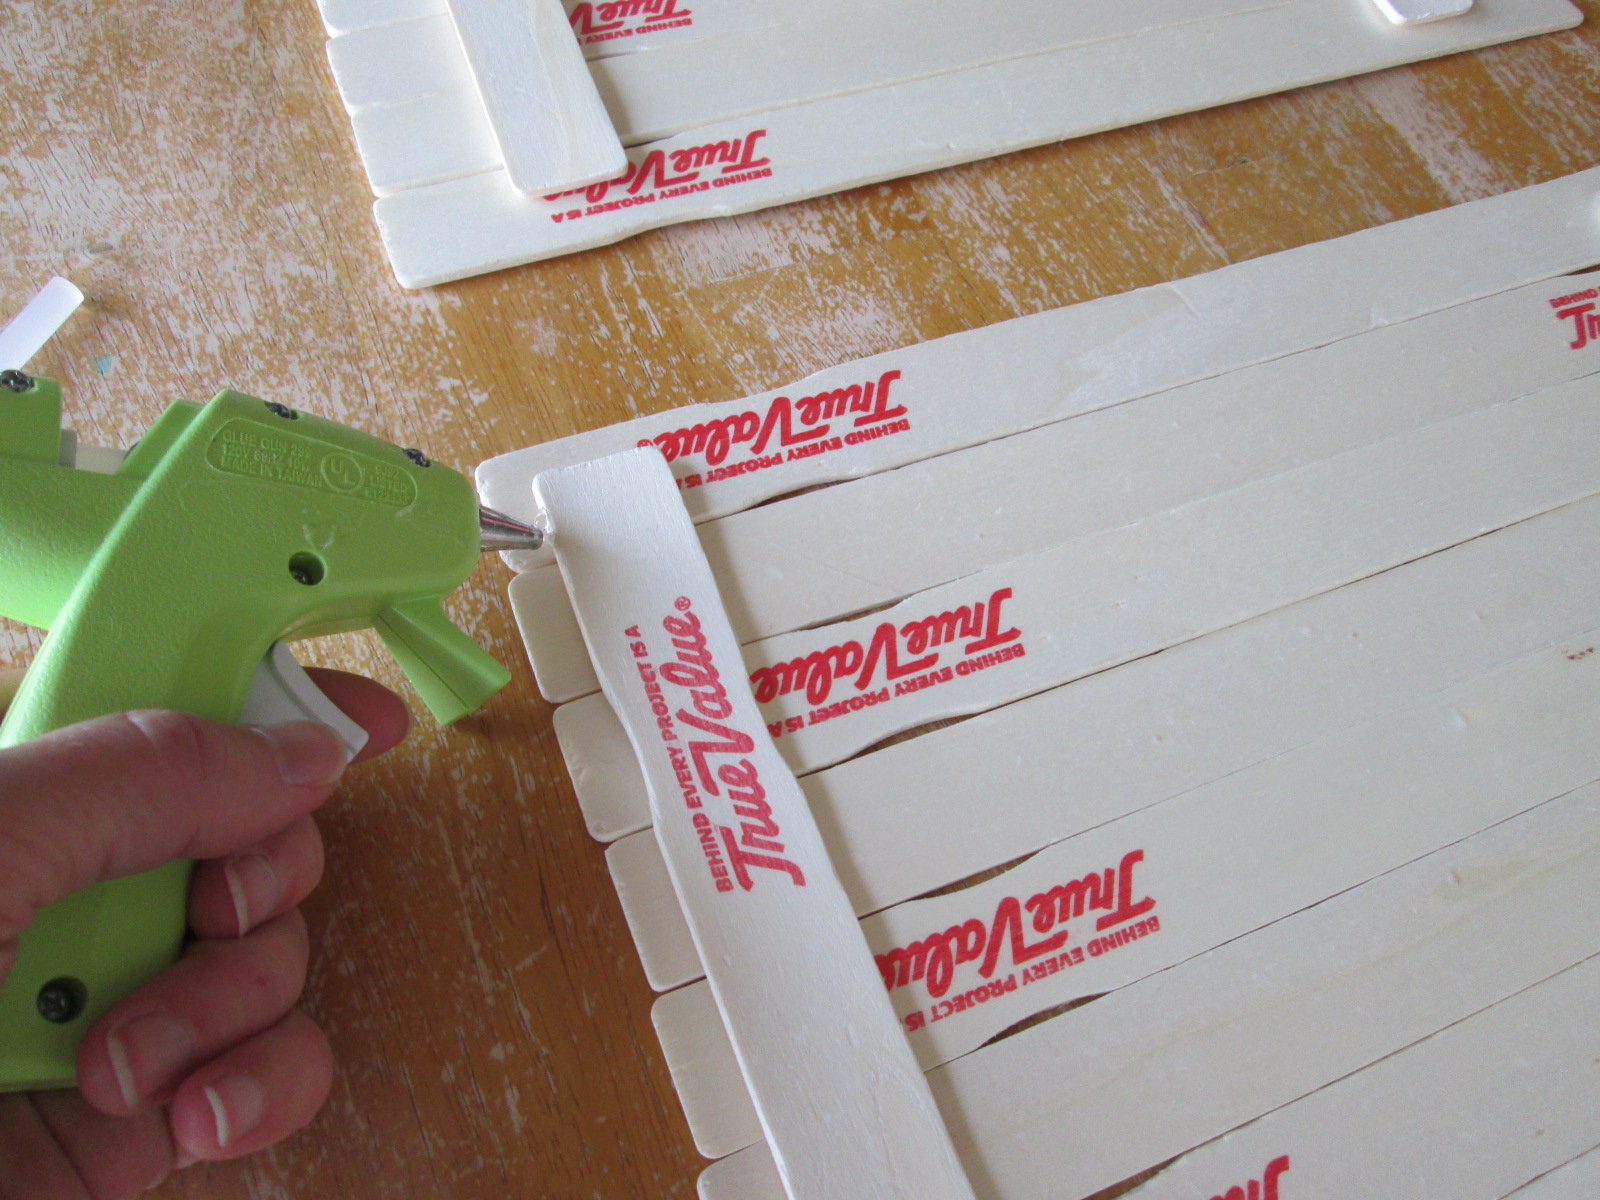
Step 2: Hot glue the 2 remaining sticks cross-wise to the back of the lined sticks. I put a strip of glue down across the lined sticks first, placed one cross-stick down, did the same to the other side with the second cross-stick, and then reinforced them with more hot glue along the top and sides.
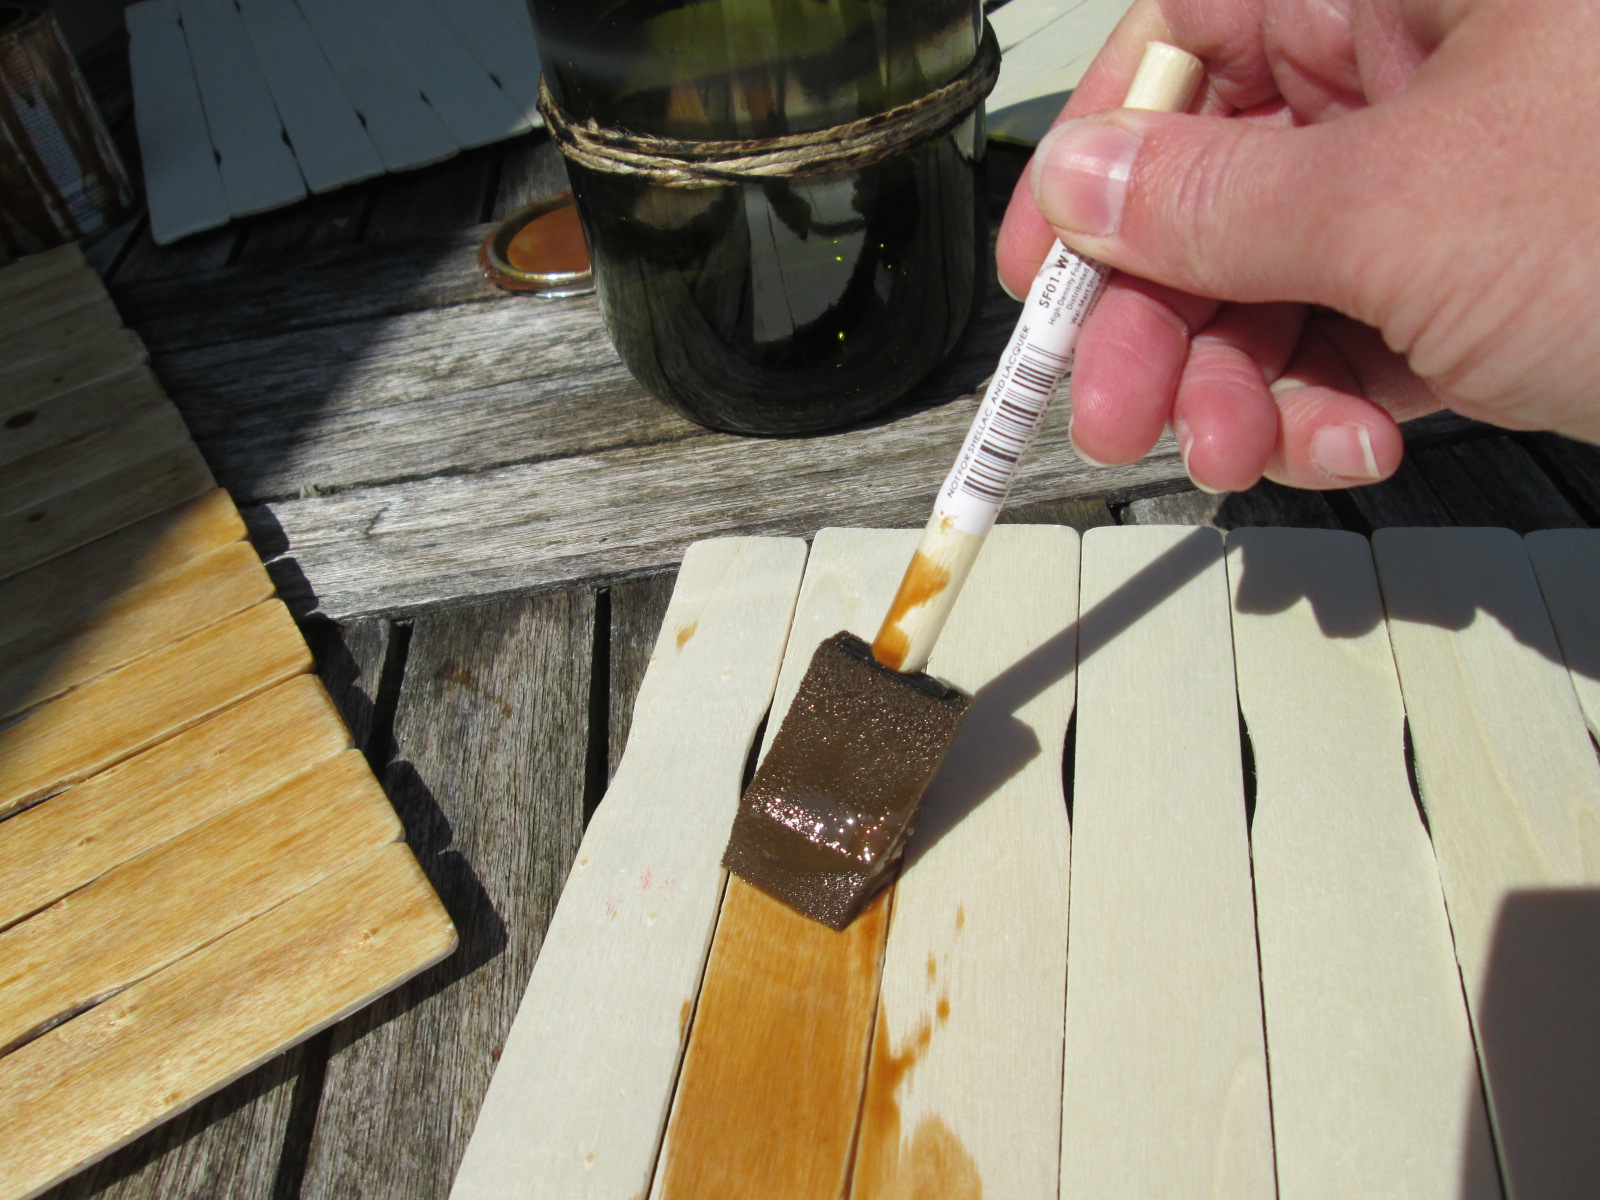
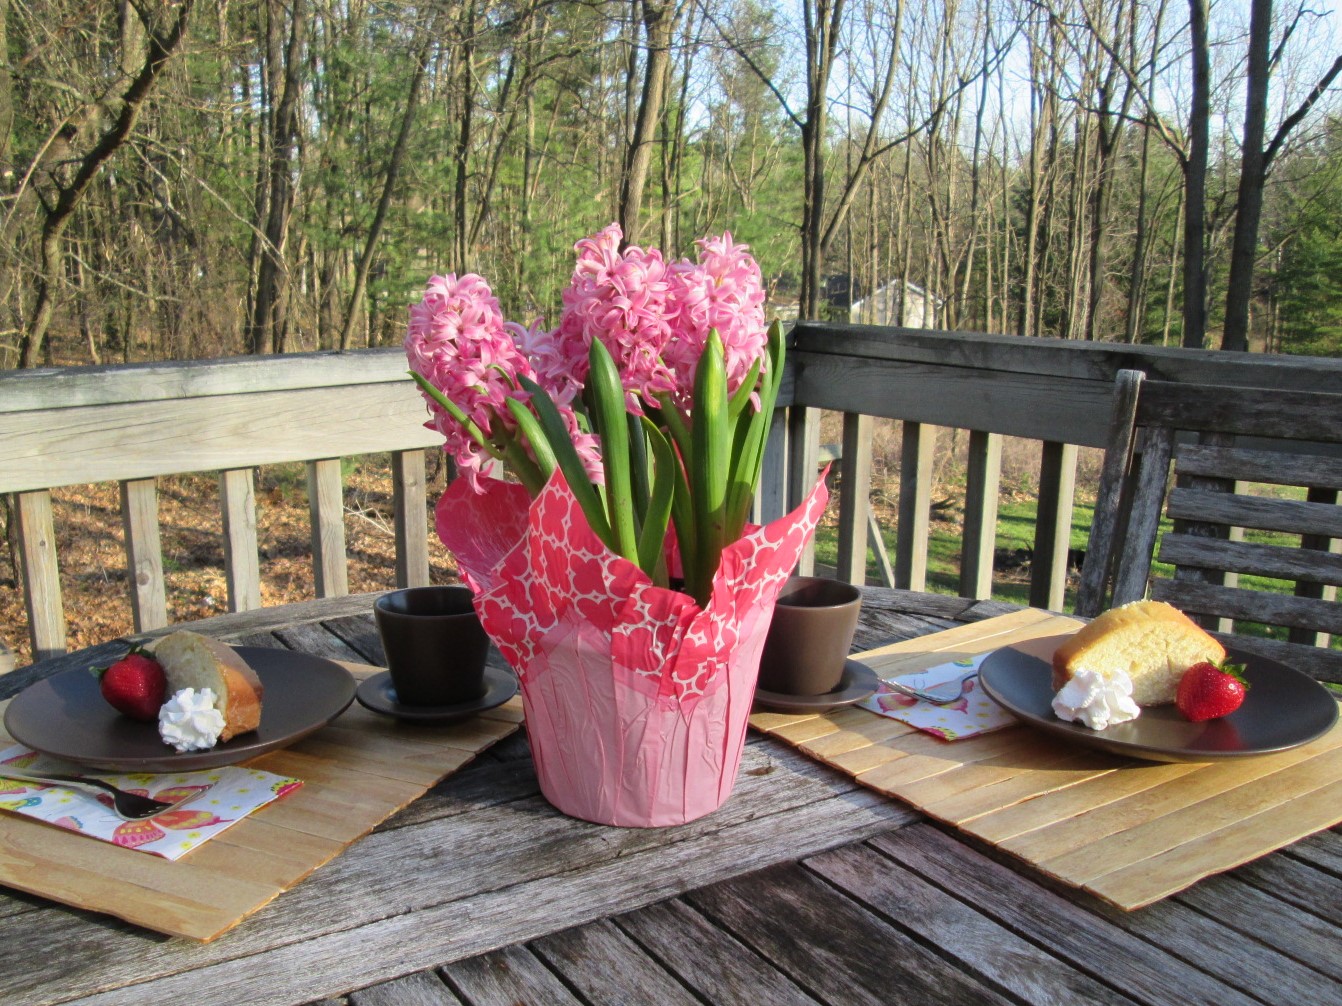
Step 3: Stain or paint the top of your placemat. Boom! You’re done!
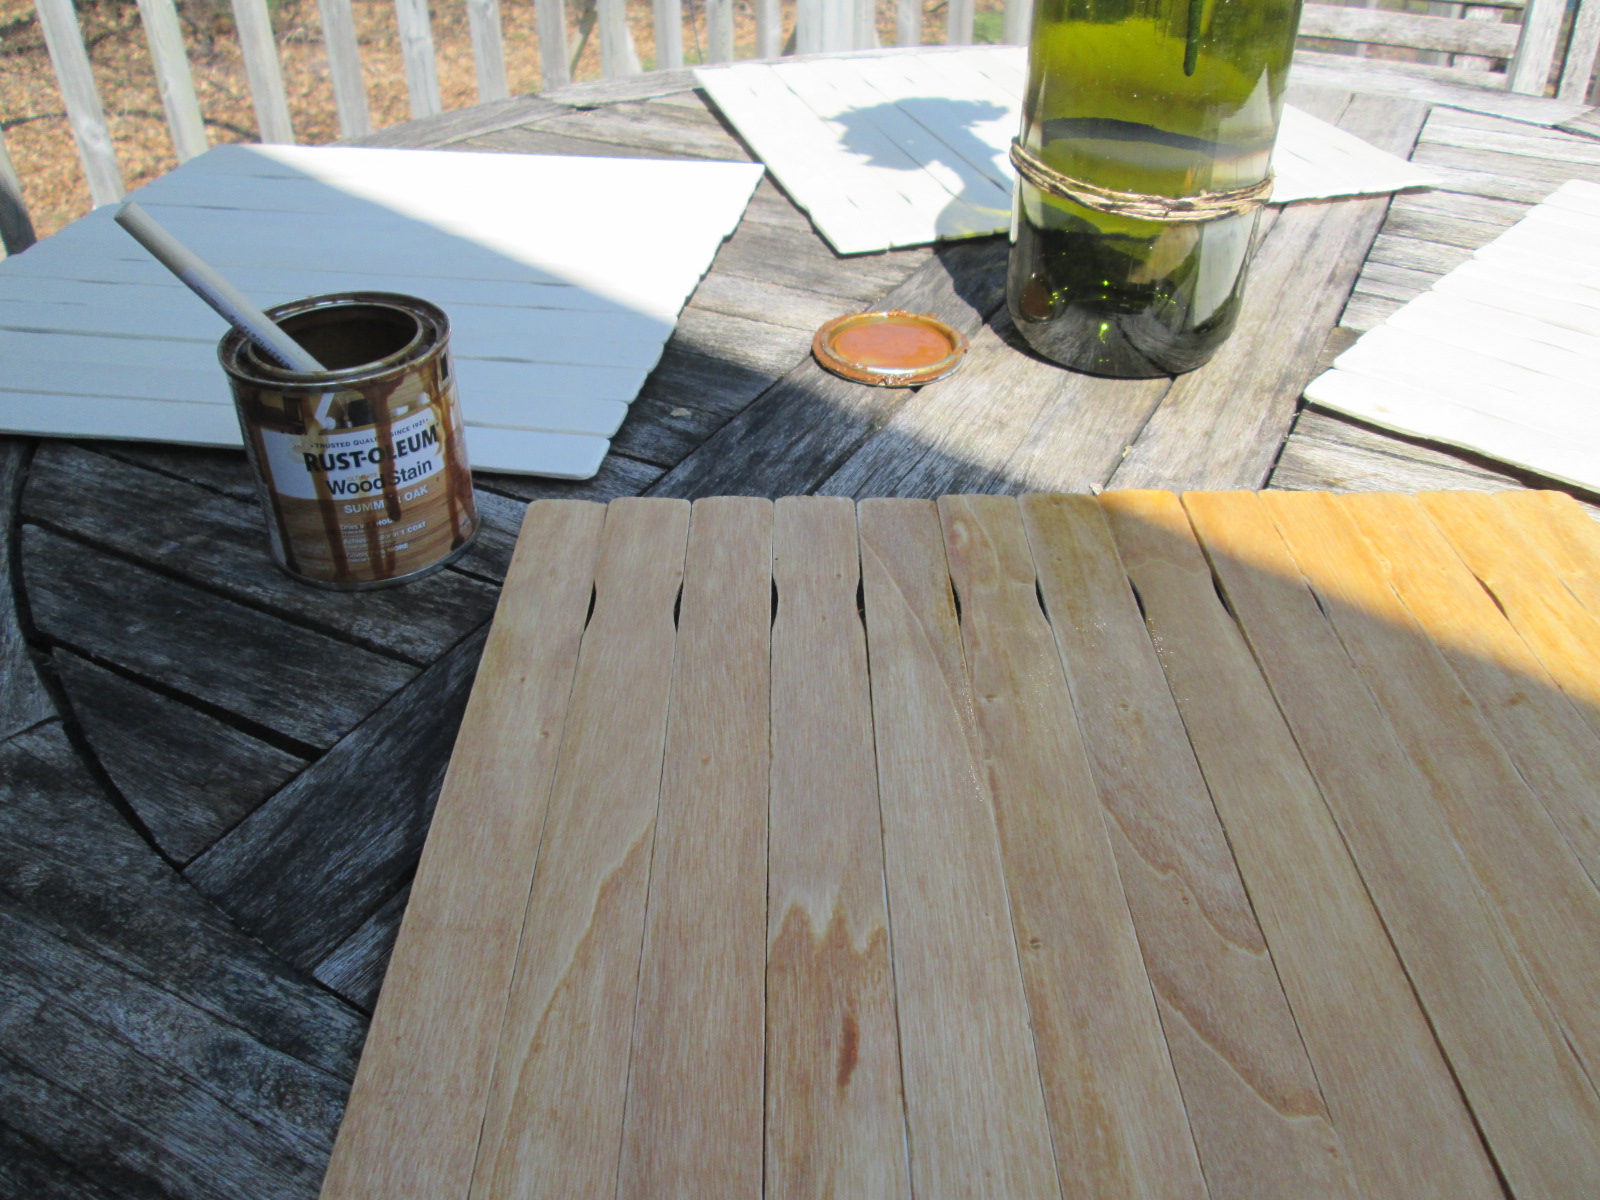
I hope you like this project and it spruces up your spring table. Just in case you are wondering, I did stage our deck table with two desserts (above) and then ate them both for breakfast. See, this blog helps everyone!
Also, if you’re curious about the art I was going to make before I got sidetracked with the placemats, check out my last picture. I’ll write more about that next time. Until then, enjoy your day and go invent your story!
Welcome inventors! This past week was spring break, and to celebrate I bought a box of springs. After brainstorming with my kids, we created our own spring-action race car launchers and gate. Check it out!
Here’s how we did it: First, we gathered all of the same size springs together. You could experiment with different strengths and sizes of springs, but in the spirit of good sportsmanship, we opted to keep them the same for racing. We used these materials and painter’s tape.
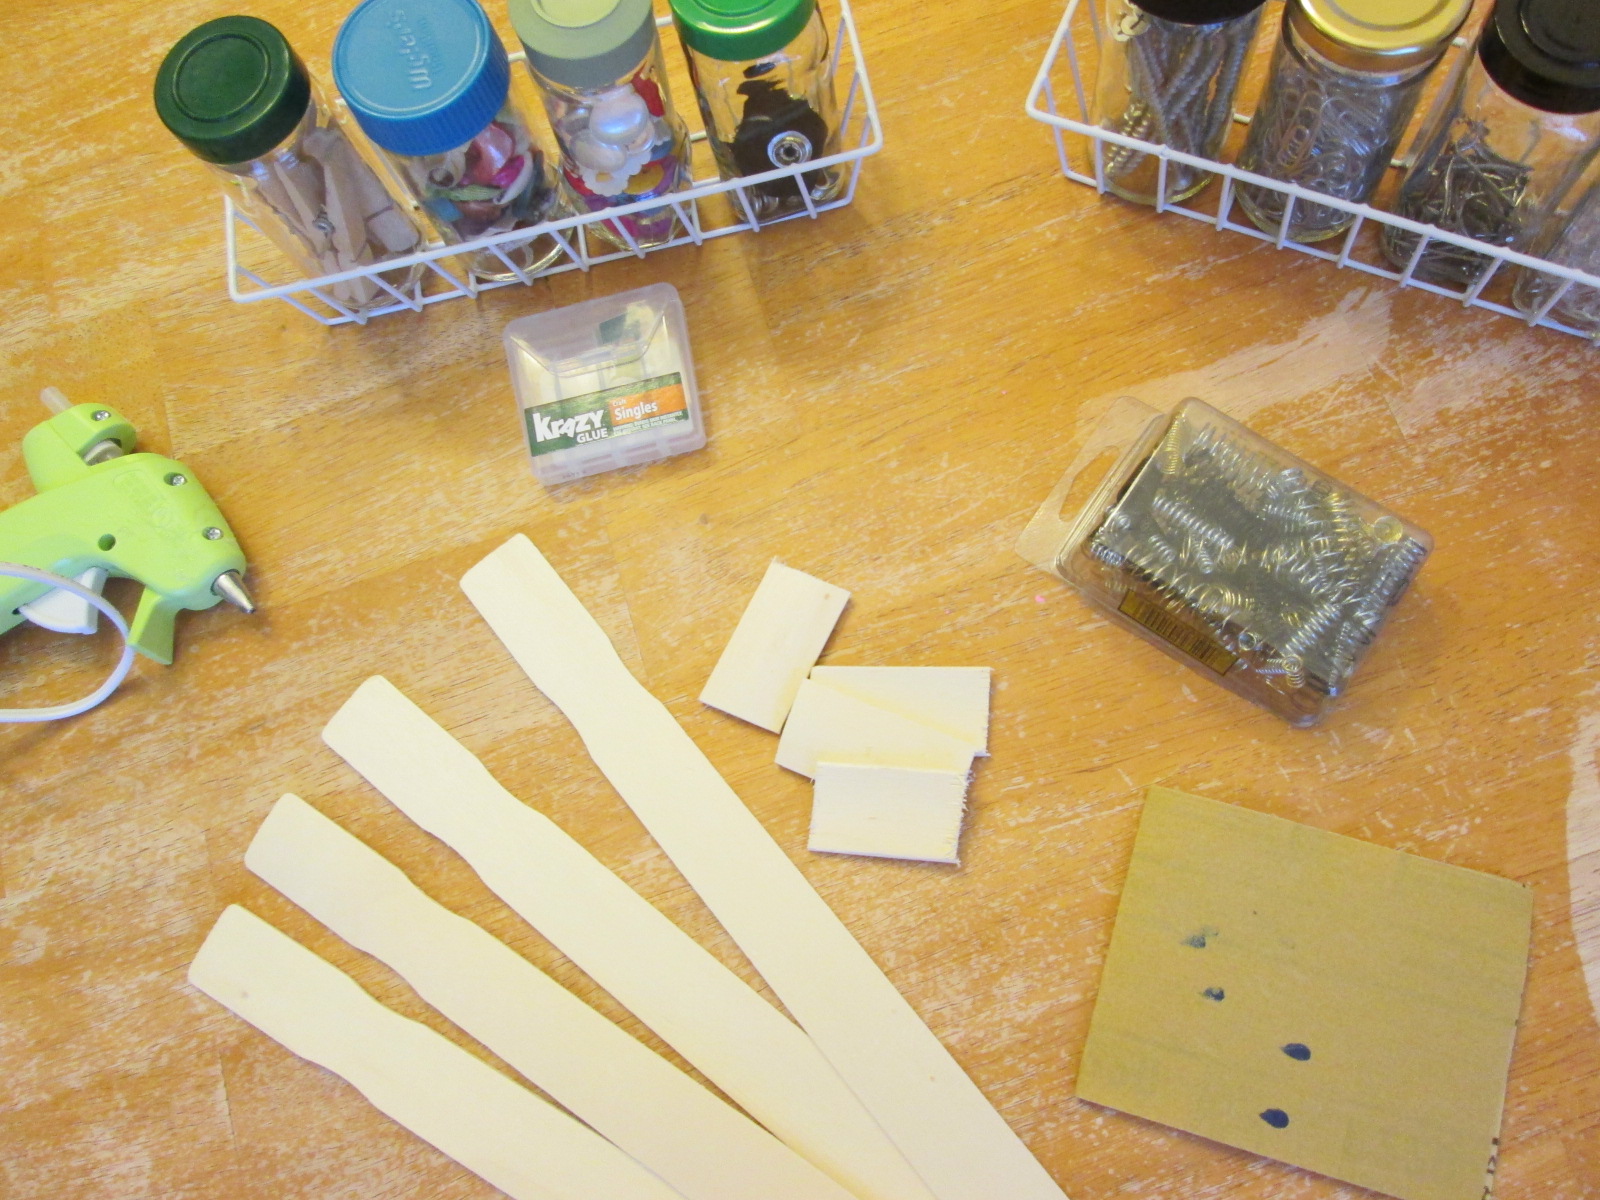
To make the launchers, we cut a paint stick into small pieces and sanded the edges. Then we super-glued (and doubled security with hot glue) the springs onto the back of our paint stick pieces. Launchers!

After that, we needed our starting gate. We ran out of hot glue, so we used painter’s tape to frame the sticks into stalls. This wasn’t hard, but the sticks moved quite easily.
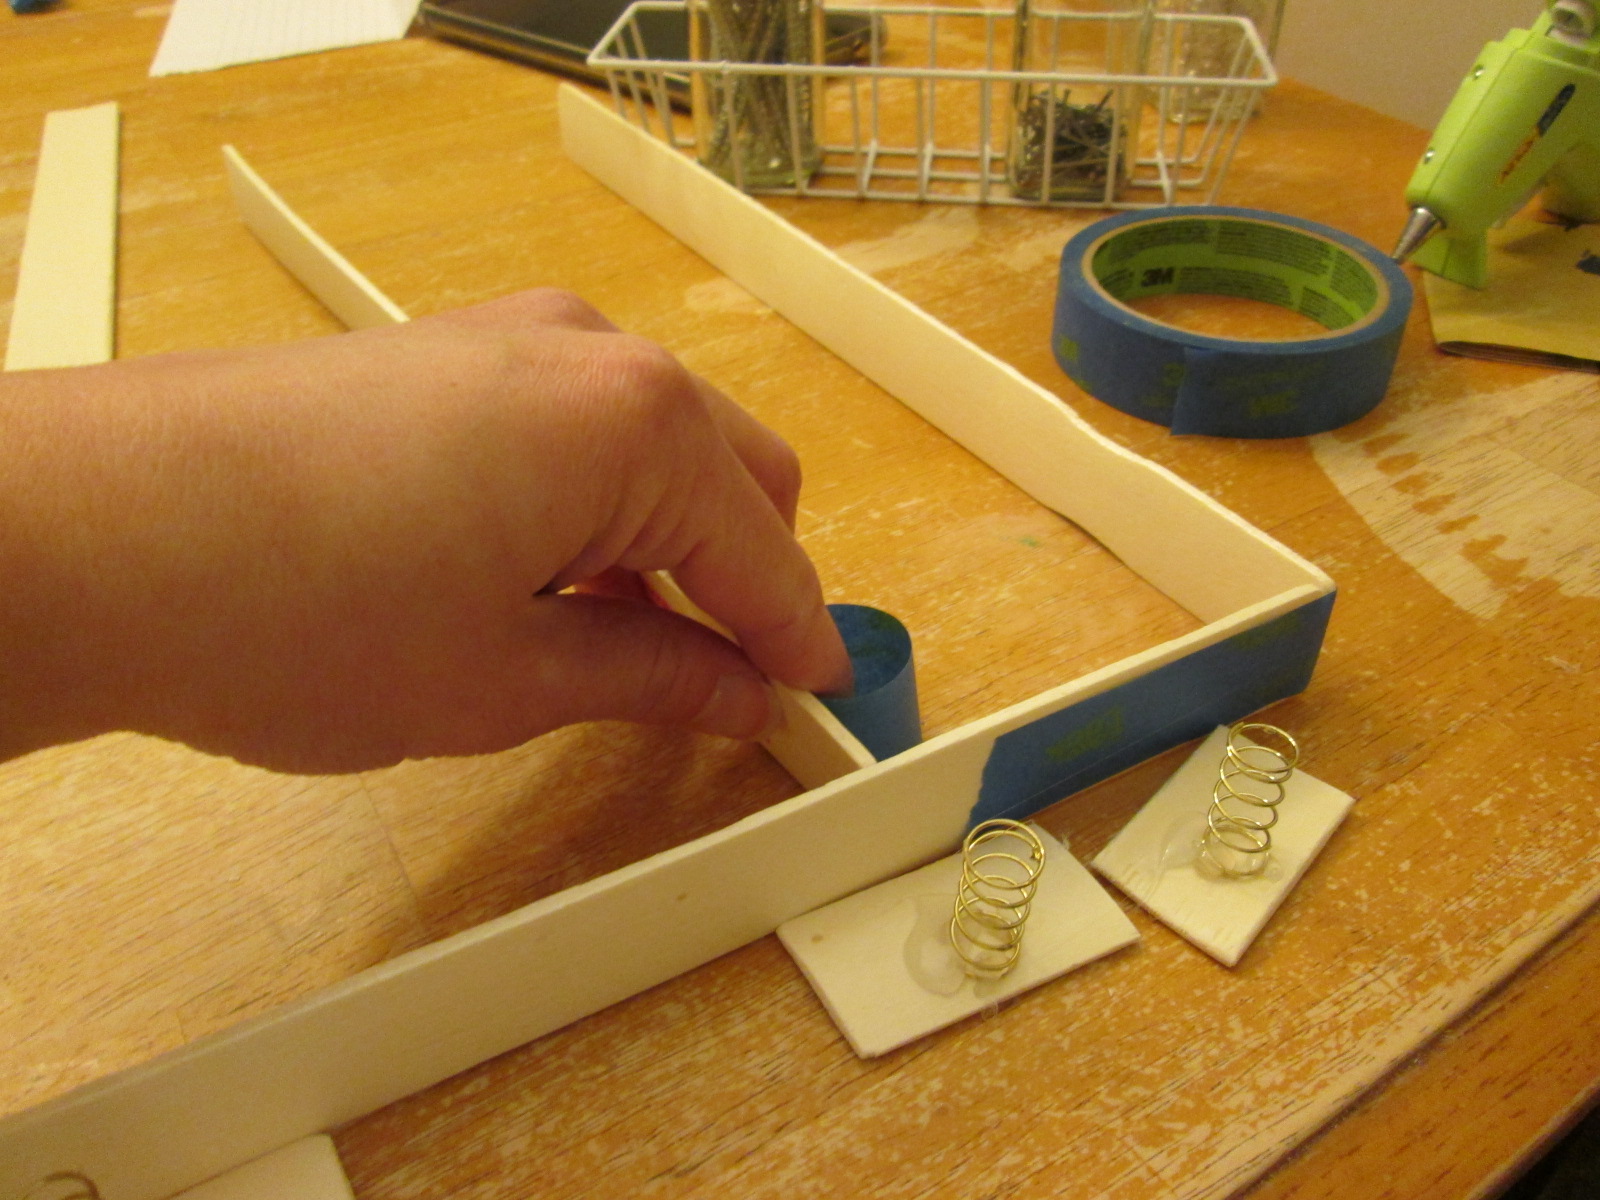
The ends of the stalls were floppy, so we secured two screws together that faced opposite directions to the end of the starting gate to keep them equally separate. This is shown in the video at the end. We also taped the outside walls to our table.
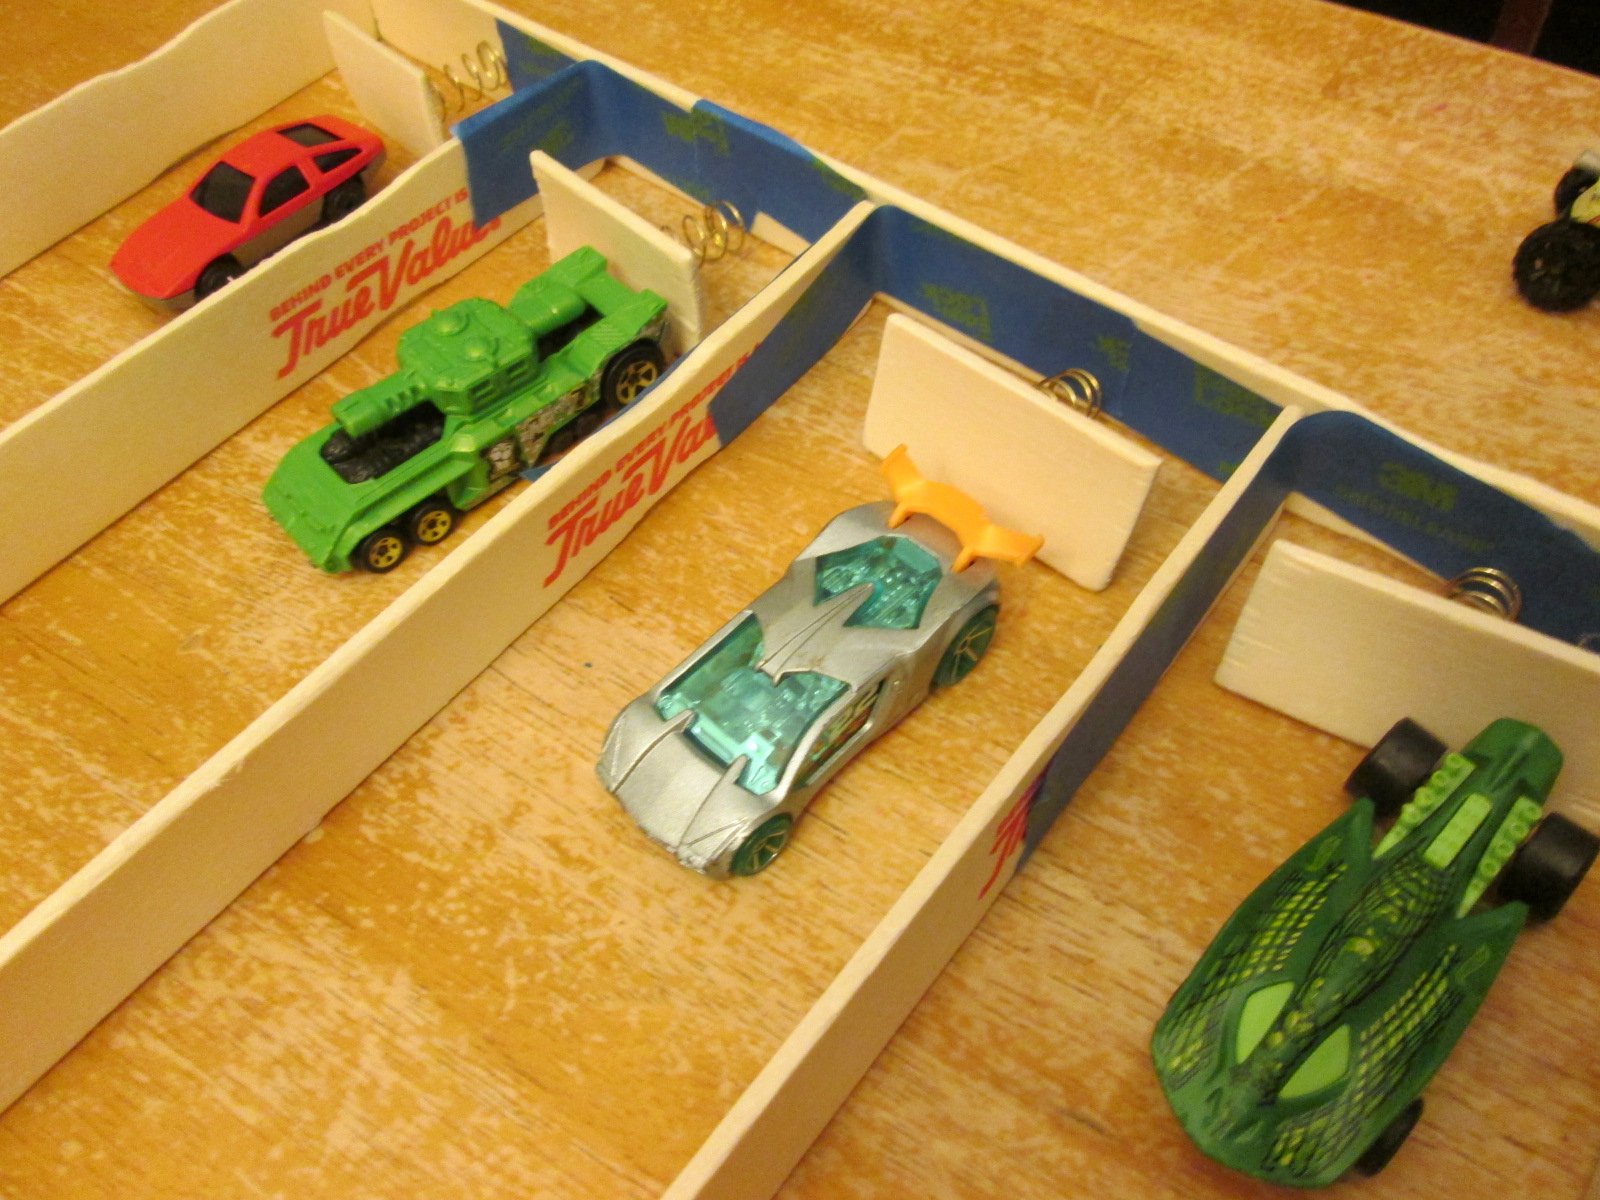
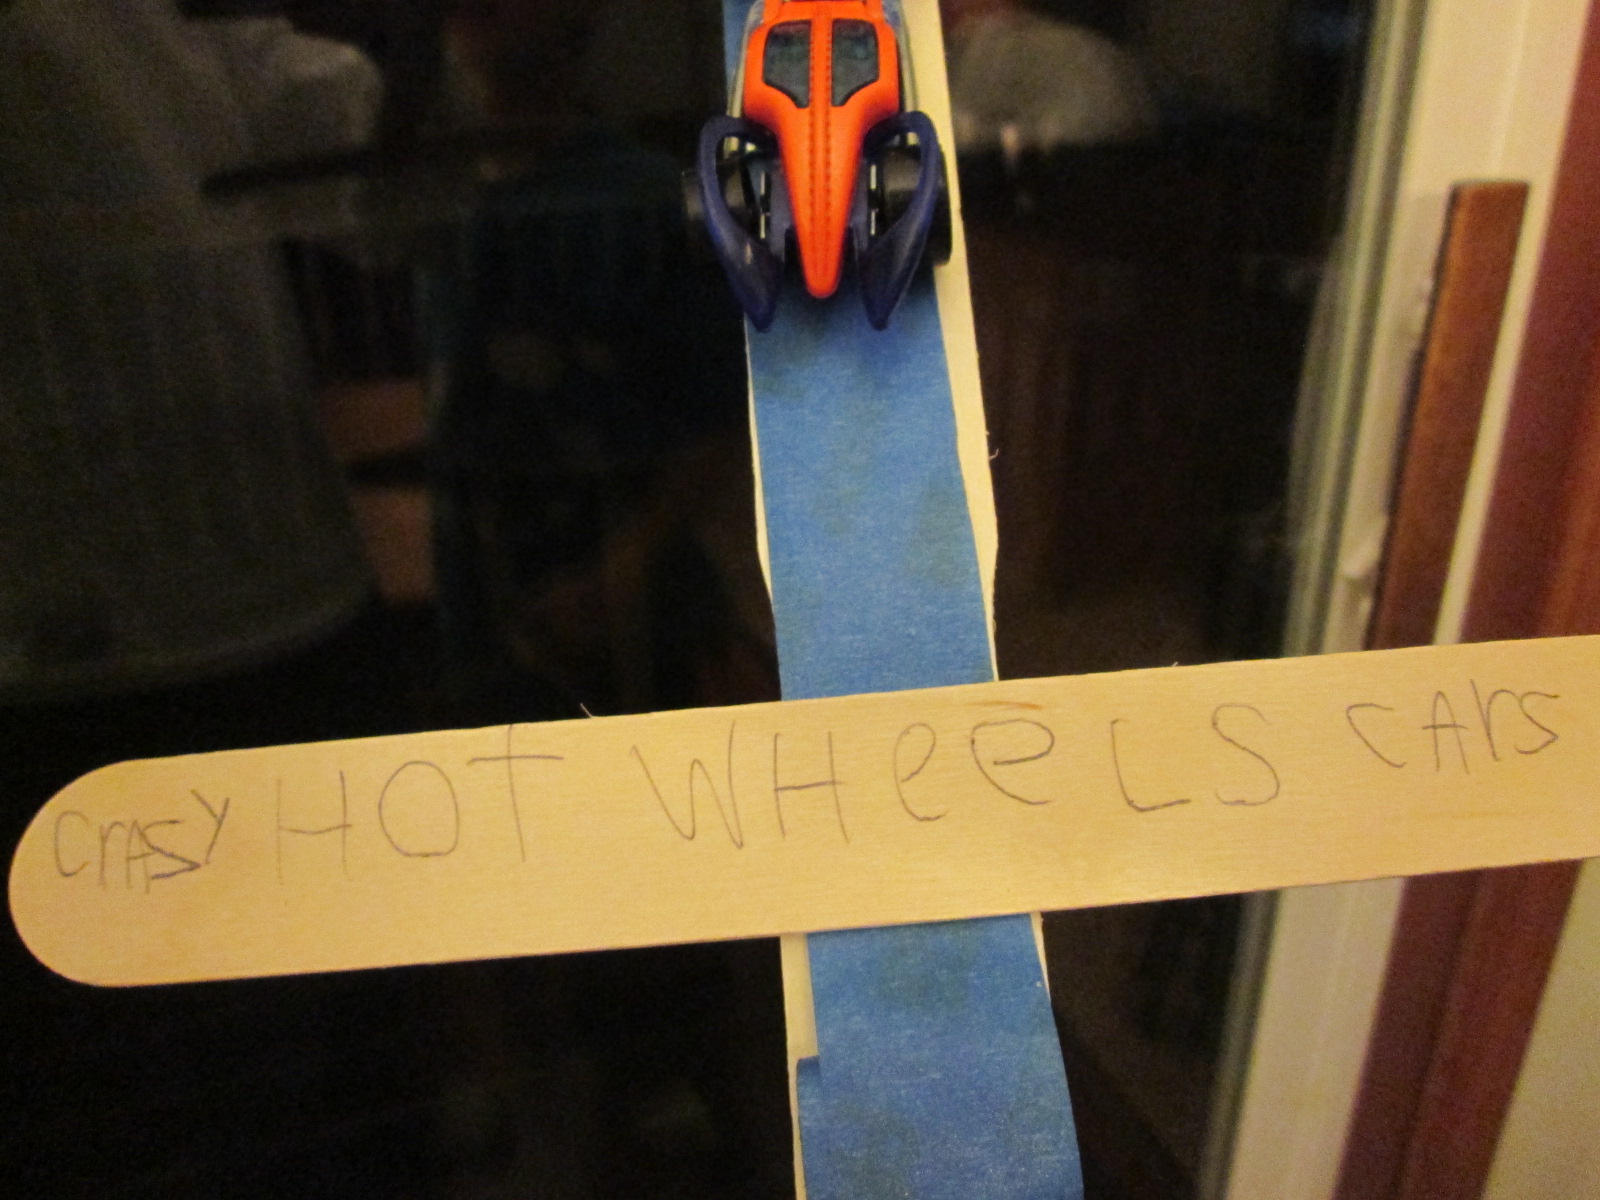
Ready, set, launch! For our race, we used more painter’s tape to create a finish line for the winners. We also experimented with some interference for our race cars to navigate. My son made a display for our winning cars.
I think it turned out pretty well! Here’s our big race. Give it a try and see what you think. And whatever you do this spring, don’t forget to enjoy life and invent your story.
[wpvideo qbuoza9t]