
Welcome Inventors! Today I am taking a break from inventing to get organized. Messes are more fun – at least that’s my motto. Look at the pic of my first blog about inclined planes if you don’t believe me! That mess was not part of the project – it’s just how we roll some days.
If you are like me, you may not be known for organization – but you can appreciate the value of knowing where things are and where they go. This saves you time, and time is valuable. Let’s invent some space!
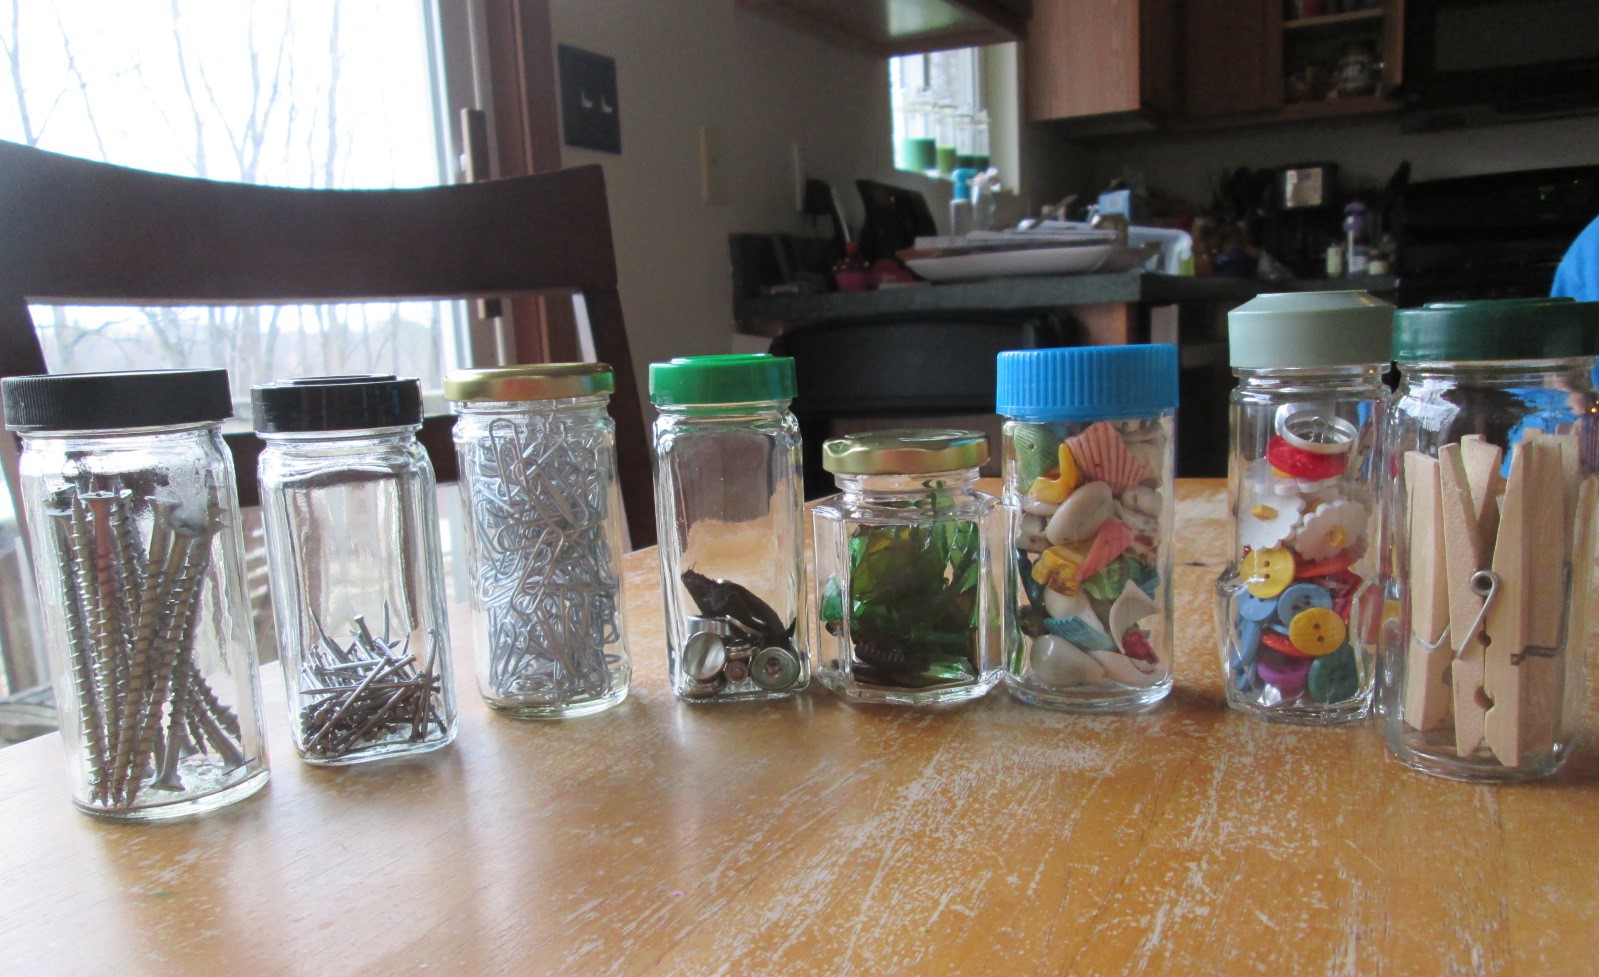
- START SMALL: If you’ve ever bought office supplies, hardware or craft materials (very useful for inventors) you get hundreds of little pieces. And that’s nice – except what do you do with the 99 pieces you don’t need for your current project? Get that stuff together, and take a deep breath.
Once you’ve collected your little things, the next step is putting them into containers.
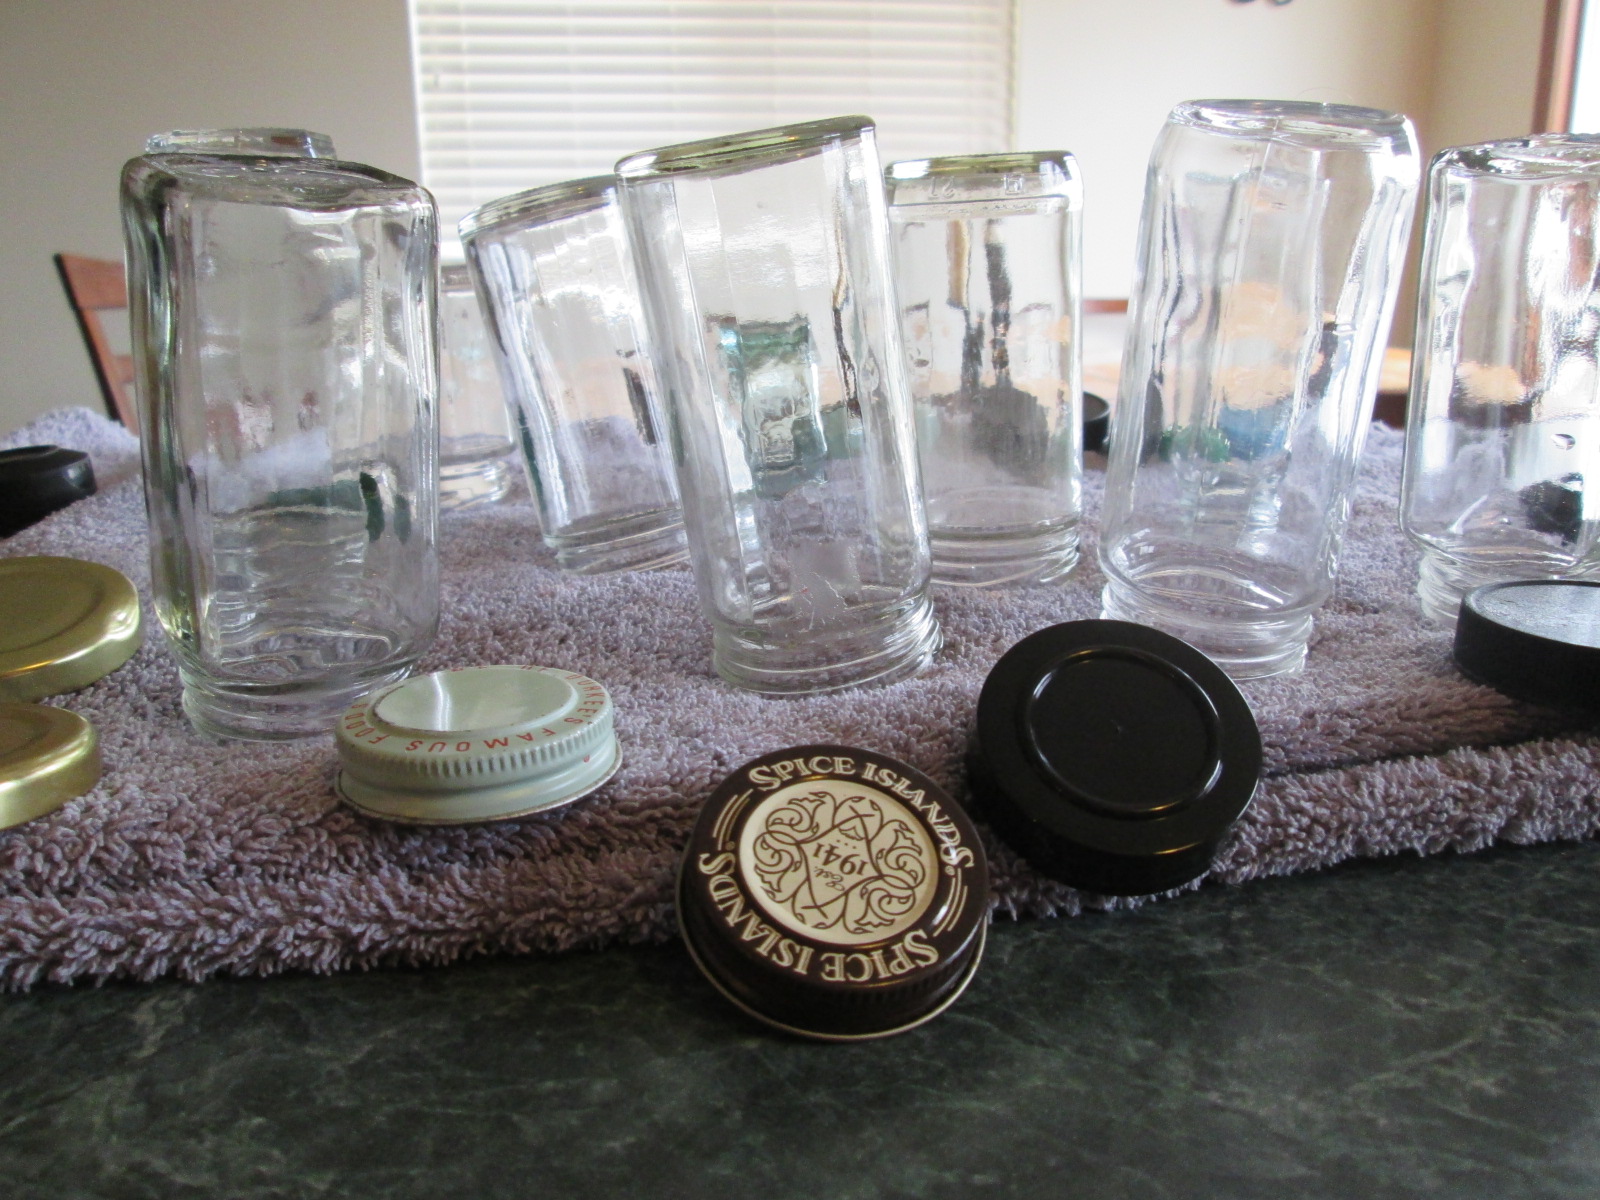
- IT DOESN’T MATTER WHAT YOU PUT IT IN: That’s right. You don’t need to take a special trip to the store. You can, but why not re-use old containers? This weekend my mom and I went through some spices to see what was still good – and it turned out many of them had been expired for years.
I dumped out the spices and let the containers soak in a sink of hot water, dish soap, and baking powder. Most of the labels came off easily after the bath. I set them out to dry on a towel.
- KEEP THINGS TOGETHER: After I filled my spice jars with my little pieces, I put them in wire containers. This is completely unnecessary, but grouping your supplies together and keeping them in the same place will save you frustration later. You might even call it an Inventor’s Workshop.
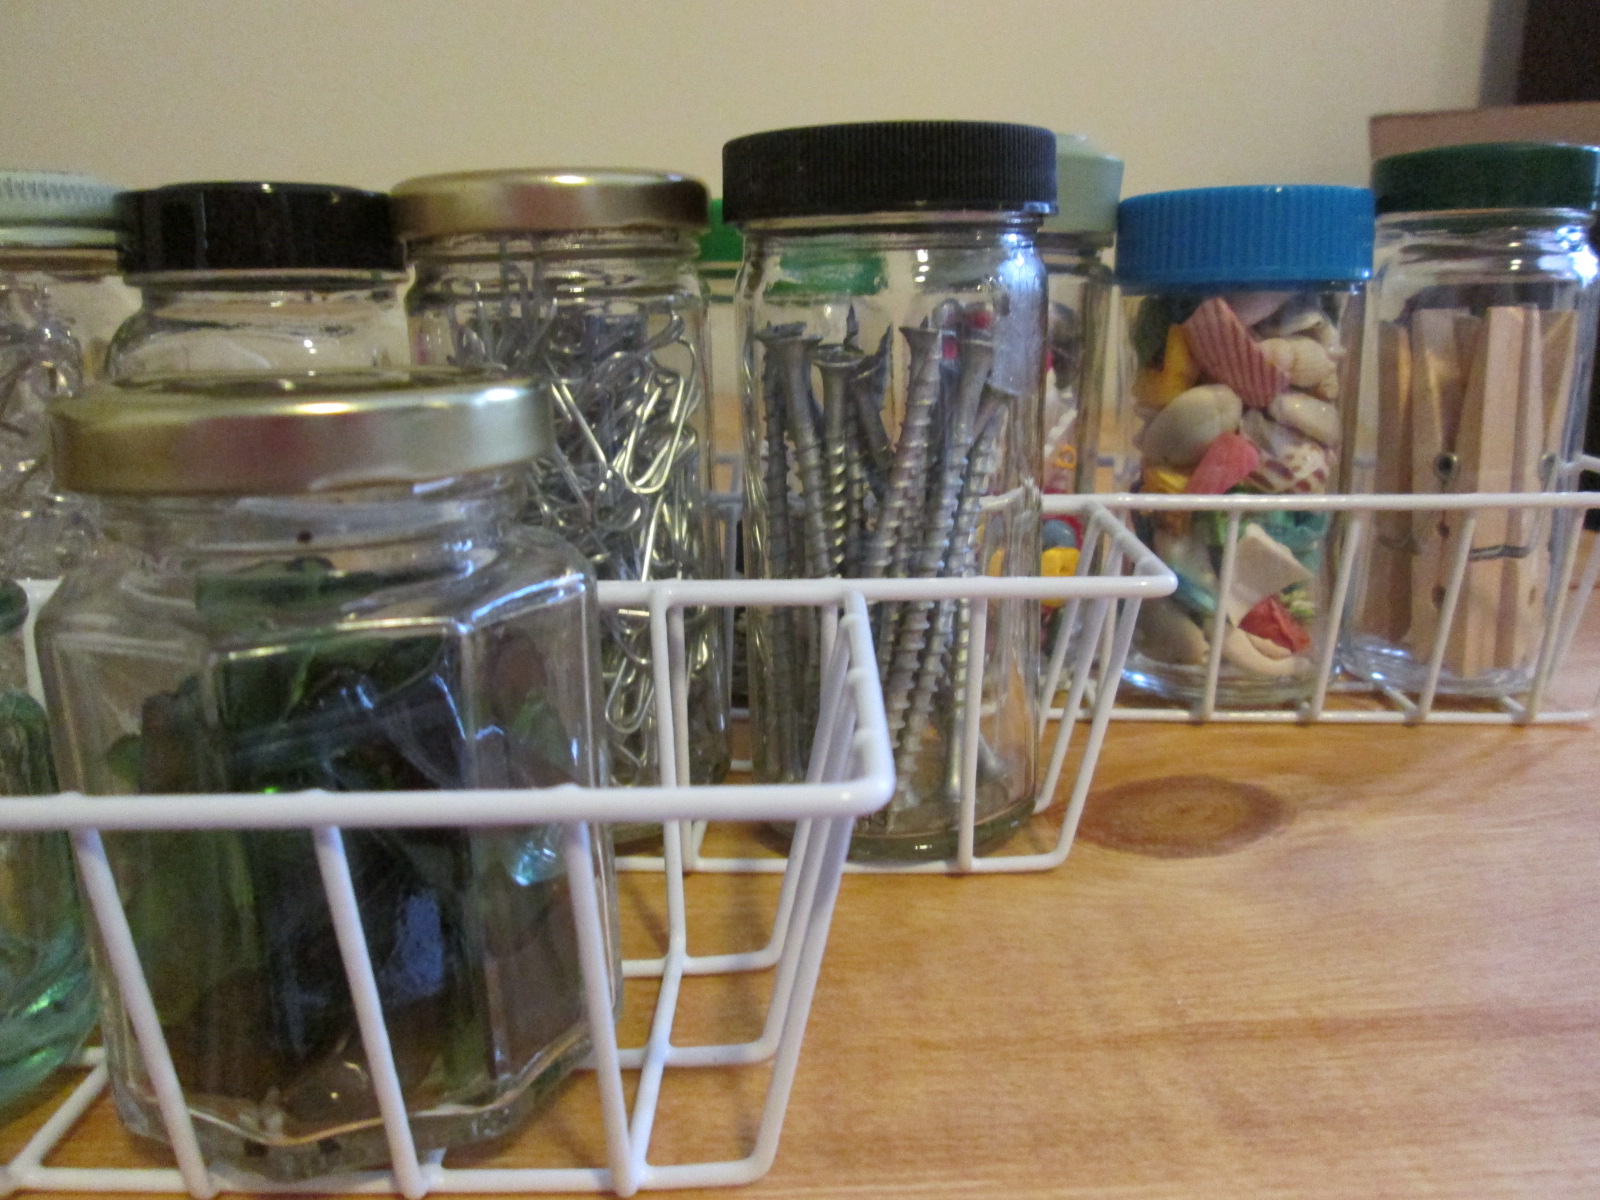
There you go! You’re on your way to your own inventor’s workshop. This is probably the world’s smallest workshop, but I have no doubt that this baby is gonna grow. After all, we’ve only just begun.
Let me know how this was helpful for you. Thank you for visiting my site, now go! ???? Enjoy your day and invent your story.
Welcome Inventors! I’ve always been interested in language. When I was in elementary school, my friends and I formed a club and made a secret language just for us. No teachers were going to understand any notes we passed!
Step 1: Knowledge – what is a code? A code is a system of rules used to turn information (such as letters, sounds, images, etc.) into another form of representation for communication.
Step 2: Simple Application – a wonderful example of code is International Morse code. Almost anyone could recognize this picture and be able to understand the message.
S=••• O= – – – SOS is essentially “help!” in International Morse code. This is a useful tool in a world full of different languages! If you are interested, click here for some great information on the history of Morse code.
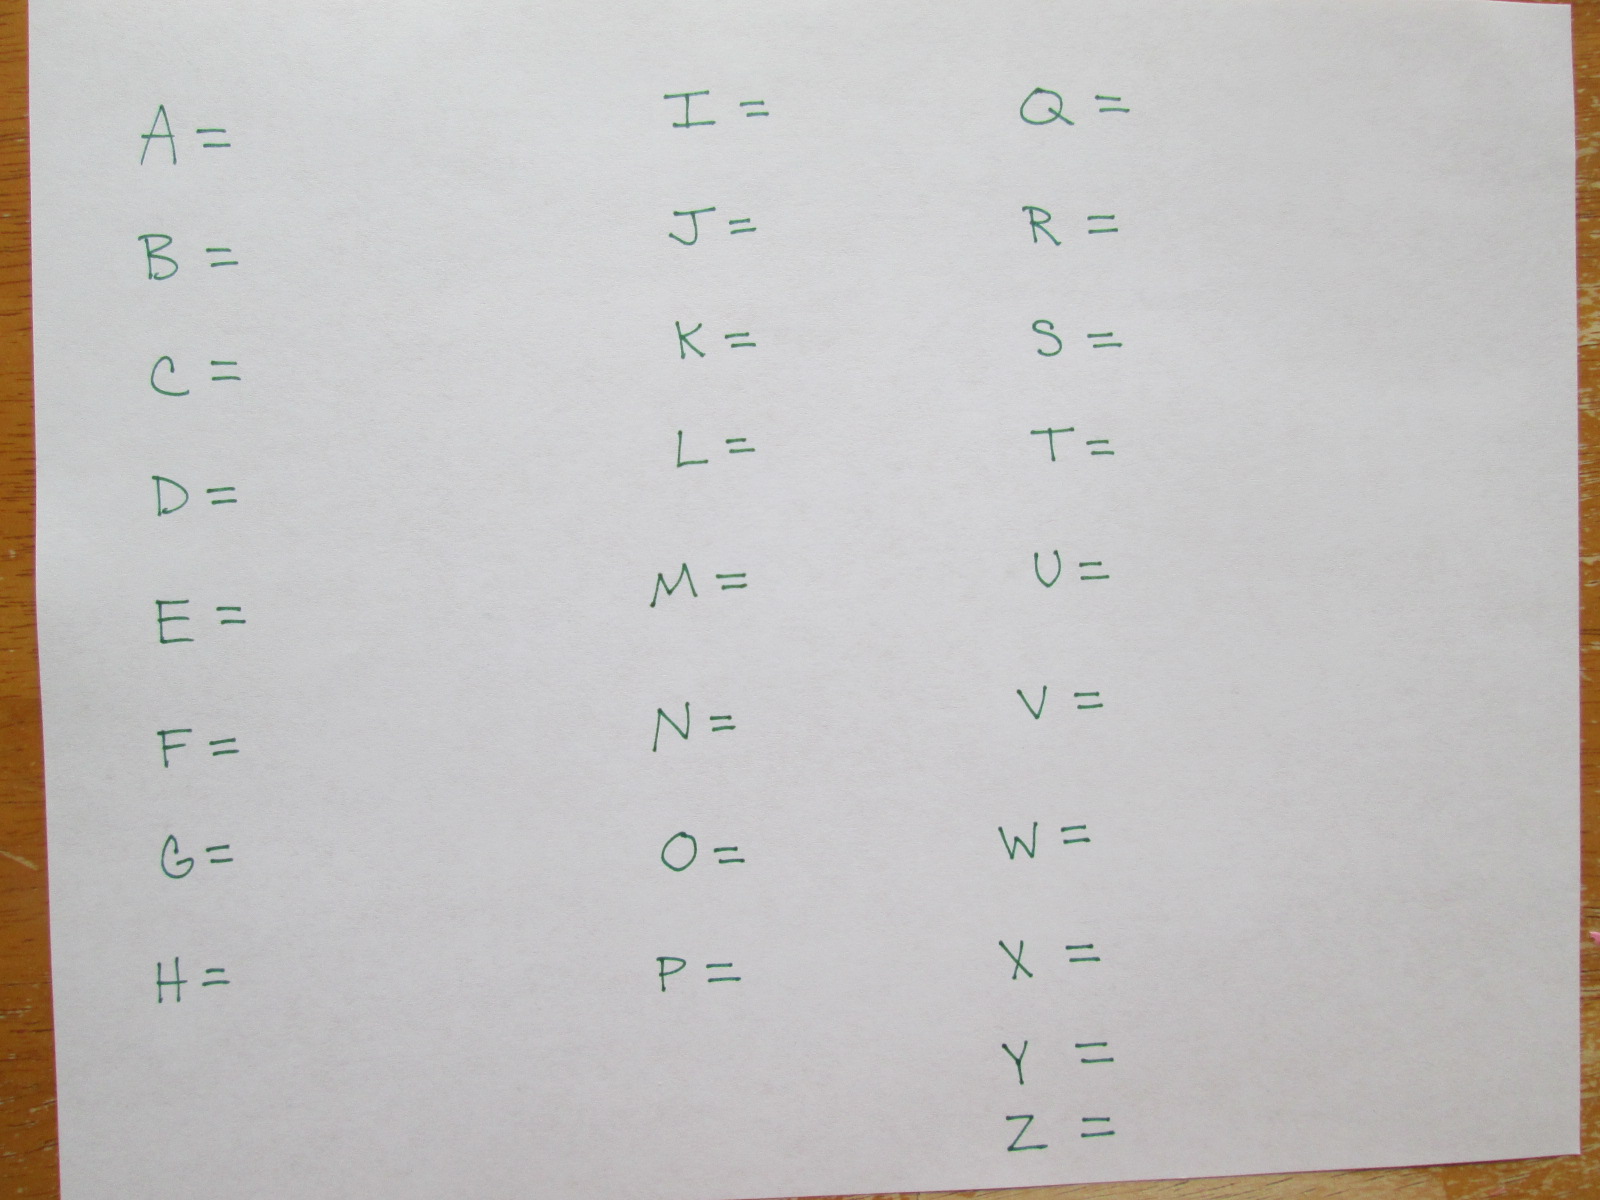
Step 3: Level up – To make our own code today, we need a system of rules and information. I’m going to use letters because I like to make words. Here is the “key” to my code before I begin:
Step 4: Build It – to create your code, make a few designs on a piece of paper. If you want to copy mine you can, but try your own thing! I did find that simple shapes with small details worked well for me.
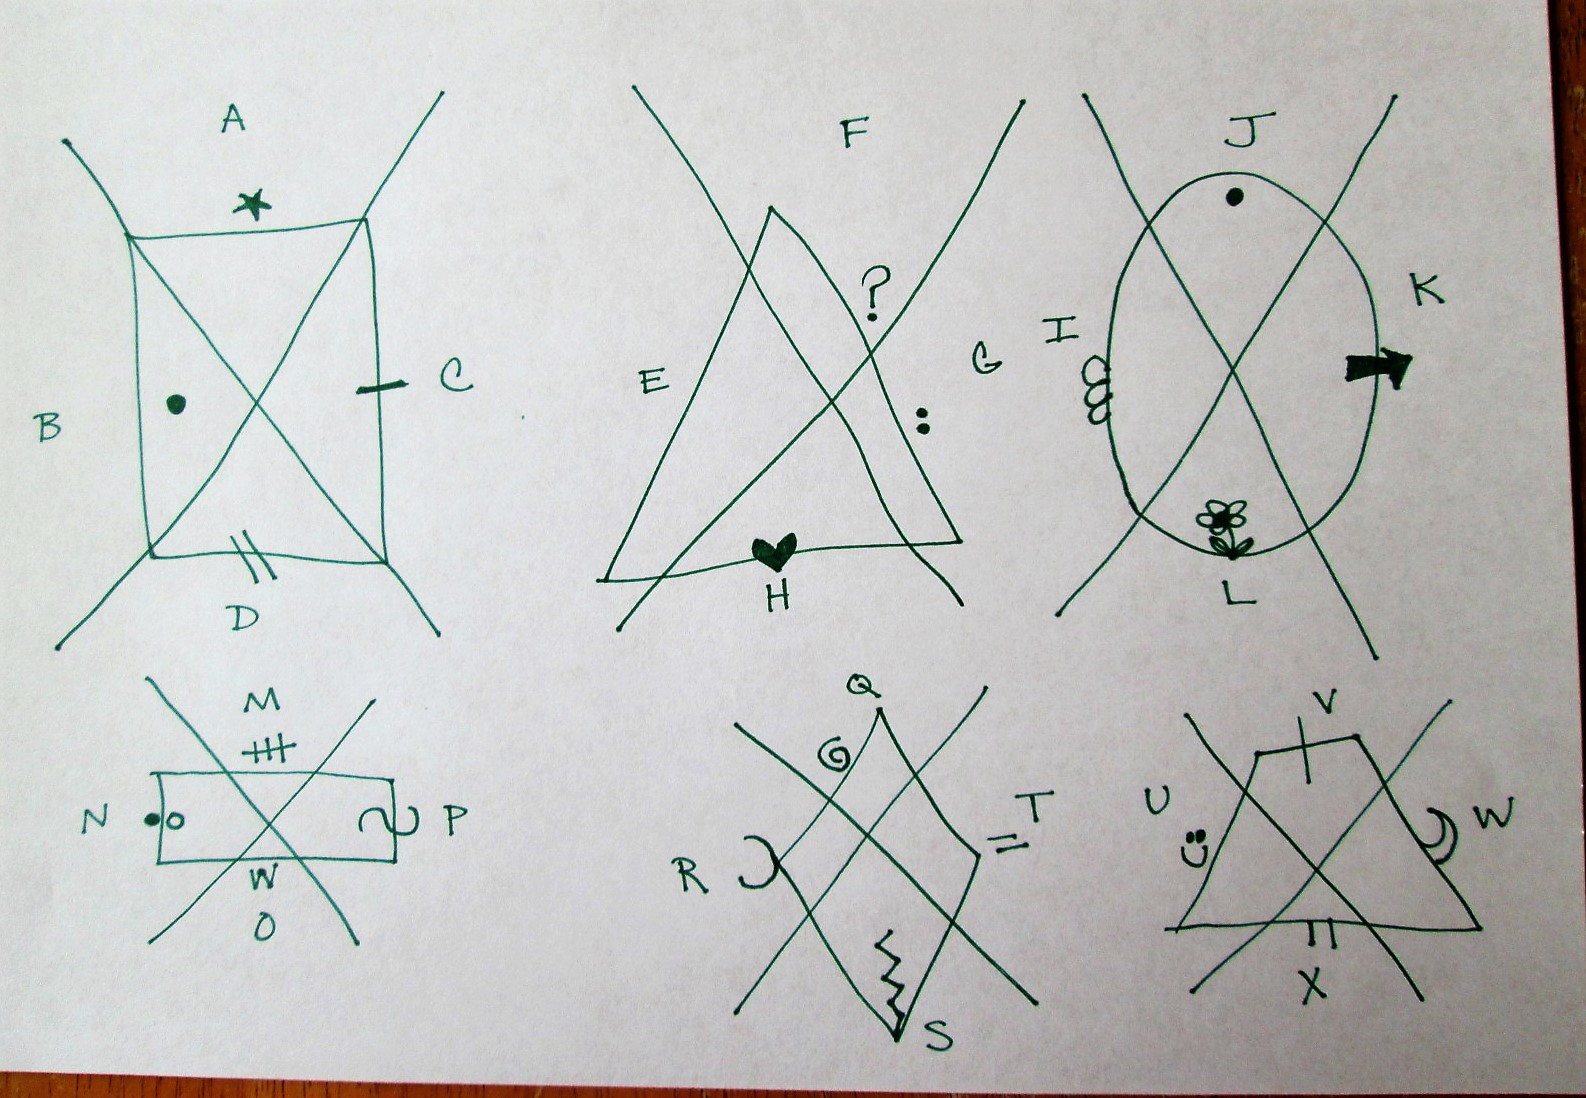
Step 5: Launch – To turn your design into code, place X’s over your designs. You could also divide them into quadrants with + signs or squiggle off your favorite parts. This gives you the pieces of your code. Once you have what you like, add them to your key next to the letters, and BAM – you’ve invented your own secret code! (I made up Y and Z instead of drawing another shape – you do what you like!)
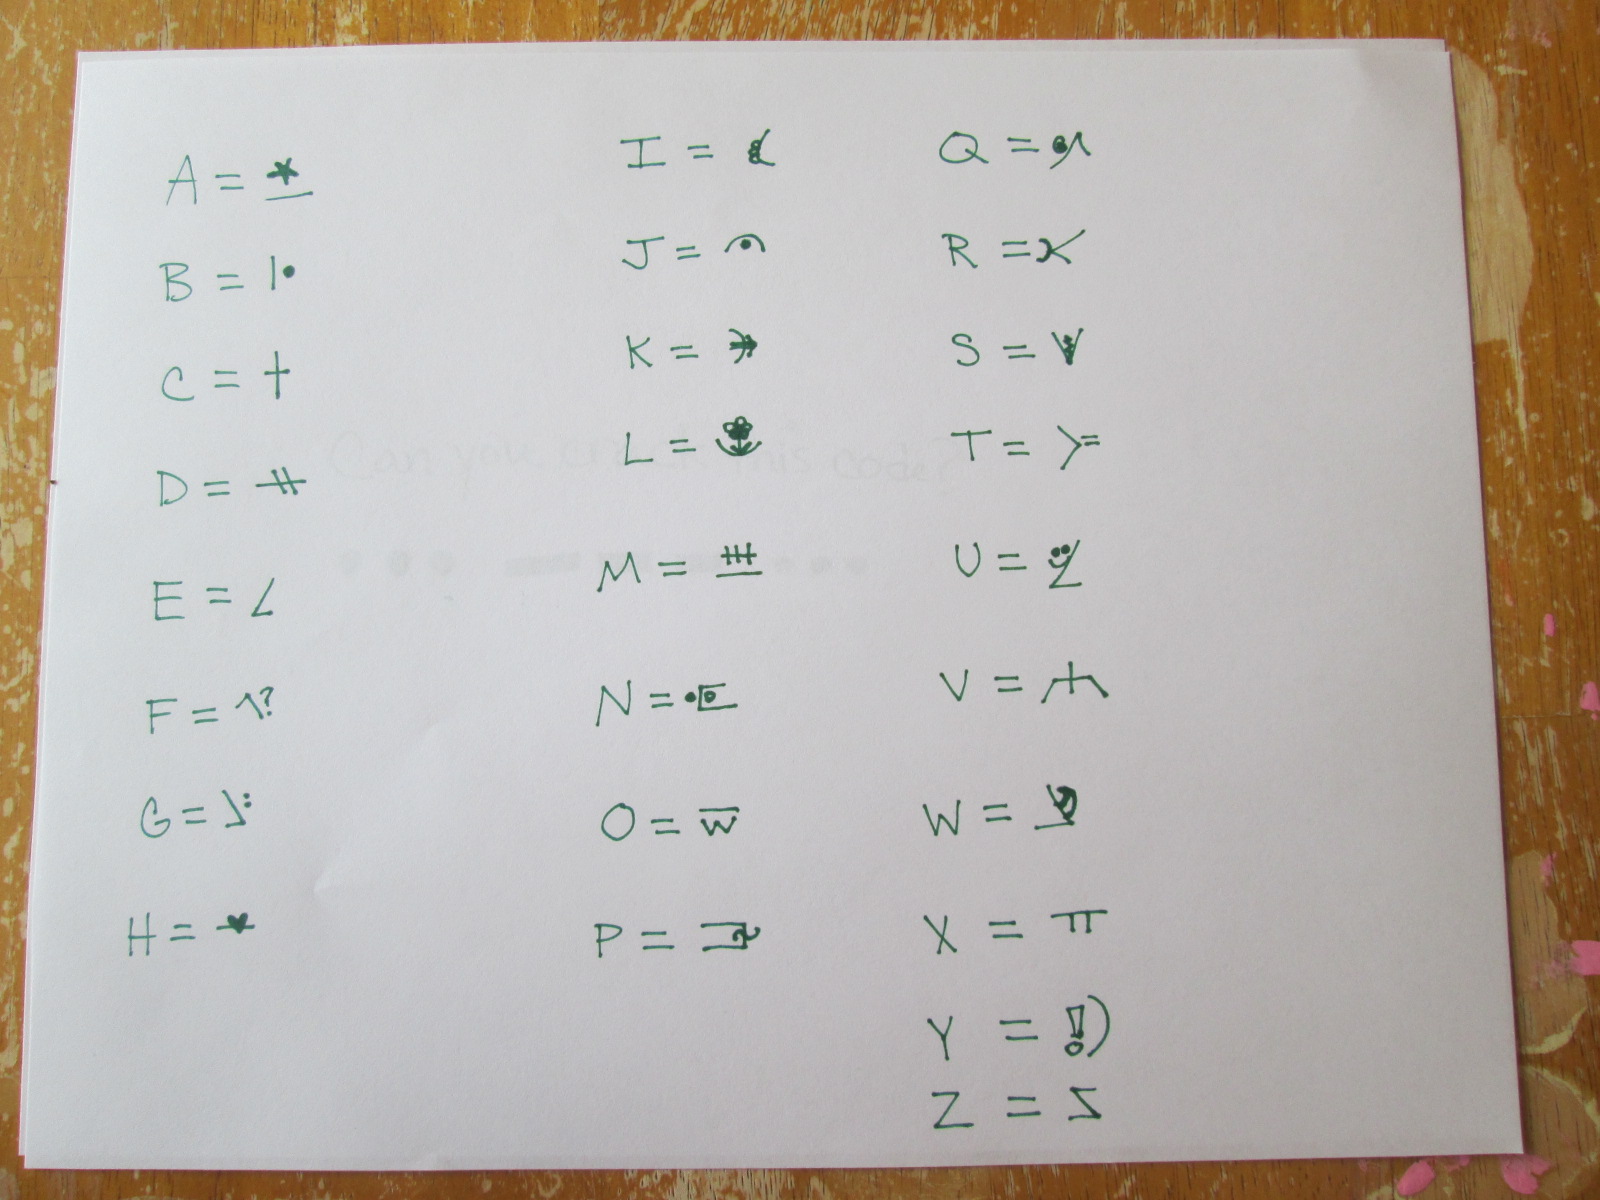
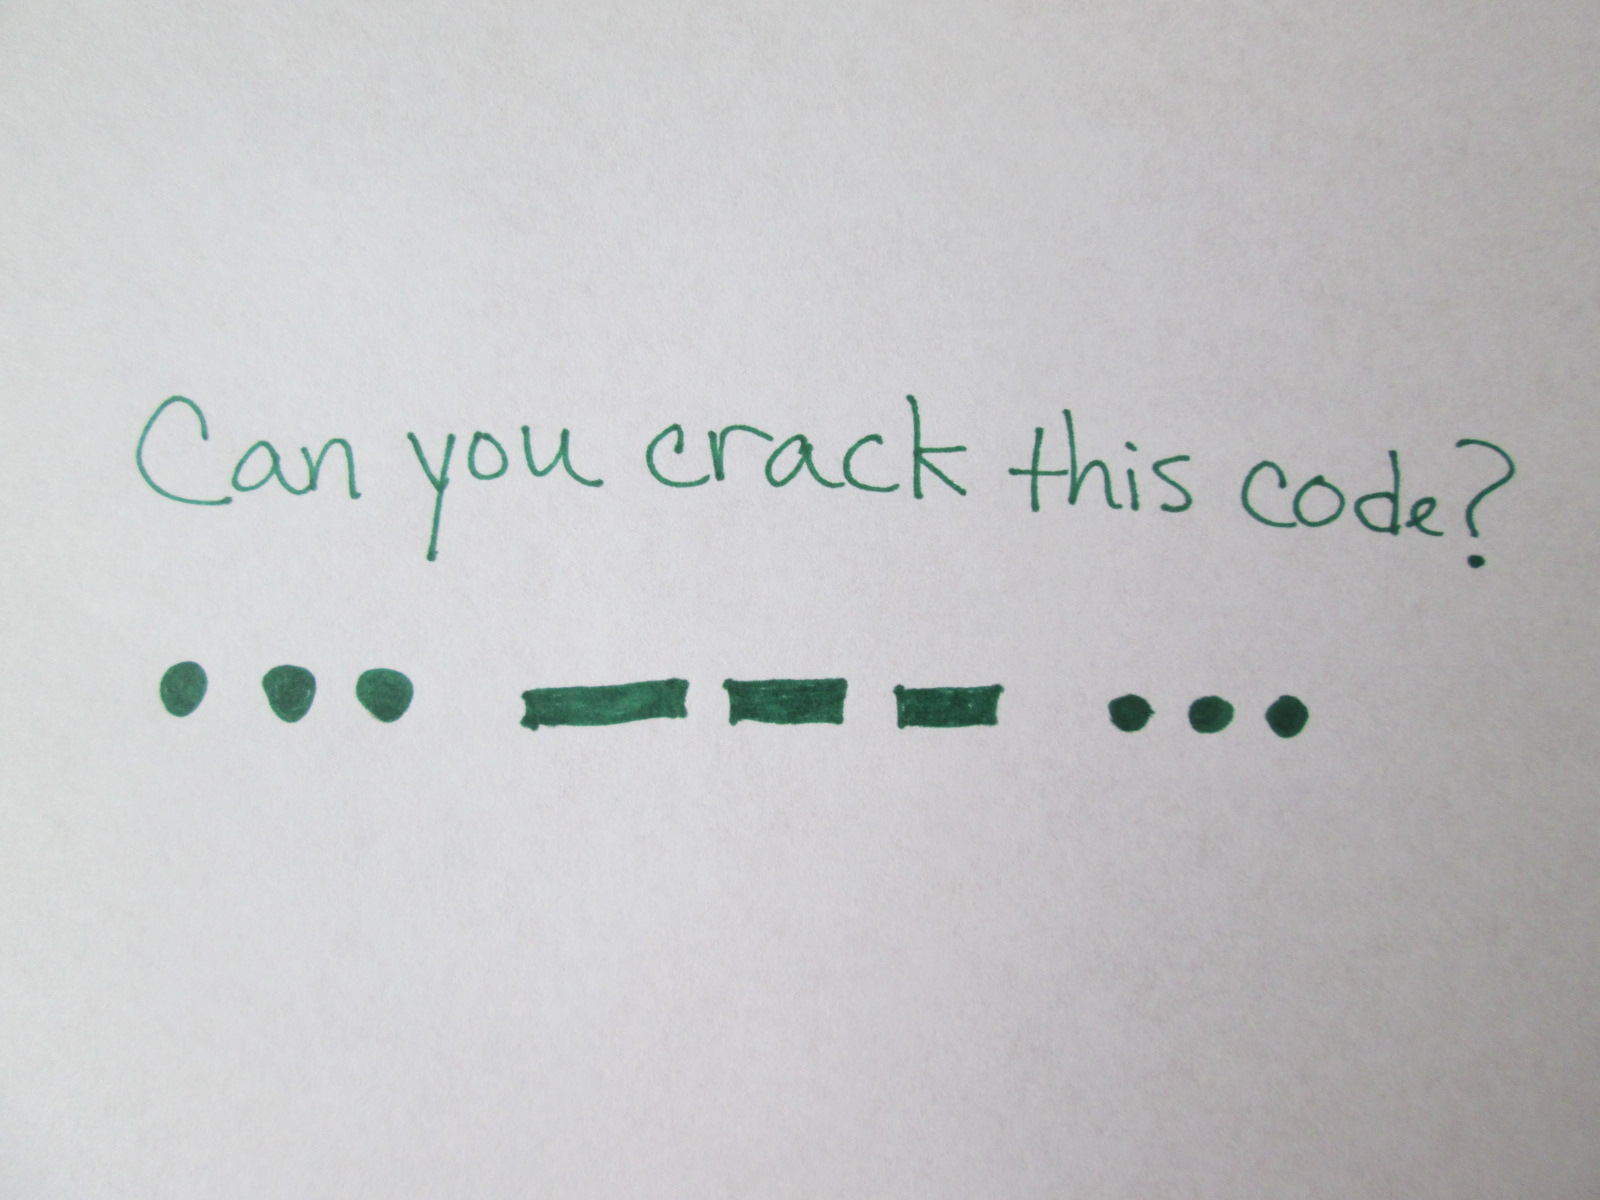
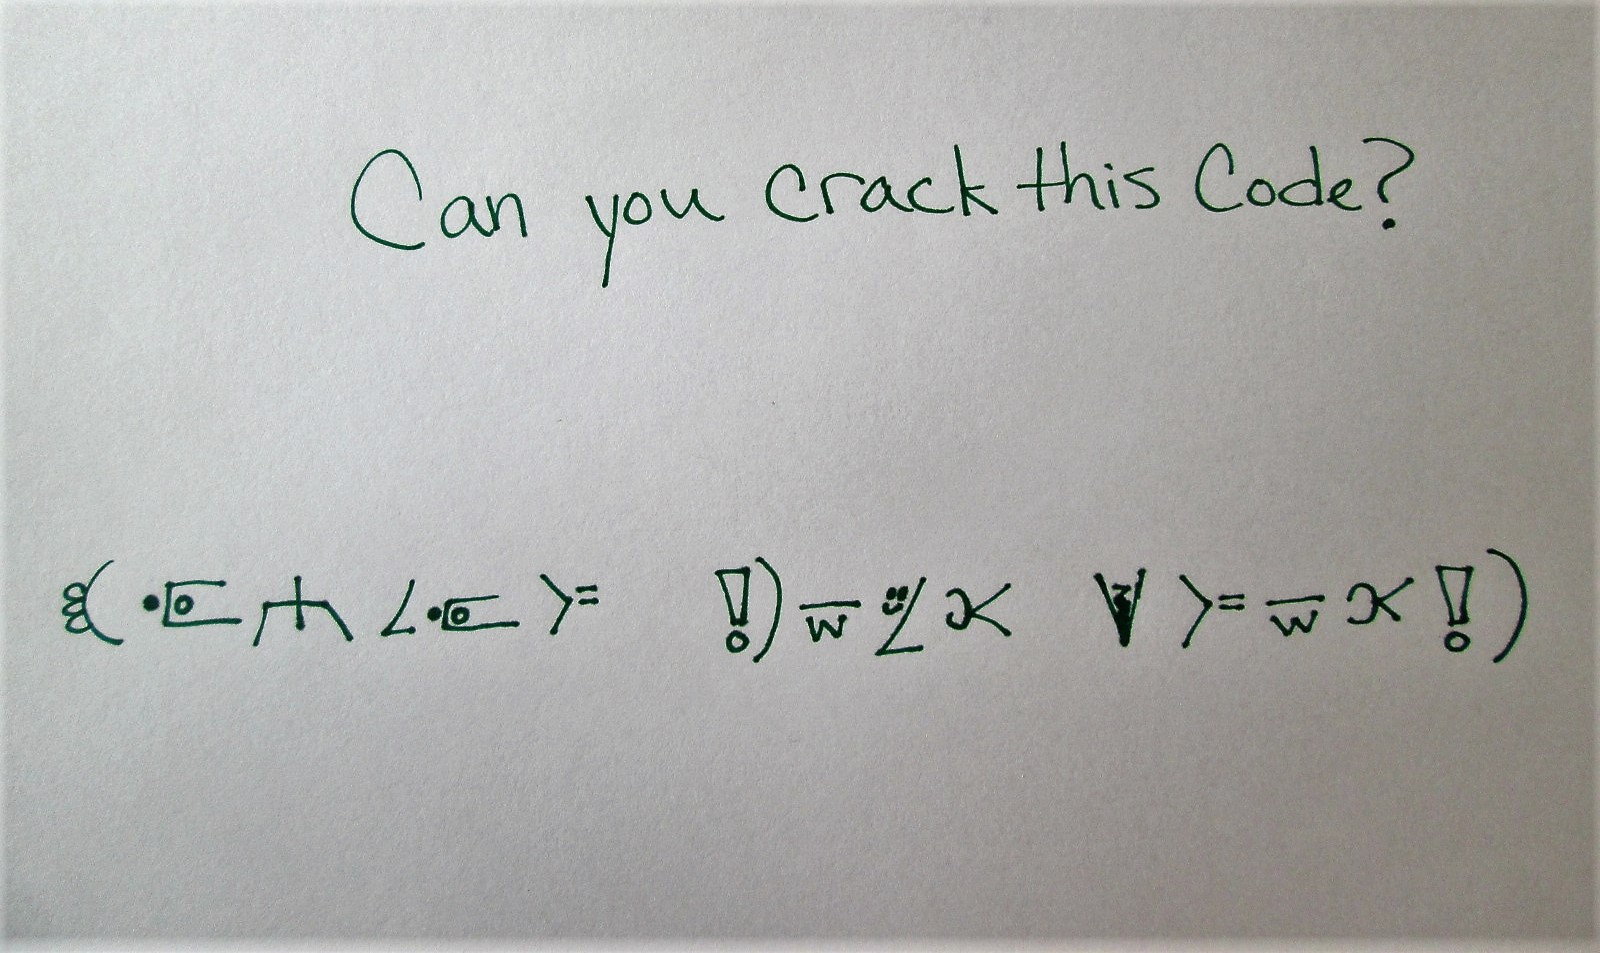
There you have it! Your own secret code to share with family and friends. Now that you know my code, I’ve got another challenge for you. Then go! Enjoy your day and…
Welcome Inventors! I have a 10-year-old son who an origami enthusiast. Last week, he showed me a boredom buster box he made. You have got to try this!
If you are new to making origami, the box is a doable first project. Go slow and pause/replay the video as needed. This is a 5-step tutorial. Let’s get started.
STEP 1: KNOWLEDGE – what is origami? Origami is the Japanese art of folding paper into decorative shapes and figures. To make the box, you will need 6 pieces of square paper.
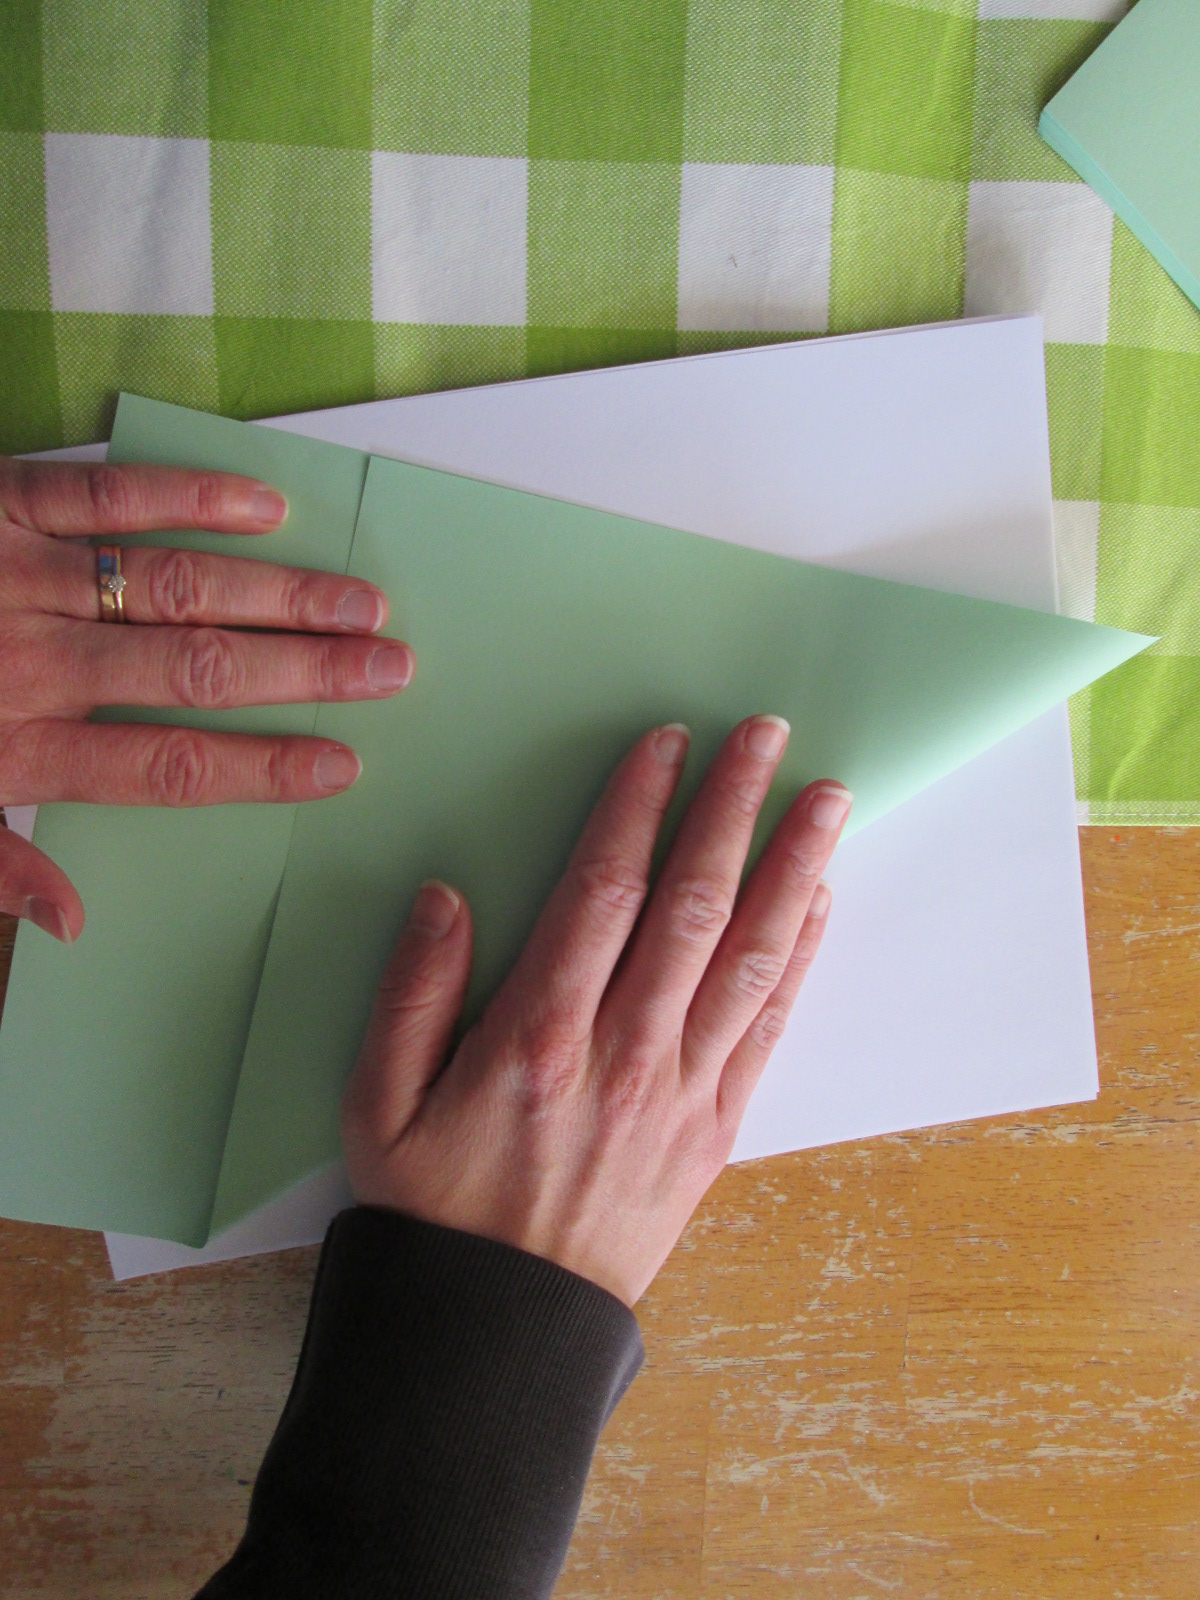
I squared my paper by folding a top triangle down of a standard size piece of paper (8 ½ x 11 – as shown) and I tore the extra off. You can also cut the paper into 8 ½ x 8 ½ inch squares.
STEP 2: SIMPLE APPLICATION – follow the steps of this link to make the box. This video was not made by me or my son and it is an excellent guide! When Ben and I watched the video, we had our six papers all set to go before we began, and it took us about 10 minutes.
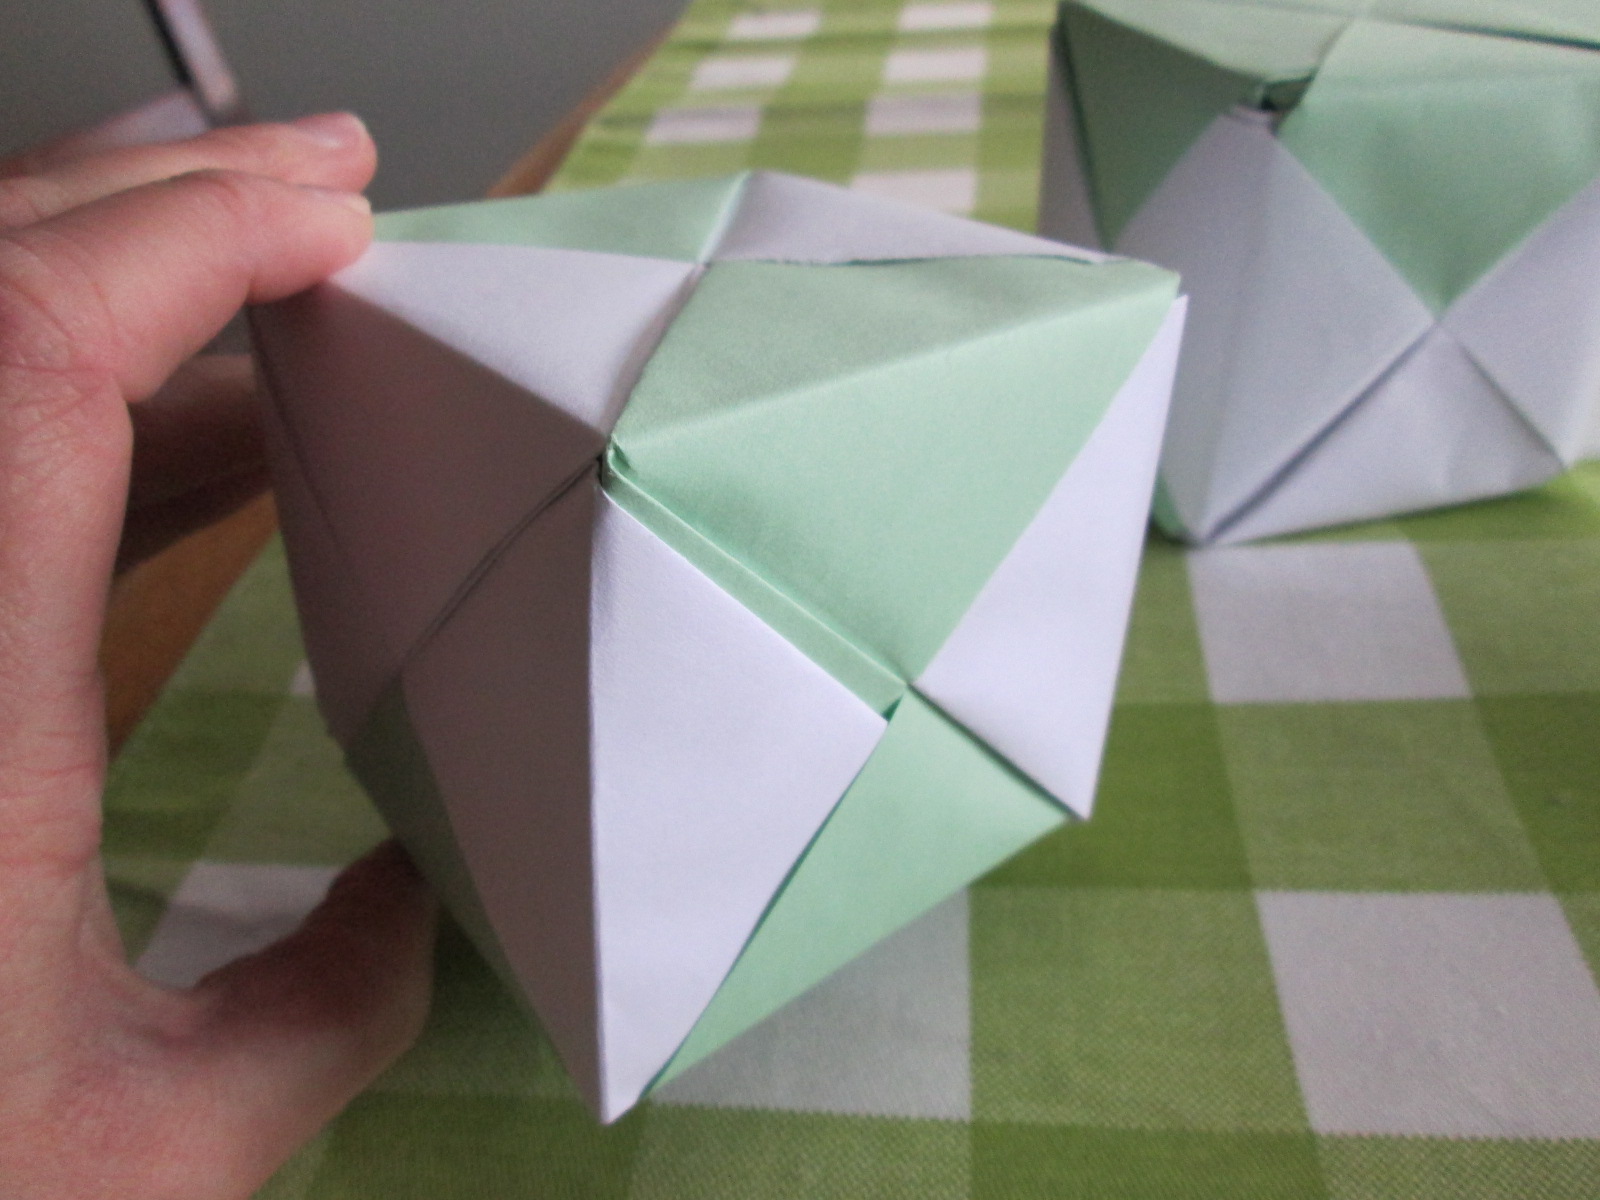
This wonderful, 3-minute video by VENTUNOART shows how to make this box. Click HERE to watch the video. You can do it! When I was done, my box looked like this:
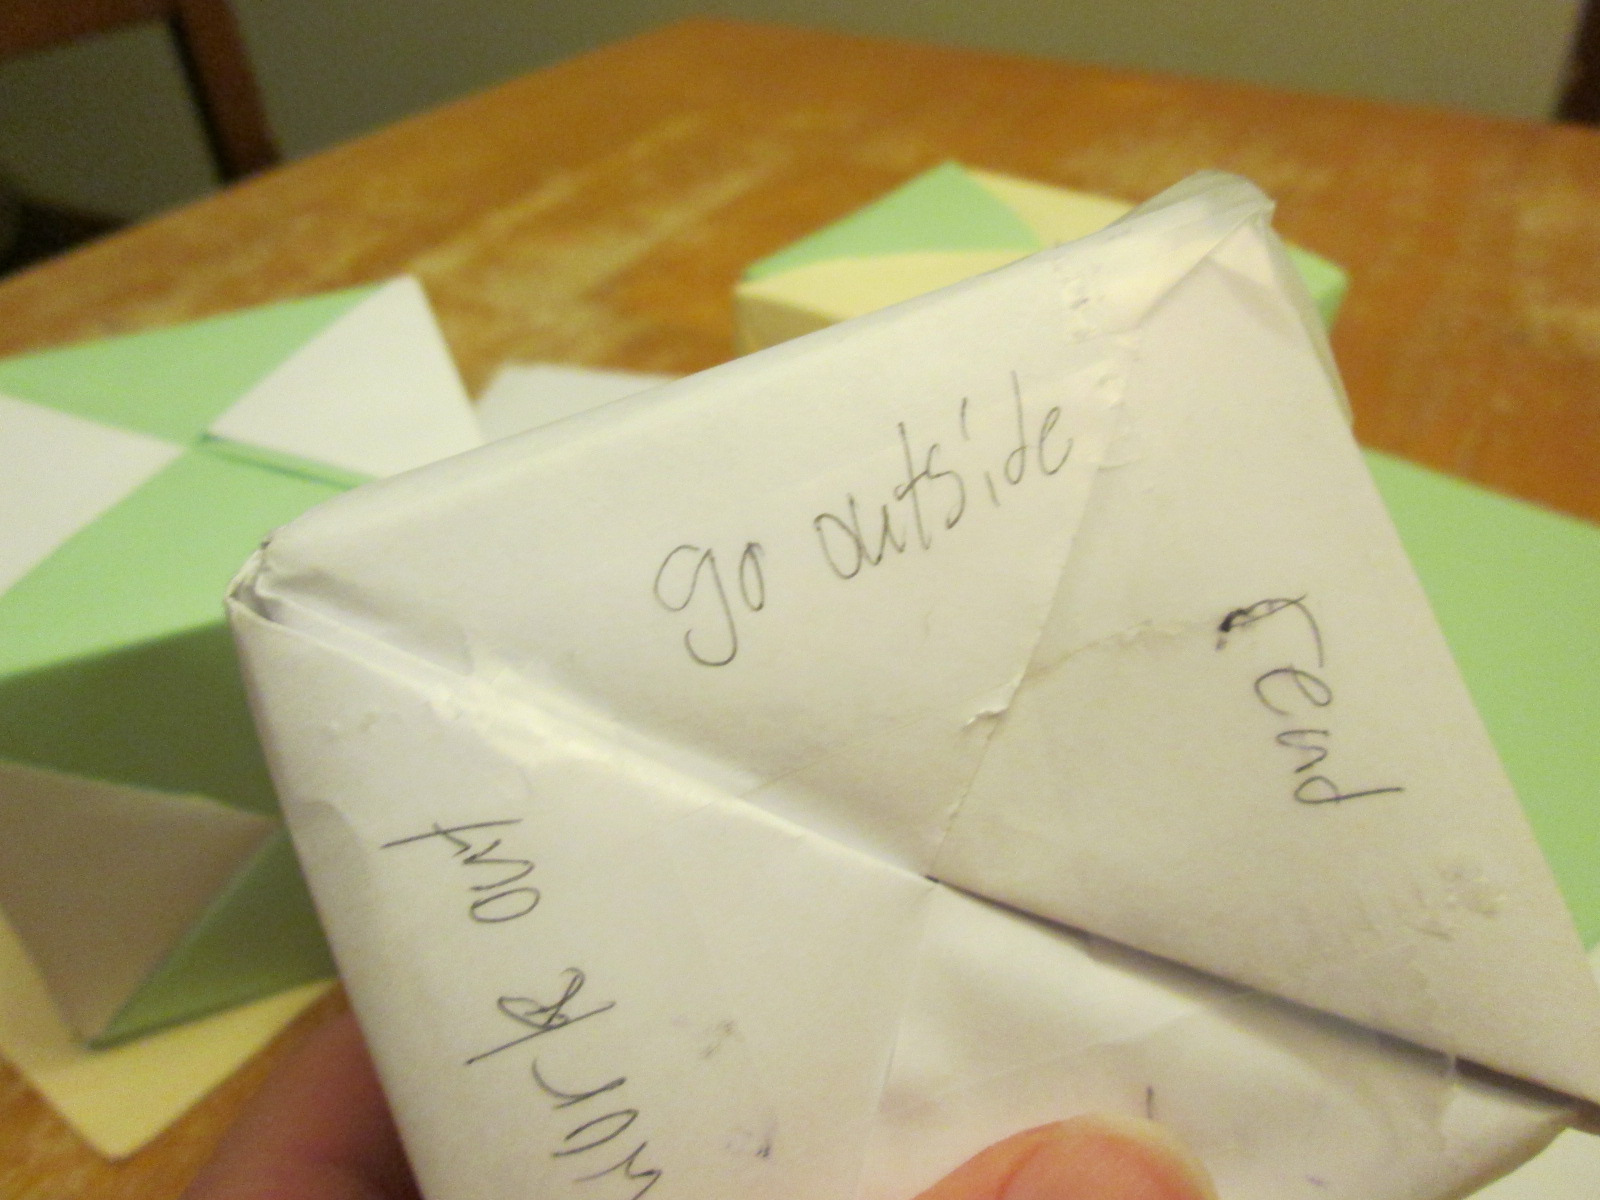
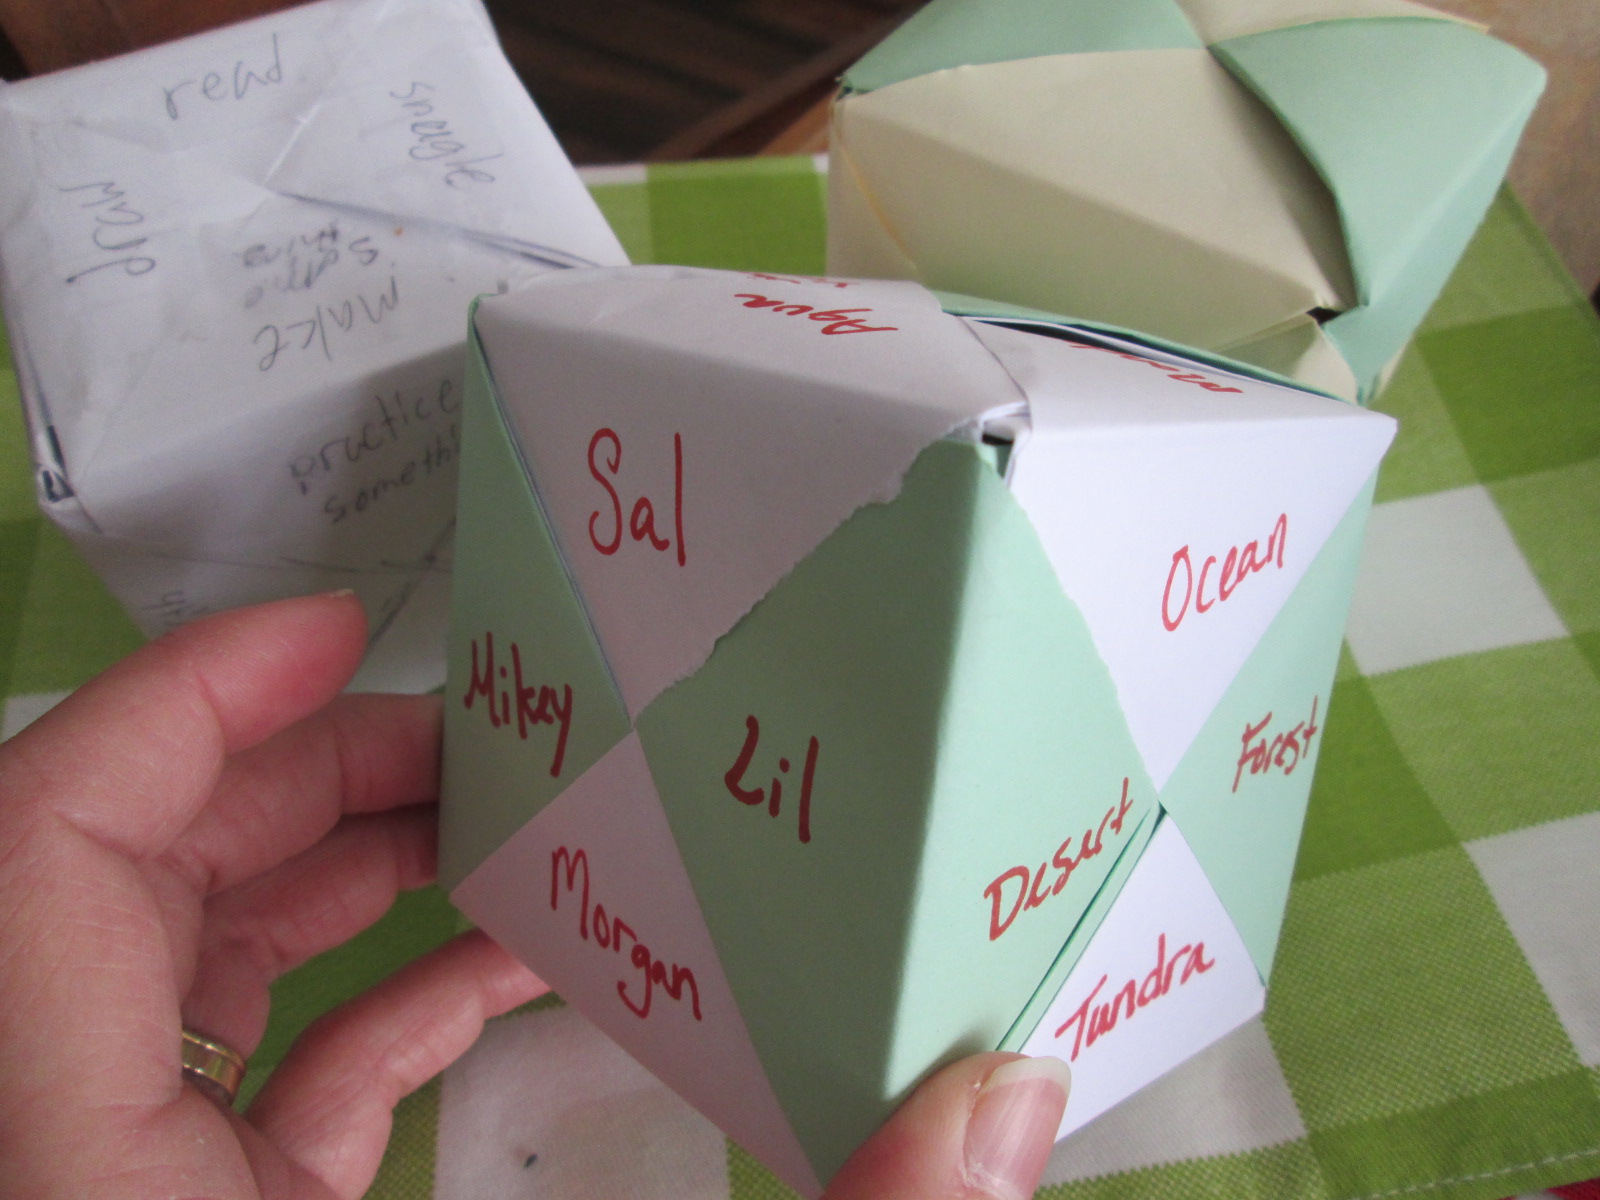
STEP 3: LEVEL-UP – I love learning new things, but what really jazzes me is learning something new and then finding a way to make it my own. Ben turned this work of art into a game by writing ideas of things to do when he is bored on the triangles on each side of the cube.
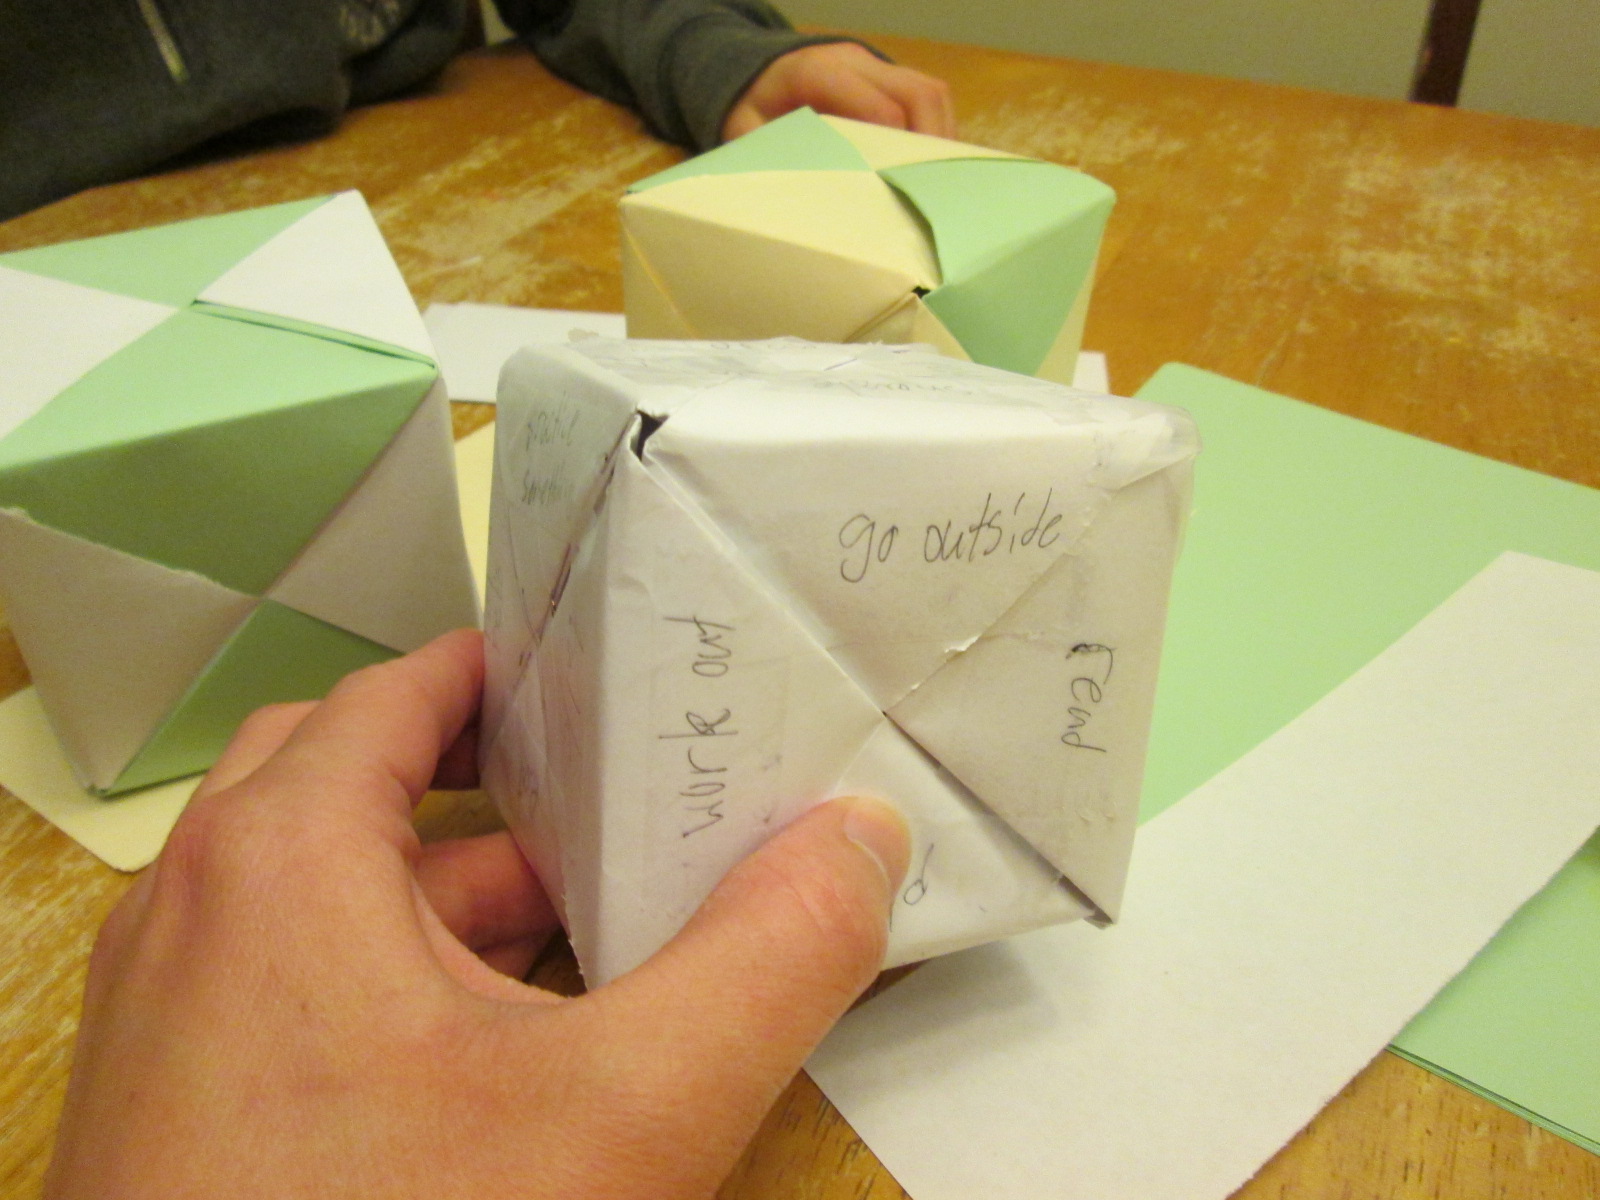
STEP 4: BUILD IT – We’d already built the box, but once we started throwing around the Boredom Buster Box, it was in danger of being destroyed by use. To protect it, Ben put clear tape on the edges to protect and strengthen it. This made a huge difference!
STEP 5: LAUNCH – I like to write stories, and like any writer, I get stuck sometimes. Instead of making a boredom buster box, I made a writer’s box. My box showcased different characters and sent them off on adventures – depending on how the box lands. I love it!
INVENT YOUR STORY! These beautiful boxes can also be used to teach kids fractions (again, that one was Ben’s idea) or they can be strung together to make a fun banner or decoration. Whatever you use this for, it’s a great boredom buster!
Thank you for stopping by. I’d love to find out what you decide to create! Leave a comment if you can, and then go – invent YOUR story! ????
Welcome Inventors! Today we will design an inclined plane that is fun for kids and easy for you. This quick 5-step guide ends with a challenge for kids to create a story using their new invention. Let’s get started!
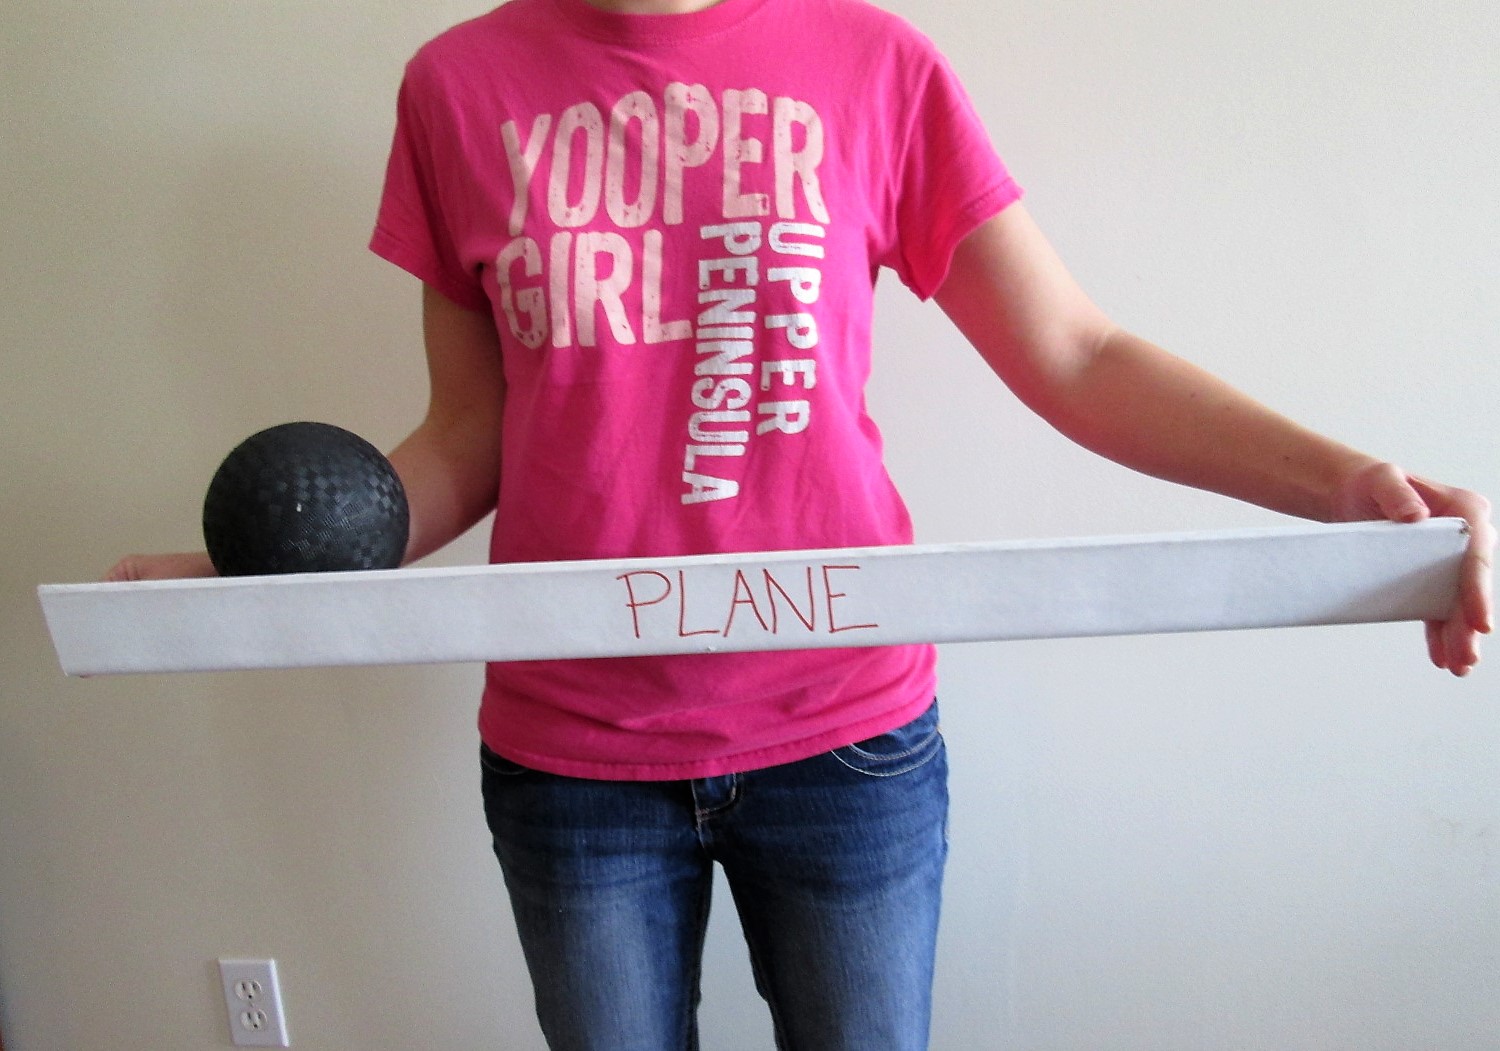
STEP 1: KNOWLEDGE – What is a plane? Webster defines a plane as a flat surface on which a straight line joining any two points on it would wholly lie. I think a picture says it better. Put a rubber ball on a flat plane, and the ball is still.
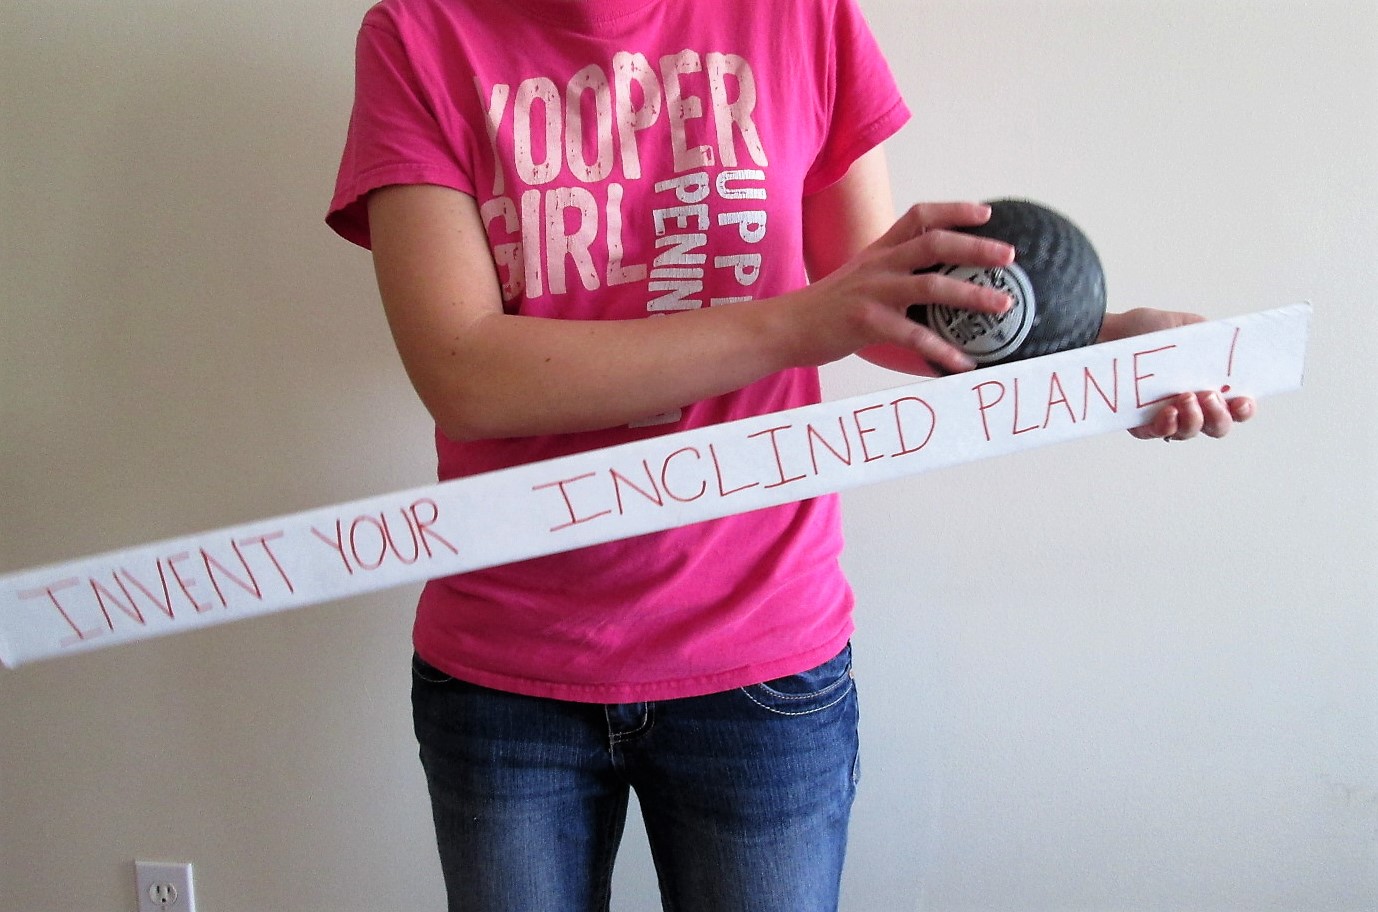
STEP 2: SIMPLE APPLICATION – How do you incline your plane? Lift one end up and BAM! You’ve just invented an inclined plane – congratulations! You may have lost your happy rubber ball.
STEP 3: LEVEL UP – Now that we have some knowledge and a simple example of how it can be applied, let’s solve a problem or make something new. You can build an inclined plane out of virtually any flat surface.
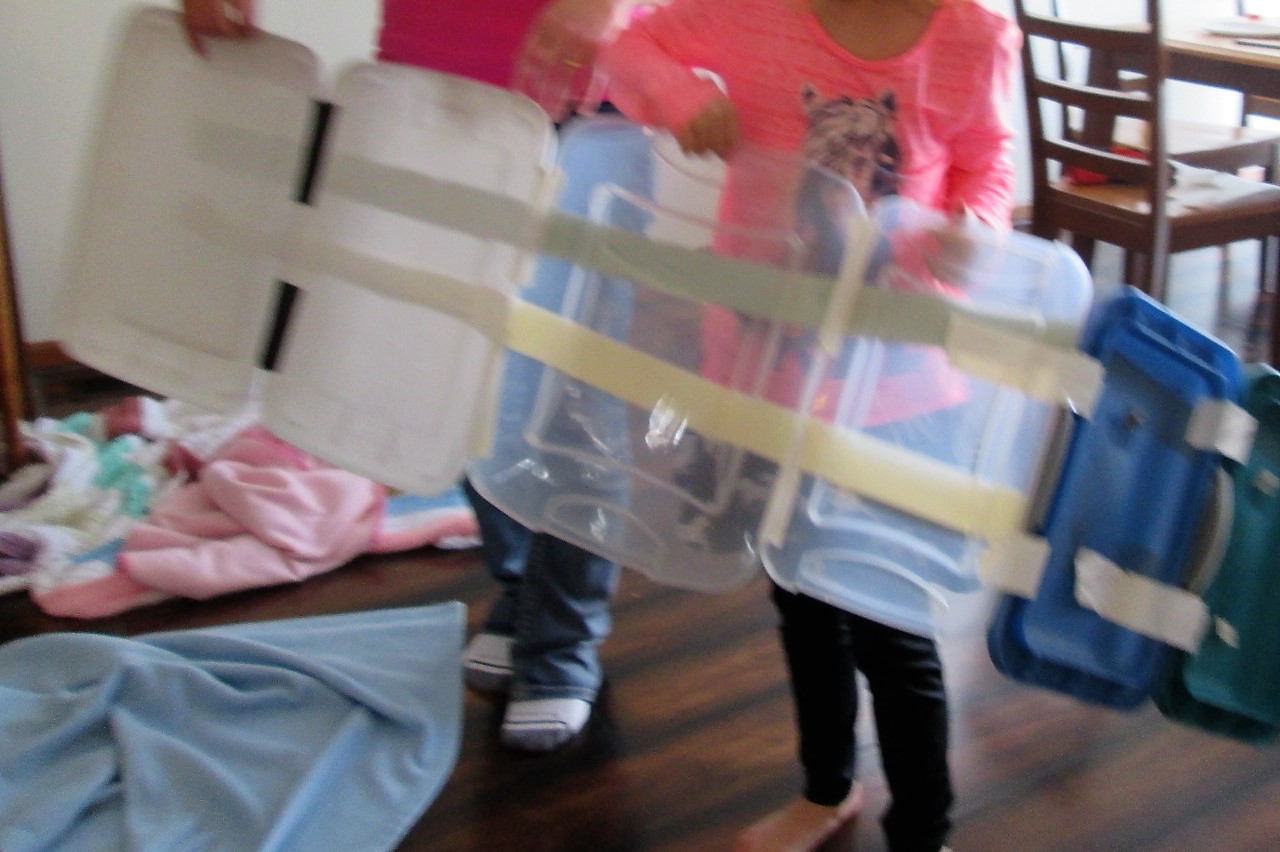
My kids and I decide to make a shoot out of our inclined plane. We want a big one, so we find flat materials that we can use to invent a bigger plane: mis-matched tote lids. We need to bind them together, so we use duct tape.
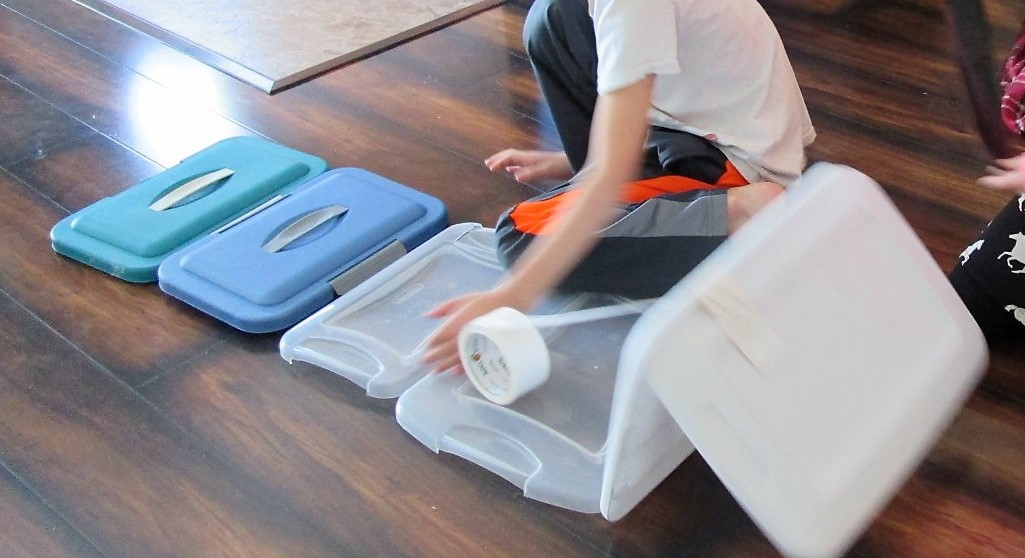
STEP 4: BUILD IT – We line the lids up side-by-side to create a plane. Duct taping them together proves to be a bit challenging, but we overcome!
Note: if you try this exact invention at home, I recommend duct taping both sides of the tote lids. Ours fell apart the first time! Instead of jumping in to fix it, I let the kids come up with a solution. Experience is the best teacher.
STEP 5: LAUNCH – We duct tape one end of our plane to the top bunk and BOOM! A successful inclined plane. Although inclined planes are traditionally used to move heavy objects UP the ramp, we opt to send things downhill instead.
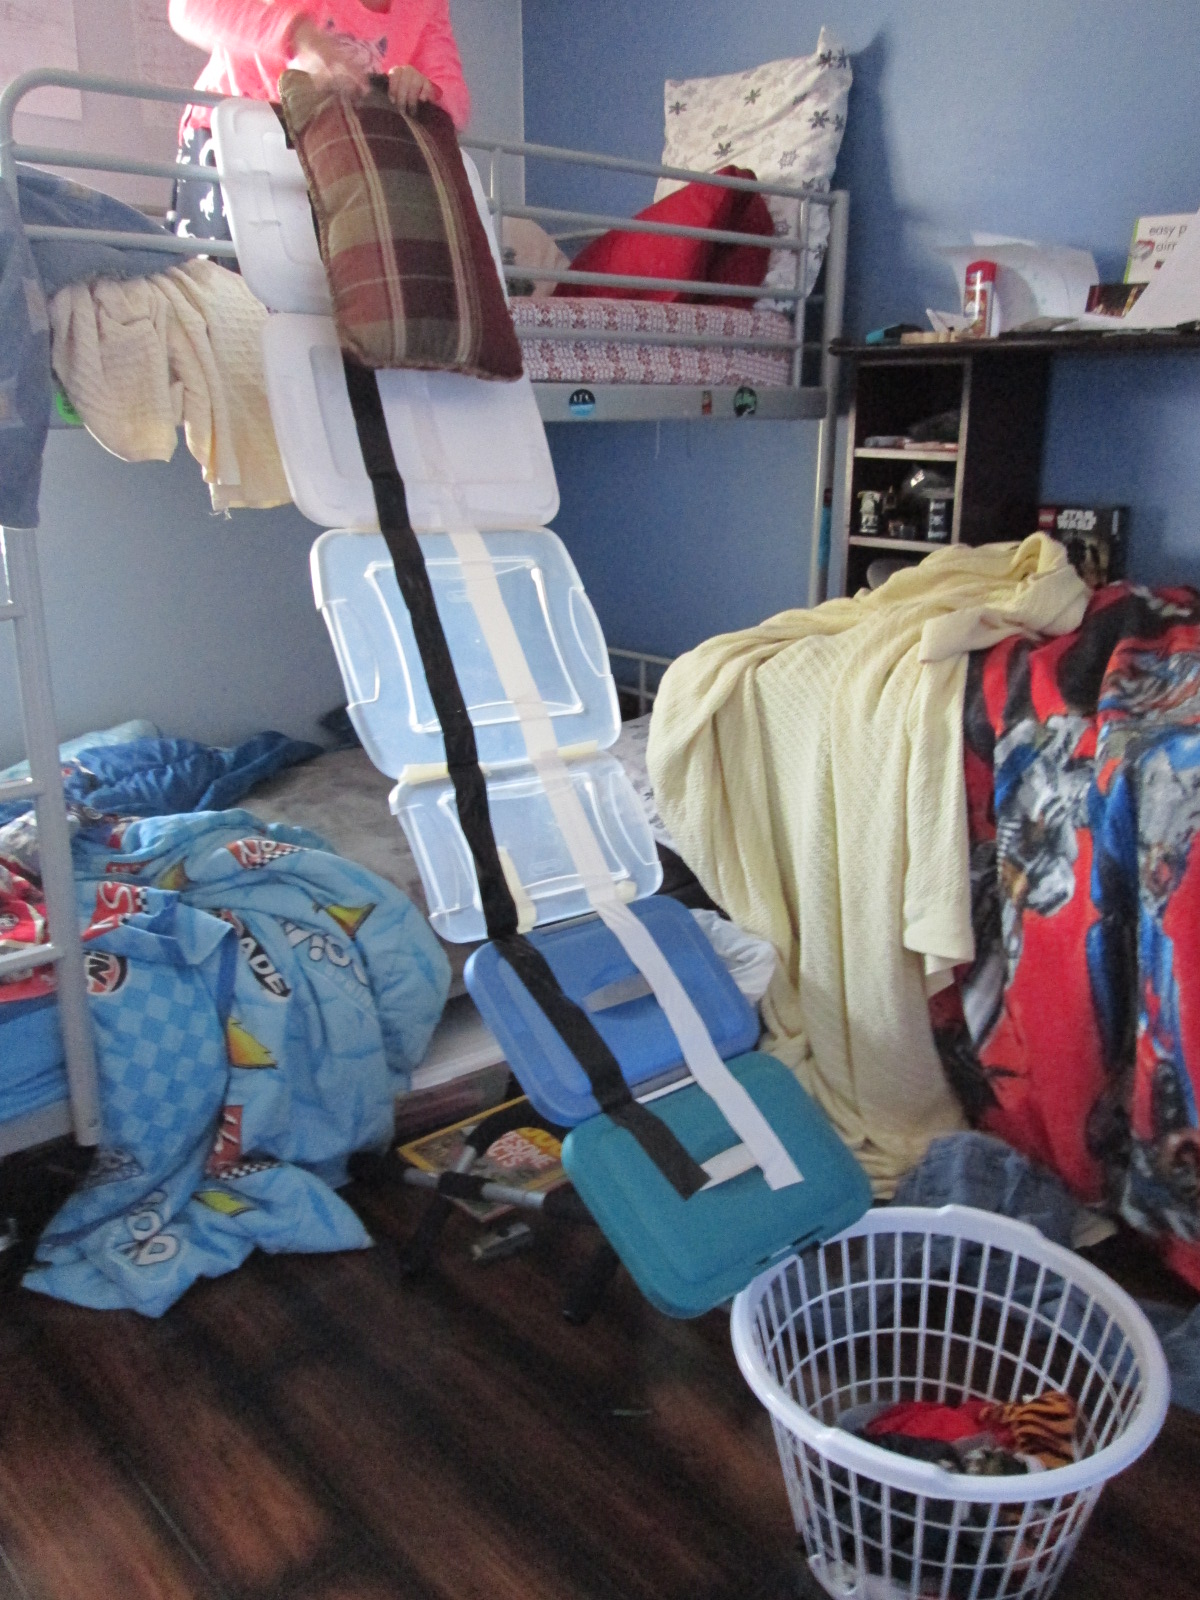
INVENT YOUR STORY! This invention is a now a part of our life story together, and that alone is worth the challenge. But I encourage my kids to invent a story with what we make. We imagine the duct tape lines are train rails, and then we drive steam engines down the ravine into the cavern below. What will you invent with an inclined plane?
Thank you for stopping by today. Please let me know what you think below – and then go. Invent YOUR story! Blessings!